Today, I have a slight variation on the closet expansion, with some DIY closet shelves to complement my ongoing quest for better storage.
As I race toward the finish line with the closet expansion, I made really good progress over the Christmas break. I finally finished three of the four frames and architrave, including sanding, wood filler, caulking and paint. All of which have taken the project to a completely new —and dare I say, almost professional — finish.
I will not detail these steps, as I’ve covered caulking, sanding and painting in other posts. Do reach out if you have any questions. I will share a few photos though, as the end result (even without doors) is rather impressive.


Making the New Space Useful
Besides finishing the openings, I also cut out the new shelves and the braces for hanging the shelves. I thought I could install the shelves through the top openings, but no amount of Tetris-ing could get the shelves through the openings. So, I had to empty out the closets, including the existing shelf, and handle the installation from the bottom.
Once I realised this, the project actually moved a bit faster. It was easier to hang the braces from below, standing inside the cleared out closet. (It probably would have been easier to empty the closets from the very start, but can you imagine living with that mess throughout the many months this project has taken!?)

Another New Tool for the Project
I used a laser level for the first time for hanging the shelves, which was really a great addition to my tool box. My dad gave me the laser level from his own tool box, and I’ve had it for awhile without using it. I should not have waited so long! This made much more precise work of hanging braces across multiple walls and ensuring they were level. I’ll share a tutorial in a future post if you are interested.
For hanging, I used wall anchors and screws through the braces. I hung them around the perimeter of the closet, level with the bottom of the new opening. This allowed plenty of space for the existing shelf below as well as ample room in the new space above.
Since I had to clean out the closets anyway, I decided to paint the insides, along with the shelves and braces. When we first moved into our flat, we were renting, so painting was not an option, even though the flat desperately needed a refresh. When we bought the flat three years later, we had the amazing benefit of not having to move, but it has meant that we’ve had to work around our stuff with every project. And so the flat did not get a full paint refresh all at one time.
No better time than with empty closets to paint, but this added more time to a project that has already gone on way too long. But there is really nothing like a fresh coat of paint to refresh a space. I painted the closets the same colour as the bedroom walls, which is Farrow & Ball Ammonite, a silvery grey. I painted the shelves the same colour as the closet doors and trim, in F&B Wevet.
And with freshly painted closets, we were motivated to do some de-cluttering as well before moving our stuff back in.
A Refresh of My Boot Closet
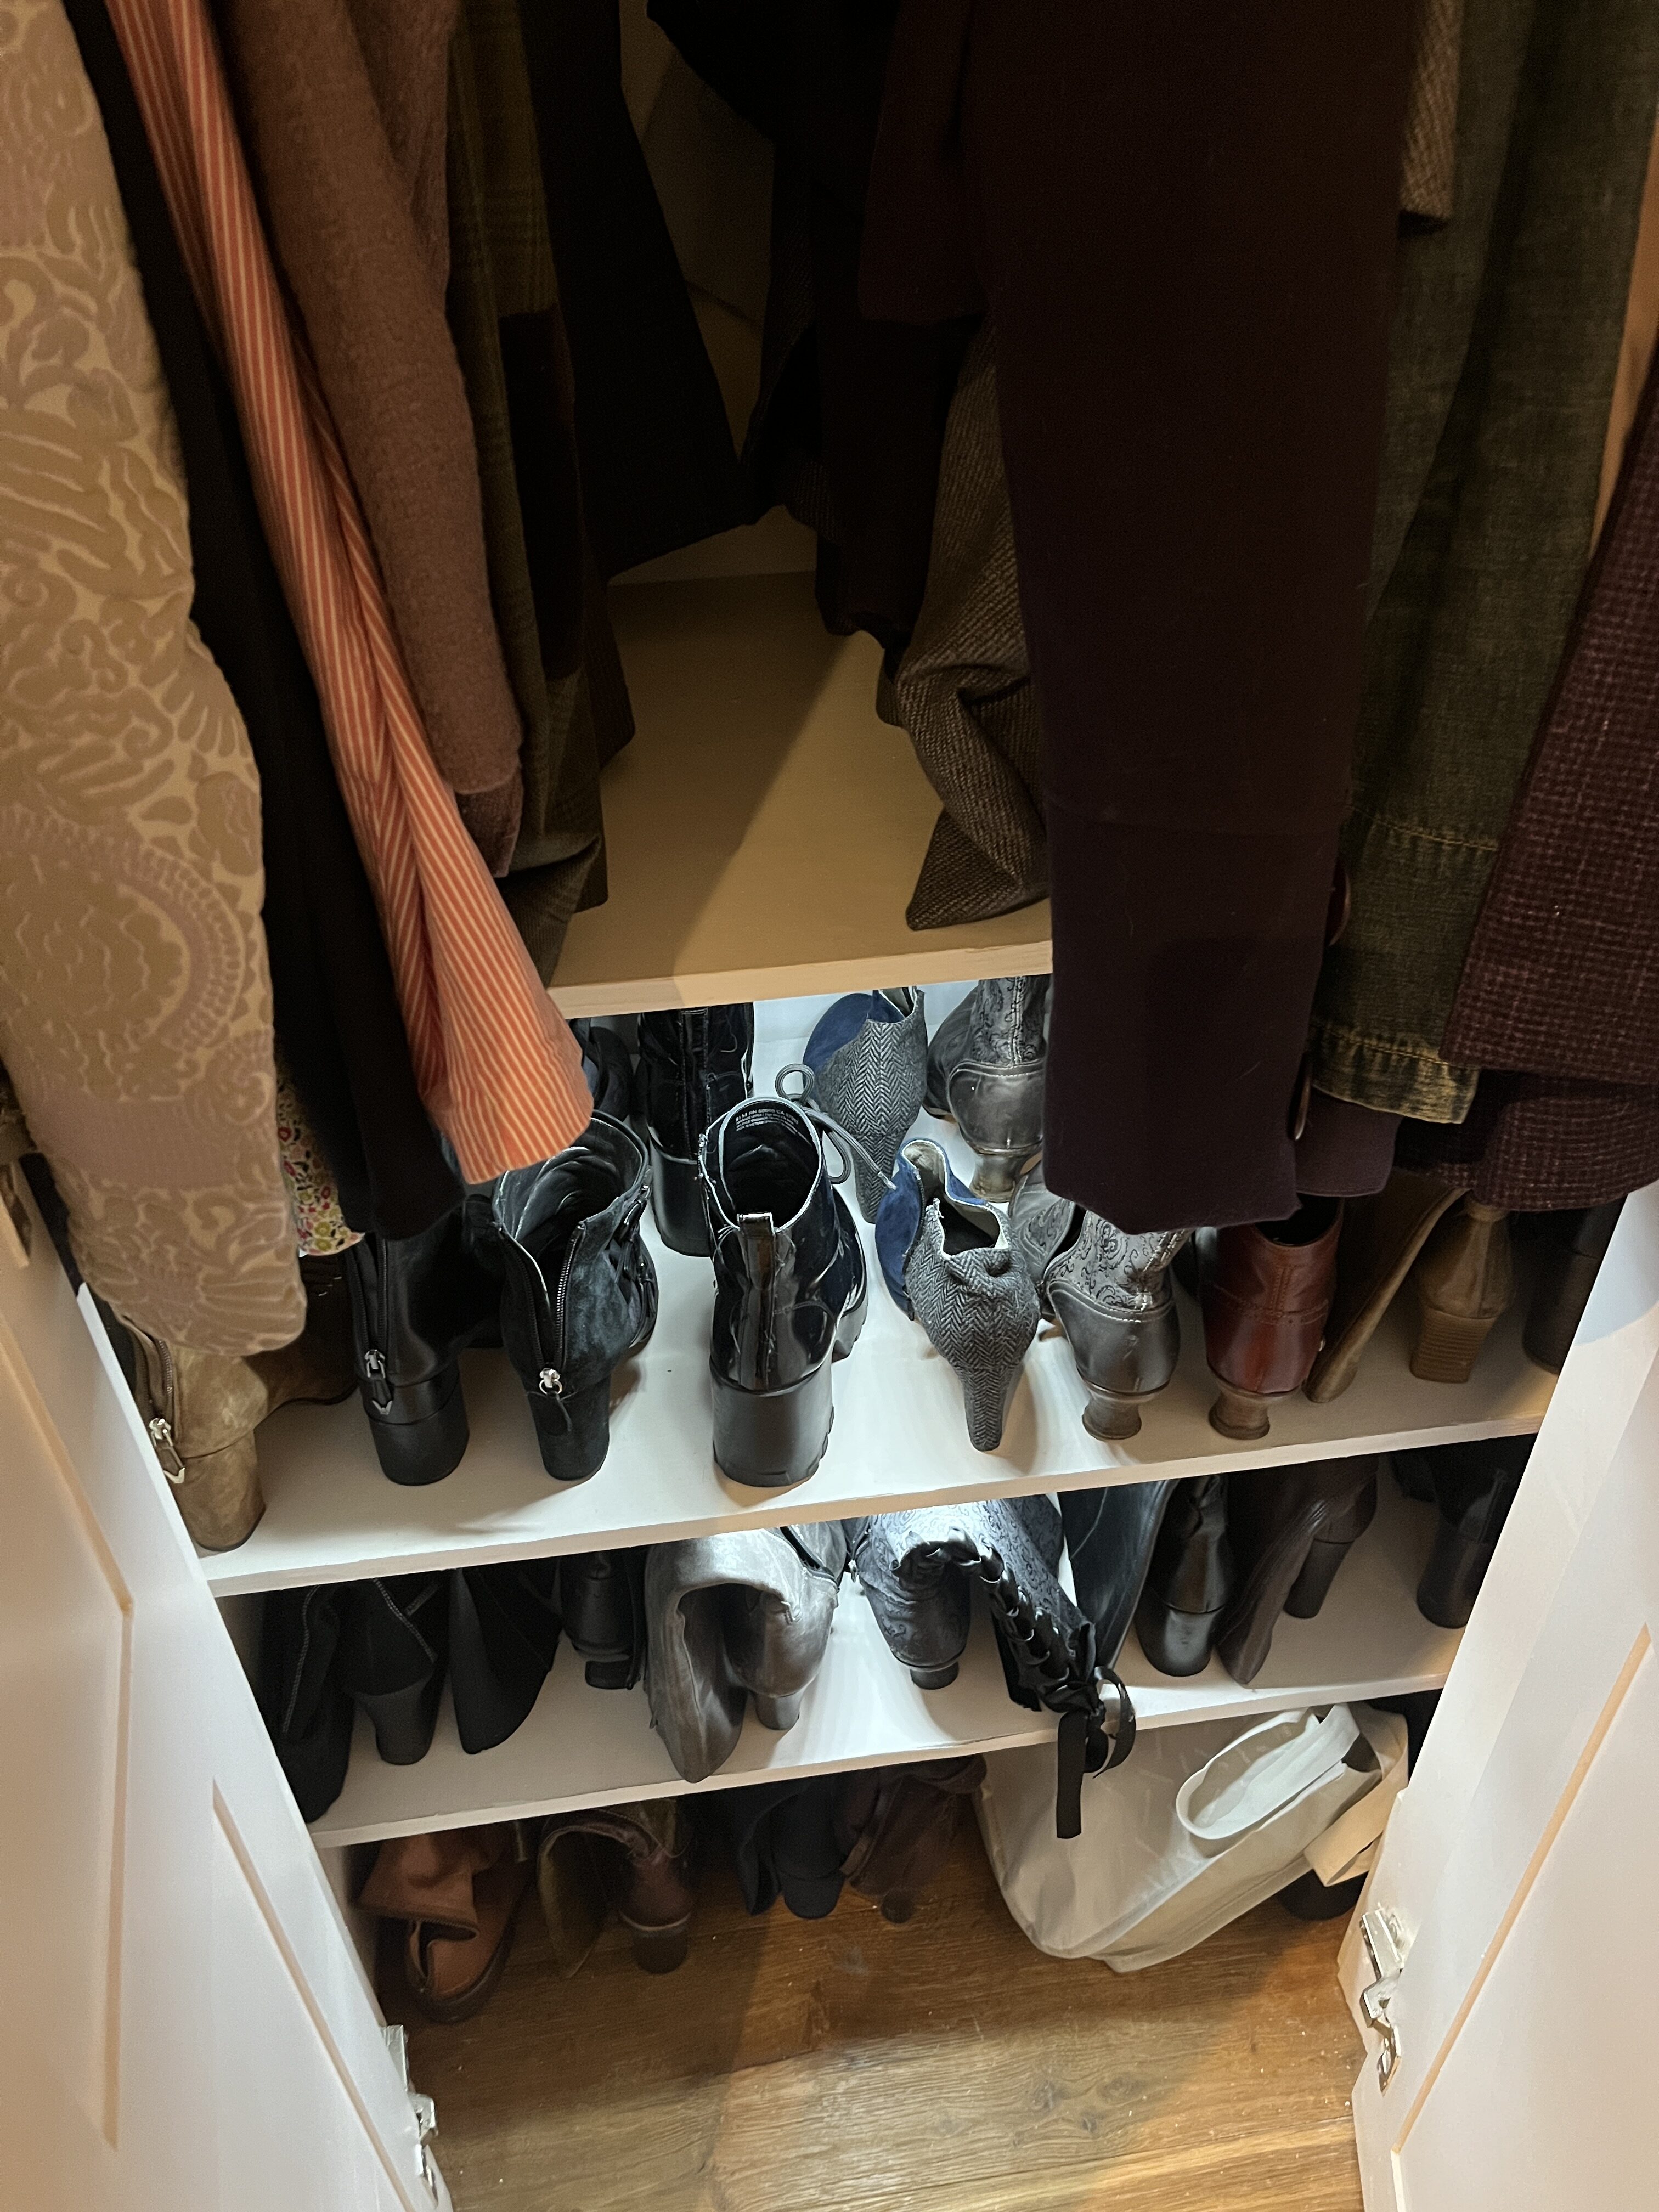
One of the the office closets holds my rather significant collection of boots (I love boots as much as I love shoes!). So I decided to tackle my boot storage at the same time, which has been a bit of a mess.
I wanted my boots to be easy to see and reach, so I will wear all of them and can find them when rushing out the door in the morning. Historically, they’ve ended up in piles on the floor of the closet, which is not great for them and certainly not a good use of space.
I decided to build some DIY closet shelves to organise them. Three tiers of shelves would allow for the different heights of my boots. I also ensured there was enough room between the top boot shelf and the clothes rail, to accommodate my jackets.
I used left-over plywood for the DIY closet shelves, cutting the sheets down to the width and length of the closet. Sides were attached using pocket holes.

As with every room in our flat, even the closets have angles. For some reason, there is an angled corner in each closet, so I needed to accommodate for this in the plywood top and sides.
For the sides, it was quite easy: I just cut the length of the side pieces to reach the point in the wall where the angle started. I installed the sides flush to the front of the top edge.
For the top, I measured each side, but it was not quite exact. After a bit of trial and error, I decided to create a quick template of the angle. I used a piece of thick paper and simply aligned both edges to the adjoining walls while folding up the corner until it was a perfect match. I then transferred this line to the plywood and cut it with my jig saw. A circular saw would also work here.

I repeated this three times for the three shelves, giving me three perfect boot shelves that maximised the closet space.

I added edge trim to the exposed front edges once the shelves were installed. In hindsight, I should have done this prior to installation, so I could reach all edges. But you cannot see the hidden edges, so it is not a big issue.

For the DIY closet shelves, I did not remove the base trim in the closet, so I needed to accommodate for this in my measurements. For a more built-in look, you might want to also remove the trim inside the closet before the install.
I also sanded and painted the shelves after install. This would have been easier if done before. Lesson learned for next time! But I forgot to get a picture of the painted shelves while they were empty. I was too excited to put them to use!
Illuminating The Final Shelves
The DIY closet shelves are already perfection, but I decided to add one final touch to take it over the top: motion-sensor lighting.
You might remember that these closets had hard-wired sensor lighting, which we had removed. The lights were old and did not work, and even though they were hidden, they were ugly. I debated simply replacing them with new lights, but I decided not to bother.
In this case, I wanted lights on the actual boot shelves, not high up on the door frame where it had been before. I found these great little rechargeable lights that are magnetic and can be activated by motion.

You simply install the little metal plate, using the sticky tape provided. Then, the light magnetically snaps on to the metal plate. I set the switch to motion activation, and the light comes on when I open the closet door to choose my boots.

The light can be removed for USB charging, and it should last for nine hours at a time. I also like the sensitivity, as it does not flicker on if it catches movement outside the closet while the doors are closed.
Such a small thing, but it makes me really happy whenever I open the door. Simple organisation that makes life in a small flat just a little easier.

What do you think? Do you need similar DIY closet shelves in your home?
While the closet expansion project keeps going, I can start to see some real benefits from my efforts, with one of the closets loaded up, including a luxurious DIY closet shelf for all my boots. And two other closets almost ready. One more to complete (which still have some challenges to overcome), before moving on to the doors. We will get there soon … I hope!


Leave a Reply