Today’s project: Rug restoration.
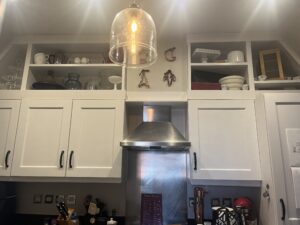
In typical DIY fashion, I always have several projects going on at once. Today, I’m taking a break from the mini-renovation of the kitchen to share another project I’ve been working on, a rug restoration, this time in our bedroom.
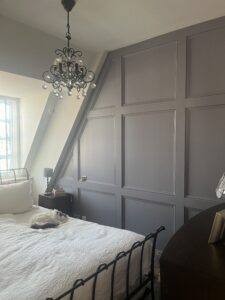
I’ve shared a few glimpses on Instagram of the purple feature wall I’ve created in our bedroom, and a post will come soon to share the final reveal and the steps taken to create it.

To go along with the purple feature wall, I have a beautiful area rug, purchased from Anthropologie more than 20 years ago, when we still lived in Boston. I love the blue and purple combination, and it has held up surprisingly well over the years.

It sat in storage for about 5 years, while we lived in rental flats that were too small or already had carpeting. When we had wood flooring installed in our current flat, I knew this rug would be perfect for our bedroom.
Dealing with Disintegration
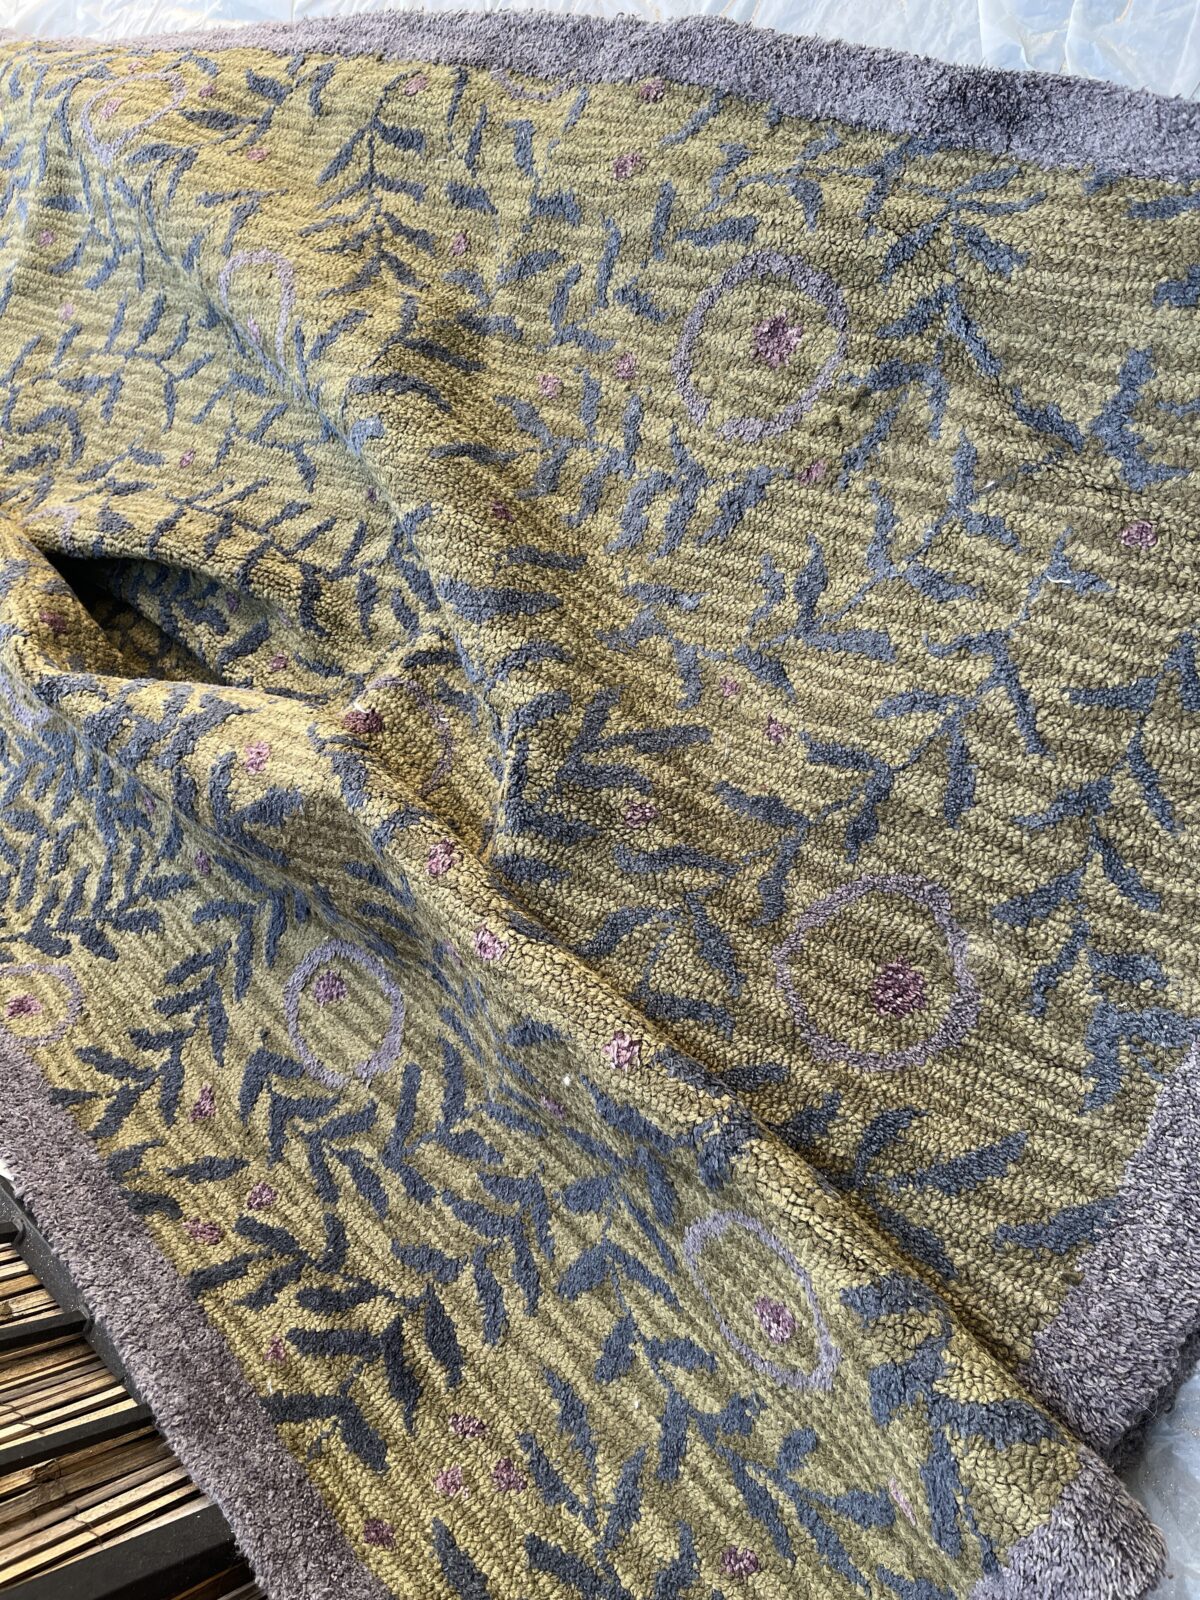
Imagine my surprise when I picked it up from storage and a sand-like substance came pouring out of the rug, through the backing. It seemed as though the rug had been stored in the desert for years, there was so much sand.
No amount of shaking, hoovering or beating seemed to make a difference; the sand just kept coming.

Clearly a rug restoration was required. Research suggested that perhaps the adhesive backing had started to disintegrate, so I removed the backing to have a look. Sure enough, it came up quite easily, and there was more of the sand-like substance underneath.
Plan A: Replace the Backing
Still, shaking did not help, and at this stage, hoovering was dangerous, as the fibers were no longer glued down. I put another backing on with some glue, thinking it would just capture the sand, and I hoped for the best.
When we started work on the feature wall, we removed the rug from the room only to find piles of the sand under the rug and embedded into the groves of the flooring. Clearly, I needed to do something.
Plan B: A 2-Step Process
More research into finishing hooked or tufted rugs suggested that for a proper rug restoration, I needed to follow an additional step before just replacing the backing: actually gluing down the fibers and the loose adhesive bits on the back with a flexible, rubber-like glue similar to the cement glue we used in school. Then, adding the backing with a spray adhesive.
I ordered the supplies needed:
- F-Ball, a latex glue used for rugs and dries in a flexible, rubber-like way
- A new backing, which is just a large piece of hessian in a grey colour
- A spray can of adhesive to affix the backing.


Let the rug restoration begin!
For a quick view, watch the short video I made of the steps on my Instagram reels.
Or, if you prefer a step-by-step tutorial, read on:
- Lay the rug down with the underside facing up. Brush away as much of the sand and grit as possible, but do not hoover it, as this could pull at the fibers and create holes in the rug. Note that this is the time to fix any holes in the rug, by weaving strips of yarn or wool into the open spaces. There are numerous videos on how to hook rugs which can help guide you for any small holes or gaps.
- With a roller brush, generously roll the F-Ball adhesive over the back of the rug, covering the entire rug. Let it rest overnight. The glue dries clear and again, it is flexible and feels a bit like rubber. At this point, there should be no stray sand-like particles , because they will have been caught in the adhesive. If there are, you may need to be a bit more generous with a second coat of the F-Ball.
- After the F-Ball adhesive is dry, you could end there and just use this as your backing. It is no-slip given its rubber-like properties. Alternatively, you can add the backing which is what I did, for a more finished look. To do this, lay out the backing and cut to size. Here, you might choose to neaten the edges or sew them under, for a nice look on the underside. I did not do this, as I did not have much spare backing, and since no one will see it, I am not too bothered.
- Roll the backing up, and starting at one end, use the spray adhesive to coat a strip of the back of the rug, over the dried F-Ball adhesive, then lie the backing over it and press down. Repeat in small segments until you’ve glued the entire backing down.
- Let it dry, then check for any lose areas and reapply the spray adhesive as needed.


One Final Step
I decided that with the fibers secured and the new backing in place, a deep cleaning with a carpet cleaner would also be a good idea, before putting it back in place. I had tried this once before when we first got the rug out of storage and had a terrible experience with the rental company, as the product they hired out did not work after I had lugged it home.
This time, I rented from HHS Hire, and the experience could not have been better. Good value for money, reasonable terms, easy to pick up and return, friendly and helpful staff, and a carpet cleaner that worked perfectly. For those in the UK, I can highly recommend them.

The End Result
And the result is a vibrant purple rug without piles of sand drifting out of the underside.

The only thing left to do is to get the rug back in place and enjoy how it warms up the room and perfectly offsets the feature wall.

What do you think? Would you try to replace the backing on a rug or leave it to the professionals?
Stay tuned for the reveal of the feature wall and a full tutorial.
Pin for later: