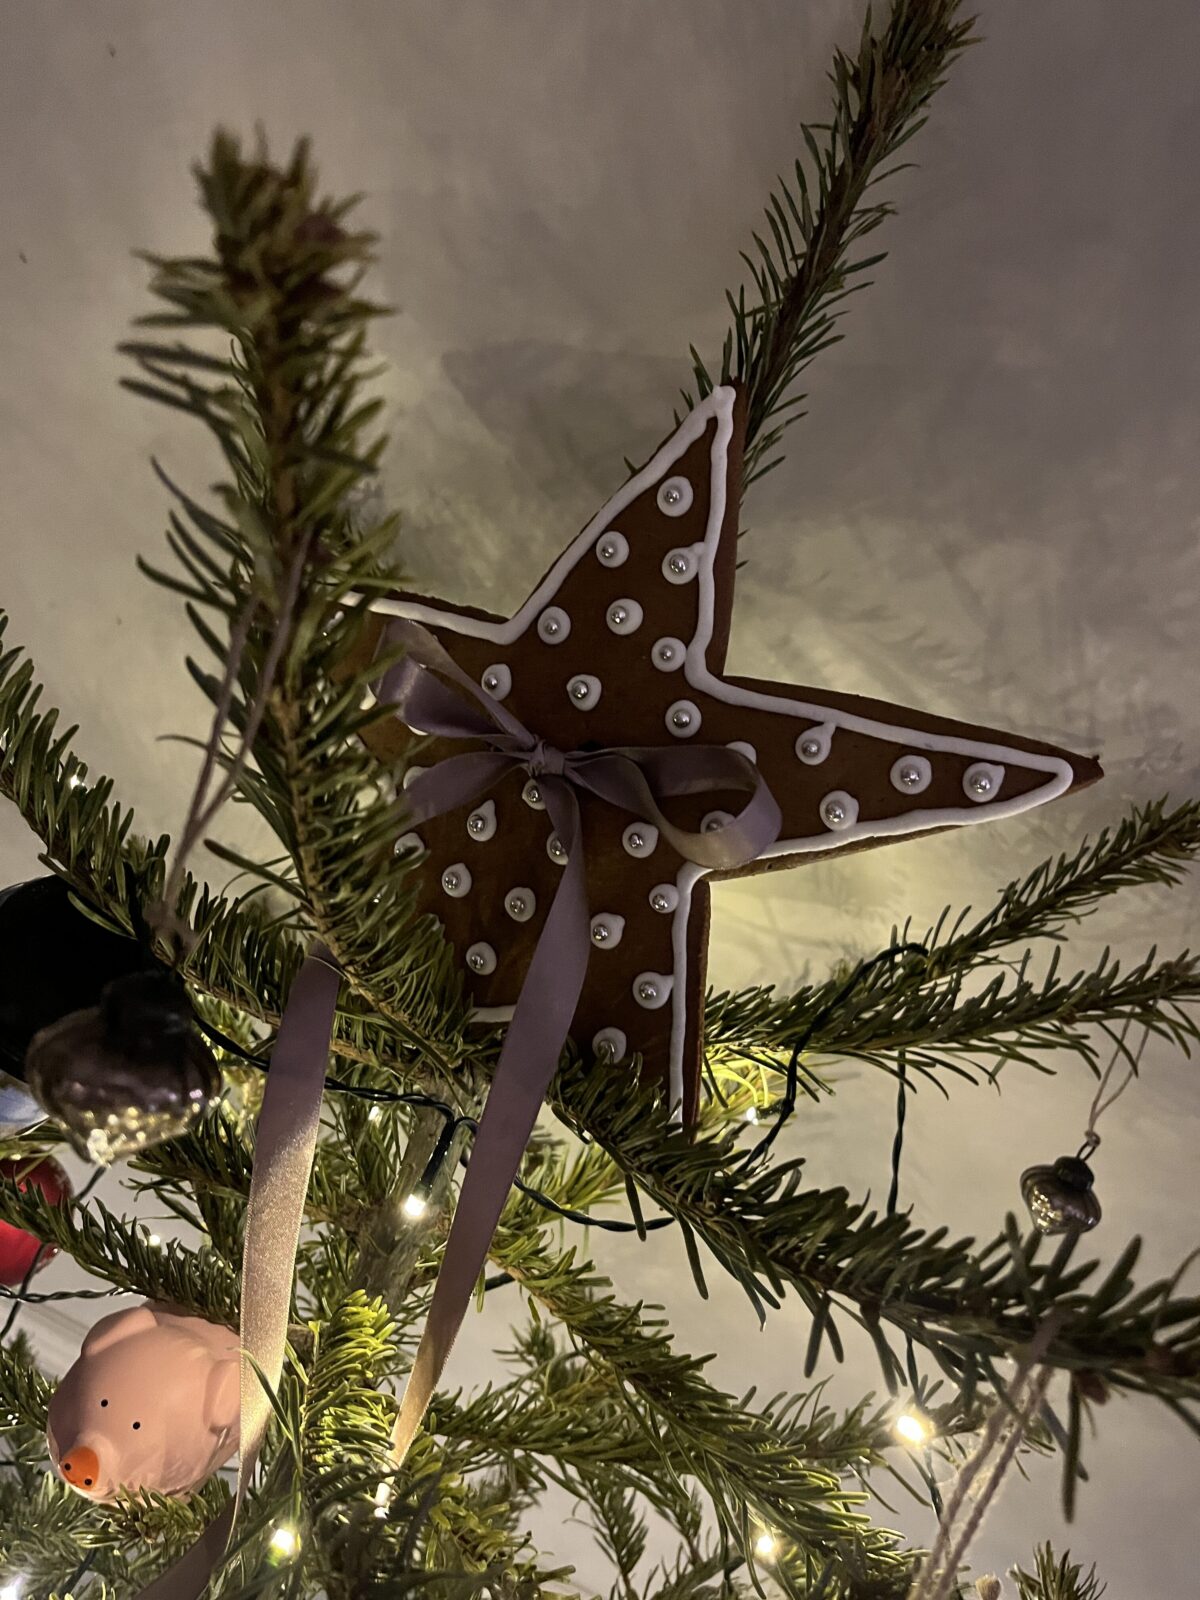
As the days race far too quickly toward Christmas, I am making the most of the festive season, in between work, DIY projects and life in general. Today, I am sharing a quick make: a gingerbread tree topper.
Building a gingerbread green house has been a real highlight of the season. A time of relaxation and enjoyment. And also a personal demonstration of all I’ve learned in my DIY journey. If I had more time, I’d probably build a few more!

I did have a bit of dough and frosting left over, so between activities the other day, I got the idea to make a gingerbread tree topper out of what was left.
Most years, I top the tree with a lovely gold papier-mâché star that my dear sister-in-law gave me many, many years ago. It came from Anthropologie back in the day, and it was a big deal to me to have such a luxurious star. After years of love, it is a little worse for wear and needs some repairs, which I never think of until it is time to put it on the tree.
This year, we could not get it to sit straight and look right, and the angled ceiling did not help. So we have been starless. Until today!

Introducing my gingerbread star tree topper!

A really simple project, in case you want to make one yourself.
Make the Dough
I had a bit of dough and frosting left over from the gingerbread house, so this was a super fast make. If you are starting from scratch, follow the instructions for the gingerbread house dough and icing. Note that the recipe makes quite a lot, so consider cutting the amounts in half or even fourths if you only want to make the the tree topper and depending on the size you want to make.
Cut Out and Bake Your Chosen Shape
For the shape of the gingerbread tree topper, I free-handed a large star. Anything goes. You could choose a shape and trace out a template, or freehand it like me. Think angels, angel wings, hearts, maybe even a Christmas tree to sit atop your Christmas tree! Whatever you love and whatever goes with your own Christmas theme.

For the size, I wanted something big enough but not so big it would be likely to break. Remember, this needs to perch on the branches of a tree, so be reasonable.
Bake the topper just as instructed in the gingerbread house tutorial, by cutting it out on parchment, popping it into the freezer for 10 minutes, then baking it on 180 degrees Celsius for 7-10 minutes. You want it to be quite dry and hard, but not burnt.
As soon as it comes out of the oven, poke two holes in it, somewhere in the middle. This will be where you will thread some ribbon to secure it to the tree. I used the thicker end of a chopstick for this. You need to do it while the cake is still hot; do not let it dry or it will crack and break.
Frost and Install
Let it cool for a few hours, and then decorate it with the frosting. I used the same frosting from the gingerbread house, with the number 5 tip, and since the tree and the house are in the same room, I used the same theme: dots with the little silver balls. I also outlined the star to help make it pop.


Another good option would be to outline the star with icing, then use the flooding technique, which would cover the surface of the gingerbread with a smooth sheen of frosting, inside the frosting outline. To do this, you need to thin the frosting out a bit so it can spread on its own. Flooding results in a smooth finish, so you need the frosting to flow on its on, not be spread by a knife.
Once you’ve frosted your gingerbread tree topper, let it dry overnight just to be safe. The next day, thread some ribbon through the two holes. I threaded the top of the tree up the back of the star with the ribbon around it, then tied a bow in the front. You could also put the bow in the back If you prefer it to be less visible.

What do you think? I love it. Simple and sweet. It won’t replace my beloved gold star, but it is a nice change for this year.
Happy Christmas, all!


Leave a Reply