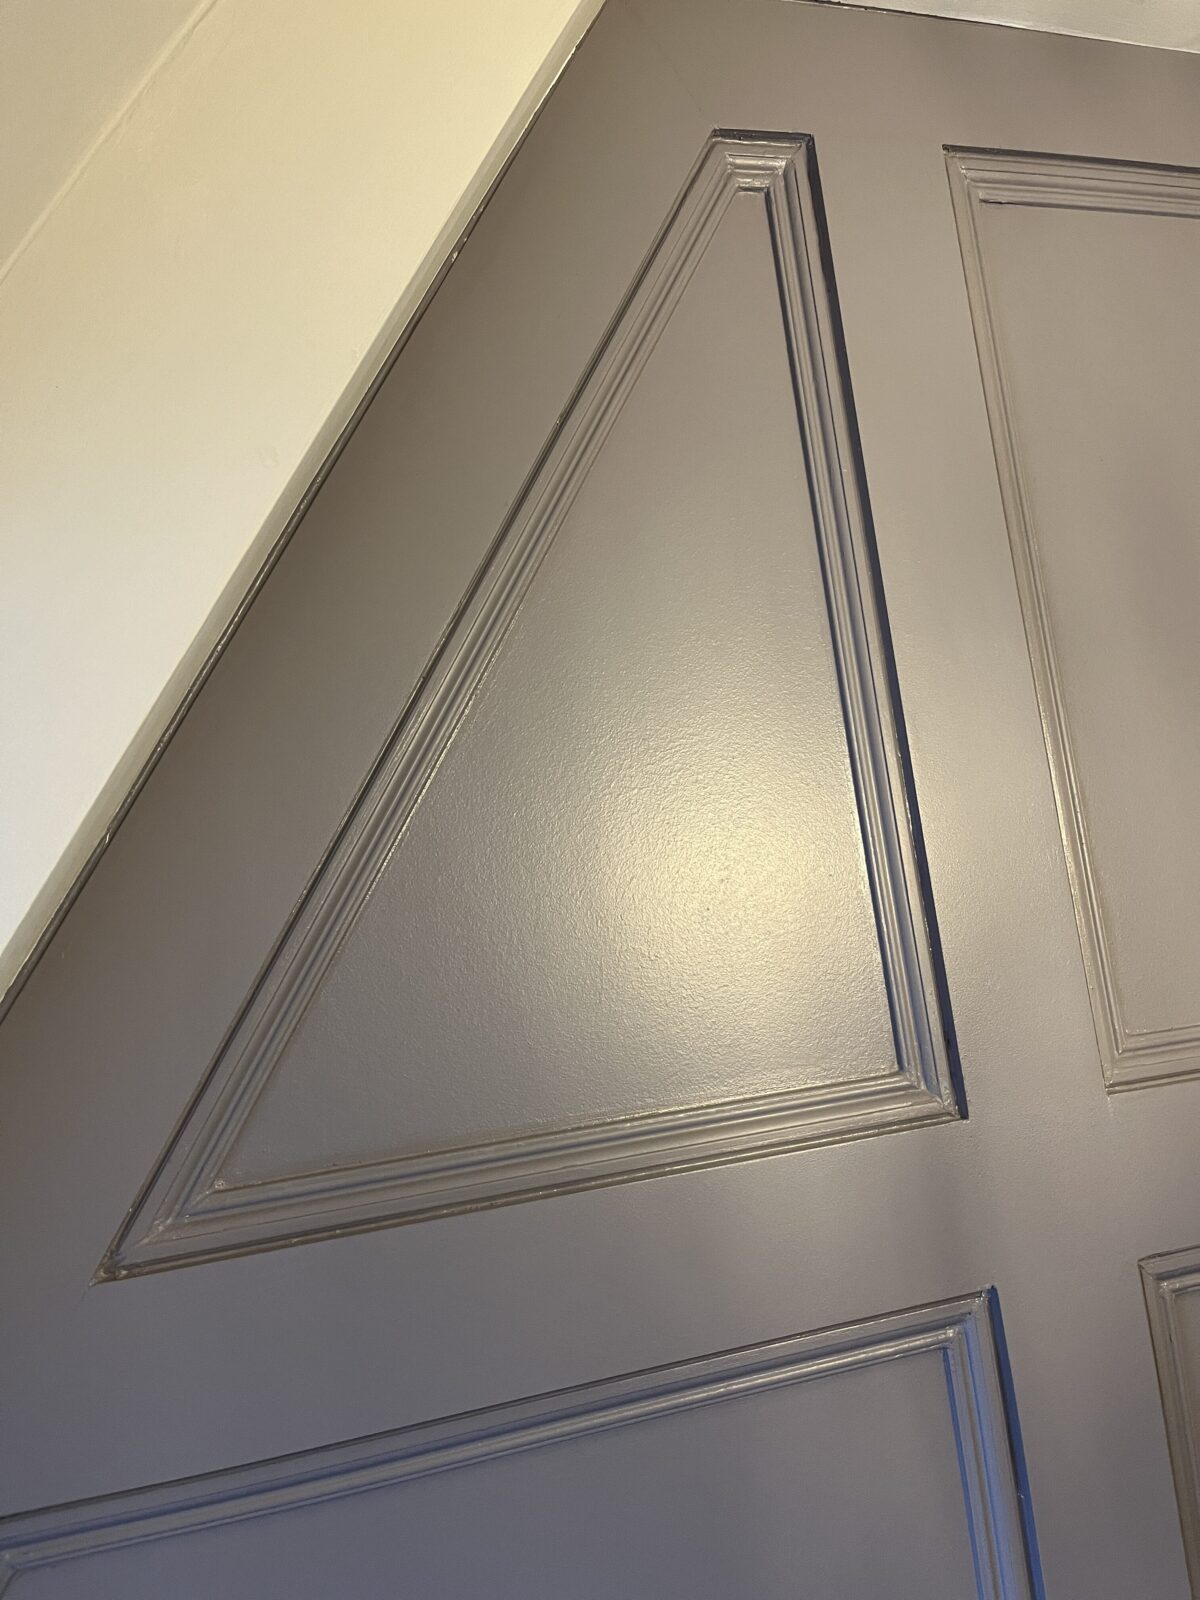
Many of you dear readers know that I live in a flat with lots of angles. Let me repeat: A. Lot. Of. Angles. And I am always struggling with how to calculate angles for my DIY projects.
The ceiling is angled due to the roof line, so every room has at least one angle to deal with in my DIY projects. And most have more than one.

Don’t get me wrong. I love the angles. They bring so much charm to our flat and create a cozy and warm space. But, they can reduce the amount of space one has, unless you work with them and make them work for you. And, they can be challenging for some DIY projects.
I am on a mission to make the most of every little inch of my flat, and that includes the angled walls and ceilings. And, I refuse to have something like (simple?) maths for how to calculate angles stop me from achieving my dreams for my home.
My Angled Approach So Far
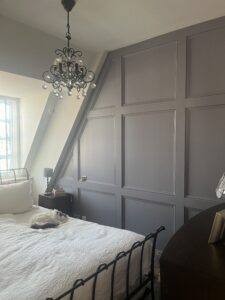
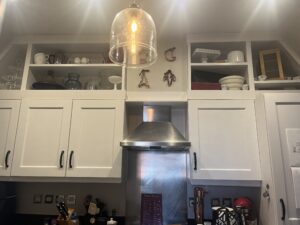
Until now, I have muddled through the various projects requiring maths to calculate angles for my built-in angled shelves in the lounge and the kitchen, and for a dramatic feature wall in our bedroom.


The results overall have been good but not easily achieved. (I am especially proud of the angles of the feature wall, which took a lot of effort and honestly, some serious guesswork.)


But my closet expansion project has left me in tears, frustration and a new-to-me feeling: “Give-up-and-leave-the-holes-in-the-wall-and-start-something-new.”

Never one to admit defeat though, I have been working hard to decipher how to figure those dreaded angles out. (The funny thing is, I did really well in geometry when I was in school. It is just that I have forgotten all of it. Do I have it in me to re-learn it?)
Let me share with you what I have learned about how to calculate angles, in hopes you will not reach the levels of frustration I’ve reached over the last few weeks! Even if you do not have angled ceilings or walls, you are going to need to calculate angles at some point in your DIY career. So join with me, as I try to demystify how to calculate the angles in your life and embrace their beauty and utility.
Types of Angles
We really cannot tackle angles without a bit of maths. But do not stop reading yet. I promise to make this simple and approachable.
When working with angles, the first thing to know is whether we are working with an acute angle or an obtuse angle.
An acute angle is an angle that is less than 90 degrees. To remember this, I always, think, oh what a cute angle, because it is smaller (and cuter!) than its counterpart, the obtuse angle.
The obtuse angle is, you guessed it, larger than 90 degrees but smaller than 180 degrees. Obtuse is really not a very nice descriptor; it means slow to understand. I prefer to think of this angle as so grand (bigger than 90 degrees) that it takes a long time for it to understand.
(Pro tip: I’ve always used mnemonic devices to help me remember things. Have you tried this little trick?)
Back to the topic at hand!
It is important to understand the type of angle because the formula you will use differs according to the two types of angles. Don’t tune out, I promise this will be clear in a moment.
You can generally identify an acute angle or an obtuse angle just by looking at them. (Unless they are so close to 90 degrees that you cannot tell.)
Let’s practice, shall we?

Measuring the Angles
So with an understanding of the difference between an acute angle and an obtuse angle, next, you need to know the exact degree of the angle. And for that, it requires more than just your keen eye. Here, you need a tool: an angle measure or a protractor.
A protractor is inexpensive and low-tech. You might even already have one that belongs to your kids or left over from your own school days. So go with this if you already have it.
I splashed out for an electronic angle finder when I first started out, in the vain hope that it would just tell me what to do. Alas, it is not quite that simple. But I still really like the precision of my angle finder, if you can justify it. (Read more about my review of this tool in the 25 Days of Christmas DIY Advent Calendar.)

Both an angle finder and a protractor work the same way. You put one side up against a side of the angle and use the device to find the angle of the other side.


Take the reading, and there you go!
Once you have your angles measured, it is time for the dreaded maths.
A bit of maths … but not too much
So now that you can identify the angles and have measured them, the next step is to calculate the cut you want to make. This can be for framing, as with my closets project. Or it can be for trim, such as for a feature wall, a shelf, or anything you can dream. An angle is an angle is an angle. And, the project will use the same formula for how to calculate angles regardless.
So here we go.
For acute angles:
Divide the angle on your angle finder by 2 and cut both pieces at this angle.
Let me demonstrate:

For obtuse angles:
Subtract your angle from 180 degrees, then divide that number by 2.
As shown here:

After I wrote out these two examples, I realised it might be confusing, because they both result in an angle to be cut at 16 degrees, but the result is slightly different for each one.
For the acute angles, 16.3 degrees results in a deep/steep angle for a small (acute) angle, while 16 degrees for the obtuse angle results in a shallow angle. Two very different results depending on the type of angle you start with. And this is the final key to getting your angles right: how the angle is cut.
How to Cut Angles
Once you know the angle, it can still be confusing to decide how to cut the wood. Is it just me, or do you also get confused with which direction the angle slants? A key is to always ensure the two pieces meet up at the outer edge first. So the angle should slant inwards from the outer edge of the piece of wood.
For this part, I needed to create some samples to make sense of all the angles. So I cut a few strips of paper to mimic wood trim of different sizes.
First, for the acute angle, which needs two trim pieces of 16 degrees each, I measured out the angle on two strips of paper and cut them out. I measured the angle from one of the long sides of the paper trim, then did the same on the opposite side of the other paper trim. For each one, I wanted the outer edge to be the longest part, with the angle slanting inward. Make sense?


Once the angle is cut, you can see how it fits together and forms the 32 degree angle we need. Perfection!
For the obtuse angle, it is a little different. A 16 degree angle, but for this one, we measure the angle from the top of the trim, not the side. Again, we want the longest part to be the outer edge. With this angle, cut from the top, it is a much more shallow angle, and the pieces fit together perfectly.


Summarizing a Lot of Steps
This has been a lot of information, and honestly, it has taken me quite a while to figure this out. I did a lot of research, and there are several ways of cutting angles that involve drawing and cutting templates but no maths. This is fine, but I do not really want to have to pull out paper and scissors every time I want to cut an angle.
As well, I really want to understand the why we approach angles the way we do, so no angle will stump me. I am not sure I am completely there, but I am certainly a lot clearer than I was. Are you?
Let me summarize in a quick list for you and for me:
- Determine the type of angle: acute (<90 degrees) or obtuse (>90 degrees)
- Measure the angle using a protractor or angle finder
- Calculate the angle to be cut, using the formula:
- Acute angles: Divide by 2
- Obtuse angles: Subtract from 180 and divide by 2
- Cut each piece of trim/wood/etc. at the calculated angle
- Ensure the outside edge is the longest
- Measure the angle from the side for acute angles
- Measure the angle from the top for obtuse angles
I really hope this helps! It feels complex but when it is set out in the list above, it feels like it just might be manageable.
(Comments, corrections from anyone who knows more are always welcomed! This is a learning platform!)
Making the Dream Come True
Once you’ve done the hard work, the rest is where you shine: the installing and finishing that we all love in DIY.
A few final thoughts here:
- While maths are immutable, humans make mistakes, so I always recommend testing your cuts on scrap wood before cutting into the real thing. This is just good practice!
- Most mitre saws only cut up to 45 degrees. If you have a deeper cut, you may need to go freestyle. To do this, draw the angle you need to cut on the two pieces of wood, using your angle finder or protractor. Then, cut with a hand saw or trim snips, if you can. A jig saw might also help. (NOTE: you can build a simple jig that helps you cut deeper angles on your mitre saw, but I’ve not tried this yet, so I cannot share my experiences here. If interested, let me know and I’ll give it a try for you!)

The Result
Before I share my recent successes with this approach to how to calculate angles, let me first thank the tutorial that finally unlocked it for me. You see, I’ve read a lot on the great interwebs, but it was only when I found this YouTube video that I finally understood. Too many blogs forget the critical aspect of first identifying the type of angle, and without this, you are doomed! A huge thanks to Deer Park Home and Shop for his thoughtful and simple approach to angles in DIY.
And, equally important, I have almost completed the frames of the last two closets in my 4-closet expansion project that has been going on forever!!! I’ve discovered that for one of the closets, the wall is so far off from being even that my nice and even frame just will not work. I am still trying to figure this one out, but at least the architrave is cut and installed (thank you, angle tutorial) and the square closet that I had to redo is complete. Frankly, I’m tired of the project, and my Instagram grid is suffering from the lack of diversity!!! 🙂


I wish that was the end of the closets, but I still need to caulk and fill the nail holes, paint, and install the shelves that will make them usable (these are cut and awaiting install). And make the doors that will cover all the junk stuff that will be contained within. Stay tuned, more to come.
Happily, for those of you as sick of this project as I am, I am at work on planning my next projects, so we can all move on from these closets that will never end! 🙂 More to come soon, in my Plans for 2025 post.
Thanks for reading!


Leave a Reply