
Our DIY custom shelves in the lounge kick off today, with the decision to use the Havsta cabinets from Ikea for the lower part of the build.

The Havsta is the only modal at the right size that is made of pine wood. It is important to me to have a sturdy base. I love Ikea products, but the particle board is not the most durable. These shelves will be here for a long time, so I want a sturdy pine base for my DIY custom shelves.
The sizing works well too. The length of each box is 81cm, so we purchased 4 cabinets. This will give us spacing between each for trim work and take almost the entire wall. The shelves should end before the hallway, which is a slightly odd shape with sloped ceilings. We need to ensure the shelves do not stick out and look odd against all the angles here.
Assembling the Cabinets for the Custom Shelves
Assembling the Ikea cabinets is the easiest part. I will admit to you, dear readers, I love putting Ikea products together. There is something so methodical and relaxing about the process. Opening the boxes, sorting out screws into orderly piles, reading the instructions (or analysing the drawings, I should say). Then, following each step, in the order directed. And at the end, you have a piece of furniture. Simple, rewarding. Am I alone here?
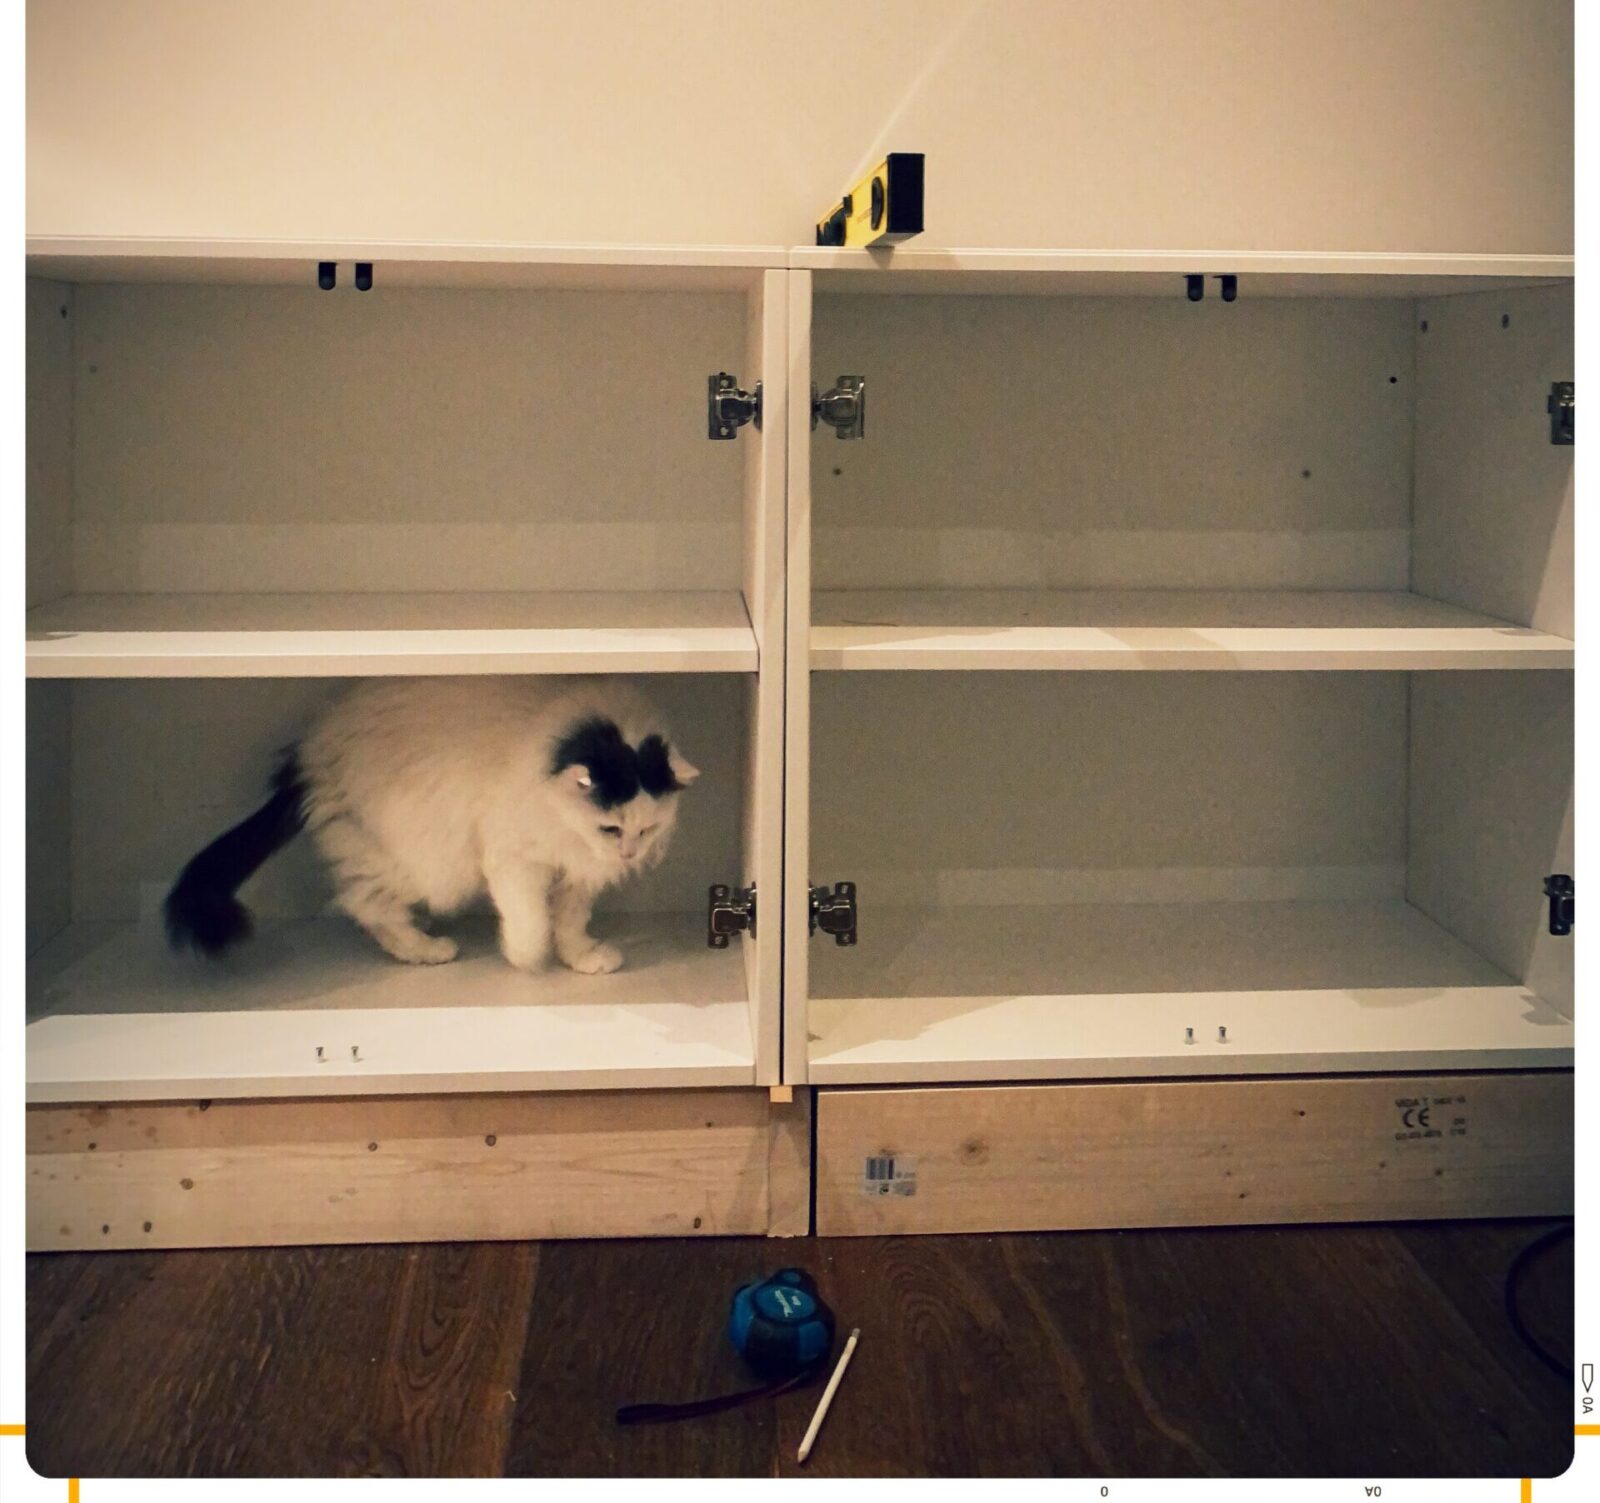
I assembled the cabinets in an afternoon. We put the cabinets in place on the wall, to get a sense of how they would look. Sizing is perfect, and at a first pass, the floors seem fairly level. We will see.

Building the Base for the Custom Shelves
Nearly all the examples of DIY custom shelves say to remove the baseboards. I do not really want to do this. We just had our floors redone, and I do not want to damage them, especially if this build does not work. In the end, I decided to build over the baseboards. I know it may not be best practice, but for some reason, this feels like the right decision for me.
The base for the cabinets to sit on will be 327cm x 45 cm. This includes 4 cabinets, plus space between each one, minus the baseboards and minus the trim to be installed in front of the base. The base trim needs to be flush with the cabinets.

Honestly, I am a bit unsure on this part, because I am not sure what trim I will use. But better to be too short because I can always add more filler if needed. Removing it once I’ve built it is not an option.
I purchased 2x4s for the base and built it in two parts. This is really just a box, with supports running between. I used 2.5inch deck screws, which I had read on a few blogs would work well.
Learning: Despite trying to choose the straightest boards at B&Q, I managed to choose some very uneven boards. I tried to make it work, but the base is a bit uneven across the front. This might cause me an issue later, but I decided to go with it anyway. It will not be seen, and if I make it to installing the trim, I can figure it out. (Spoiler alert: this caused more trouble later than anything else, so message to future me: fix it when you first identify it!!!)
Putting It All Together
Once the base was built, which is quite simple, I put it in place and placed the cabinets on top. Everything fit, so I removed the boxes and drilled the base into the wall in a few areas. Because of the baseboard, I added furring strips along the wall above the base for the cabinets to sit flush against. (I forgot to get pictures of this, sorry!)
Interestingly, we do not seem to have wooden studs. The studs are metal, and I cannot figure out how to drill into these in a simple and effective way. So, I used drywall anchors to attach the boards to the wall. Does anyone else have such a situation? How do you deal with it?

We’ve Made It This Far with Our DIY Custom Shelves
This all seemed to work quite well, and before long, the cabinets were sitting on the base and attached to the wall. I’ve checked for level and square throughout, with shims used in various places. I am pleased with where we’ve arrived and can start to see my DIY custom shelves come to life.

(Note: I cut holes in the backs of two shelves aligning to electric outlets, using my newly purchased jig saw. Do not forget this if you have any electrical outlets on the wall.)
Next up, building the shelves and figuring out the counter top. I have to be honest, I’m proud I’ve made it this far!!! But this was the easy part … Stay tuned next week for more progress. And share any insights you have for me in the comments.
Read about the inspiration for this project here.


Thank you for your post. I really enjoyed reading it, especially because it addressed my issue. It helped me a…