
Today, in the spirit of learning for my readers who consider yourselves intrepid DIYers, I want to share my journey into using a router for woodworking. Strap yourselves in, people, because it has been quite the journey, and one where I’ve not yet arrived at my destination.
Spoiler alert: The route(r) is hard!
I asked my dad for some tips, and his first words were, “The router can be incredibly dangerous.” (He did go on to give me some great tips and a router table and router bits, but more on that later.)
I asked the Internet for some tips, and it also warned me about the dangers of the router. (It too gave me some good tips, hold tight!)
Overall, I have spent a lot of time trying to understand the router, through research and my own trial and error, and while I in no way profess to be an expert, I want to take you through my journey in hopes that it will encourage and teach you, if like me, you’ve been overwhelmed by how to use a router.
My First Experience Using a Router
I had a fantastic homemade gift idea that I wanted to share with you dear readers back in December, just in time for you to make it for Christmas. Sadly, I under-estimated the time it would take to build said gift, and I ran out of time. (Not to worry, it will be coming in time for Christmas 2025!) The stumbling block? You guessed it: the router.
I needed to route a small channel in a piece of plywood to allow another piece of plywood to slide into the channel. I could not figure out how to hold the wood still, because any clamps were in the way of the router’s footprint. And, I could not figure out how to route a straight line, because the guide that came with the router did not align with the placement I needed, no matter how much I tried to adjust it.

I tried many things, but the wood kept slipping and my channel was anything but straight!

When I realised the stress I was putting on myself to make a self-imposed deadline of having a Christmas gift on the site, I gave up and made a gingerbread house instead!
The Beginnings of a Router Guide
Today, let me share with you what I’ve learned so far. I am no router expert, far from it. But, I have learned a few things that can help you if you are just starting out on your own router/woodworking/intrepid DIYer journey. And, I promise to continue updating you as I improve my knowledge and experience; there is still much to learn!
What is a Router?
First up, in case you are not sure, a router is a handheld tool that allows you to cut channels or grooves in wood or cut a decorative edge into a piece of wood. For example, a chamfered edge to add a decorative touch to a cabinet door, or a groove for a shelf to sit in.

You could certainly do some of these things with a table saw (which I do not have, due to space) or even with a chisel and some really good technique. But this is probably not practical in most cases. And the precision of a router, when used properly, is unmatched.
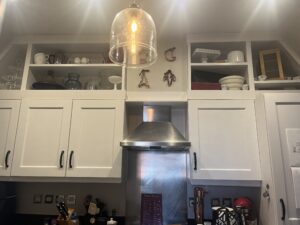
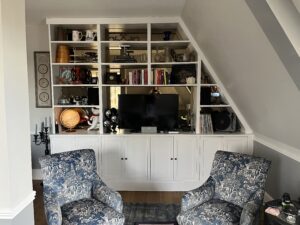
In my case, besides the Christmas gift I wanted to make, I need to make doors for the closet expansion and the appliance garage that I built last year. These projects have brought additional storage space, but you can still see the clutter without doors on them.


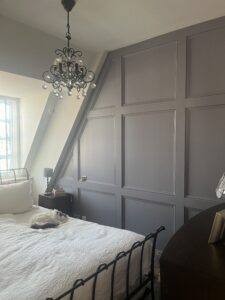
I need a router for the channel that the door panel will sit in, and I want to add a decorative edge that will match the existing closet doors throughout the flat.

Importantly, I could build doors without a router. There are numerous ways to build doors with a variety of tools. But, I want to build the best doors I can, matching the doors in my home, and this requires learning to use a router. Besides, I’m not going to let a router defeat me!
Choosing a Router
There are many router choices out there, which one is right for you?
I always aim to purchase above my current skill level, with an eye toward the inevitable improvements I will make. If money allows, I would prefer to buy something more advanced that I need to grow into rather than buying a cheap tool just to learn. For me, it seems wiser in the long-term, from both an economic and sustainability perspective.
When deciding what router to buy, you can choose between a fixed base router or a plunge base router, which, as the name suggests, allows you to plunge the router bit into varying depths of the wood for a more custom cut. The plunge cut router is a bit more advanced, so this is what I went with.
The Router I Own
I bought a router for myself as a birthday present. I did lots of research and chose the Bosch 1400 ACE. It is a plunge router, and I am a fan of the Bosch brand. This one seemed like a good choice. I wanted a good router that would last beyond my early woodworking days, but nothing on a professional or industrial scale. All the reviews suggested this was a great option with a reasonable price point.

After my Christmas gift challenges using the router, I really thought I might have over-bought. Perhaps I should have gone with a small palm router which may be easier to use. But this did not sit well with me. There was clearly something I was missing in my understanding of how a router works.
The Extra Bits You Need for a Router
This is where I got lost. The extra bits you need for a router.
Of course, there are the bits, which like drill bits, make specific cuts. This is obvious, and I ordered the Bosch router bits with my router.

Router bits come in different sizes, so pay attention to get the right ones. The bit includes a collet, or the shaft that holds the cutting bit. These come in a few different sizes, and for some routers, these are not interchangeable. For the Bosch router, you can switch between 1/4 and 1/2 collets, which could be helpful.
But, as I discovered, using a router goes well beyond the bits. There are jigs. Then there are tables. And then there are clamps. And on and on. This was a surprise, because with other tools, it was pretty clear what was needed at the outset to make the tool work. Of course, additional bits and pieces would improve the output, but you could essentially plug and play.
Not so with the router.
Maybe it was the specific type of work I was doing, but I do not think so. I think the router just requires a whole new level of learning, and the kit to go along with it. Remember the advice I received from Dad and the Internet: routers can be dangerous. So let’s make sure we have the right tools to make this work safely.
A Router Table
After sharing my challenges with the router, my dad gave me his router table, which is a simple metal table top with a hole for the bit and four legs. You insert the router upside down from underneath, mounting the base to the underside of the table, with the bit coming up through the top. There is an adjustable fence, or guide rail, that you can push the wood along to make a uniform cut. Your hands are free to move the wood, vs. keeping the wood steady and moving the router.

I was so excited to use the table and set about one Saturday setting it up. Sadly, there is a recess under the table for mounting the router base plate, but my router base exceeded the dimensions by about 2mm. UGH!!!
I researched any work-arounds, but all suggestions pointed to this not being a good idea. My dad also said it would not be worth it and to just buy a table that fits my router.
Easier said than done. As you may know, I have a tiny space and limited storage, and all the options were quite large. I could not find a simple, small table like what my dad gave me, which can be disassembled and easily stored.
I jumped whole heartedly down a rabbit hole of woodworkers building bespoke router tables, some of which fold up and store away. This could be a good option later, but it is a bit involved for today. I bookmarked these pages for future me!
Through all my research, I also learned that my particular router is not ideal for this type of under-table mounting. It has a starting switch that would be hard to access (some people have kept it depressed with a cable tie), and several people have suggested this router is too good for mounting under a table and should be left to shine above the table.
So for now, I’ve given up on a router table. I need another way to cleanly route small pieces of wood and keep them securely in place.
Clamps and Other Holding Devices
If a router table would not work for me, without a significant investment both in terms of cost and space required, I decided to find ways to make my router work in its upright position.
Here, I came to realise how much I need a proper vise. A vise can hold wood securely, while keeping the surface to be routed clear and accessible. I do not have a vise, and this is something I want to purchase (build?) as part of a proper woodworking table. So again, longer term.
The problem with traditional clamps is they need something to clamp on to, and this often requires you to clamp the surface to be routed. Or at least to interfere with it.
In my case, the first step in building doors is to route a channel for the panel to sit in. I am working with 1×3 pine boards, and I need to route a channel in the long thin side of each board. The thin side of the board needs to be face up on the workspace. How do I clamp it?

Inspired by the Japanese masters, I built a quick make-shift jig that included two scrap pieces of plywood, nailed at a right angle. It is so simple that calling it a jig feels like an over-sell! I clamped one board to my workspace, with the second board rising up above. I then clamped the board to be routed to this board, leaving the edge free and clear for the router. Something like a make-shift vise.

This worked a treat, I am pleased to say. And I made it from spare wood, so a double win!,
A Jig for the Job
With a way to securely clamp the wood to the work table, I was halfway to my goal of completing the first step in door building: routing a groove along the long thin side of each stile and rail of the door.
The next challenge: keeping the router steady and straight as it cut along the edge. This had to be freehand, as I could figure out no way to add a fence, or guide rail.
More research, and Japanese woodworking to the rescue once again. A jig for holding the router evenly on the wood and able to glide along the surface of the board.
I love this router jig built by J-woodworking.
So smart with its adjustable elements. It was not lost on me that I needed to use the router to make the router jig … I plan to make this one day, but for today, I went down and dirty with a quick one-off jig that cannot be adjusted for future projects. But it took limited time to make, and it more than serves it purpose, while I get to grips with using my router.

To make the jig, I removed the base plate of the router and traced it on to a scrap piece of 9mm MDF. You can use plywood or wood, but choose a thinner piece; you do not want this to add a significant profile to the depth of the router, as this could impact the depth of the groove you are making.

Cut the outline with a jig saw, and use a hole saw to cut the hole for the router bit to come through. Mark the location of the screws and drill a hole here. Ideally, these holes need to include a countersink, but I did not do this for my down-and-dirty version. I just left out the screw that would come into contact with the wood. Two screws seems sufficient. (If I were building a multi-use, adjustable jig, I would use wood, not MDF, and I would countersink the screws.)
Next, cut two pieces of plywood into long thin strips. It does not really matter the exact dimensions; you just want them to be long enough to help guide the router and not so deep that they cannot pass over the clamps holding the wood in place.

Glue these two strips to the MDF base plate, perfectly centered over the hole for the router bit, and with the exact space between them of the board to be routed. In my case, I set the board to be routed in between the two pieces, glued one down, then glued the other. After they were dry, I added a few nails with the nail gun just to be sure.

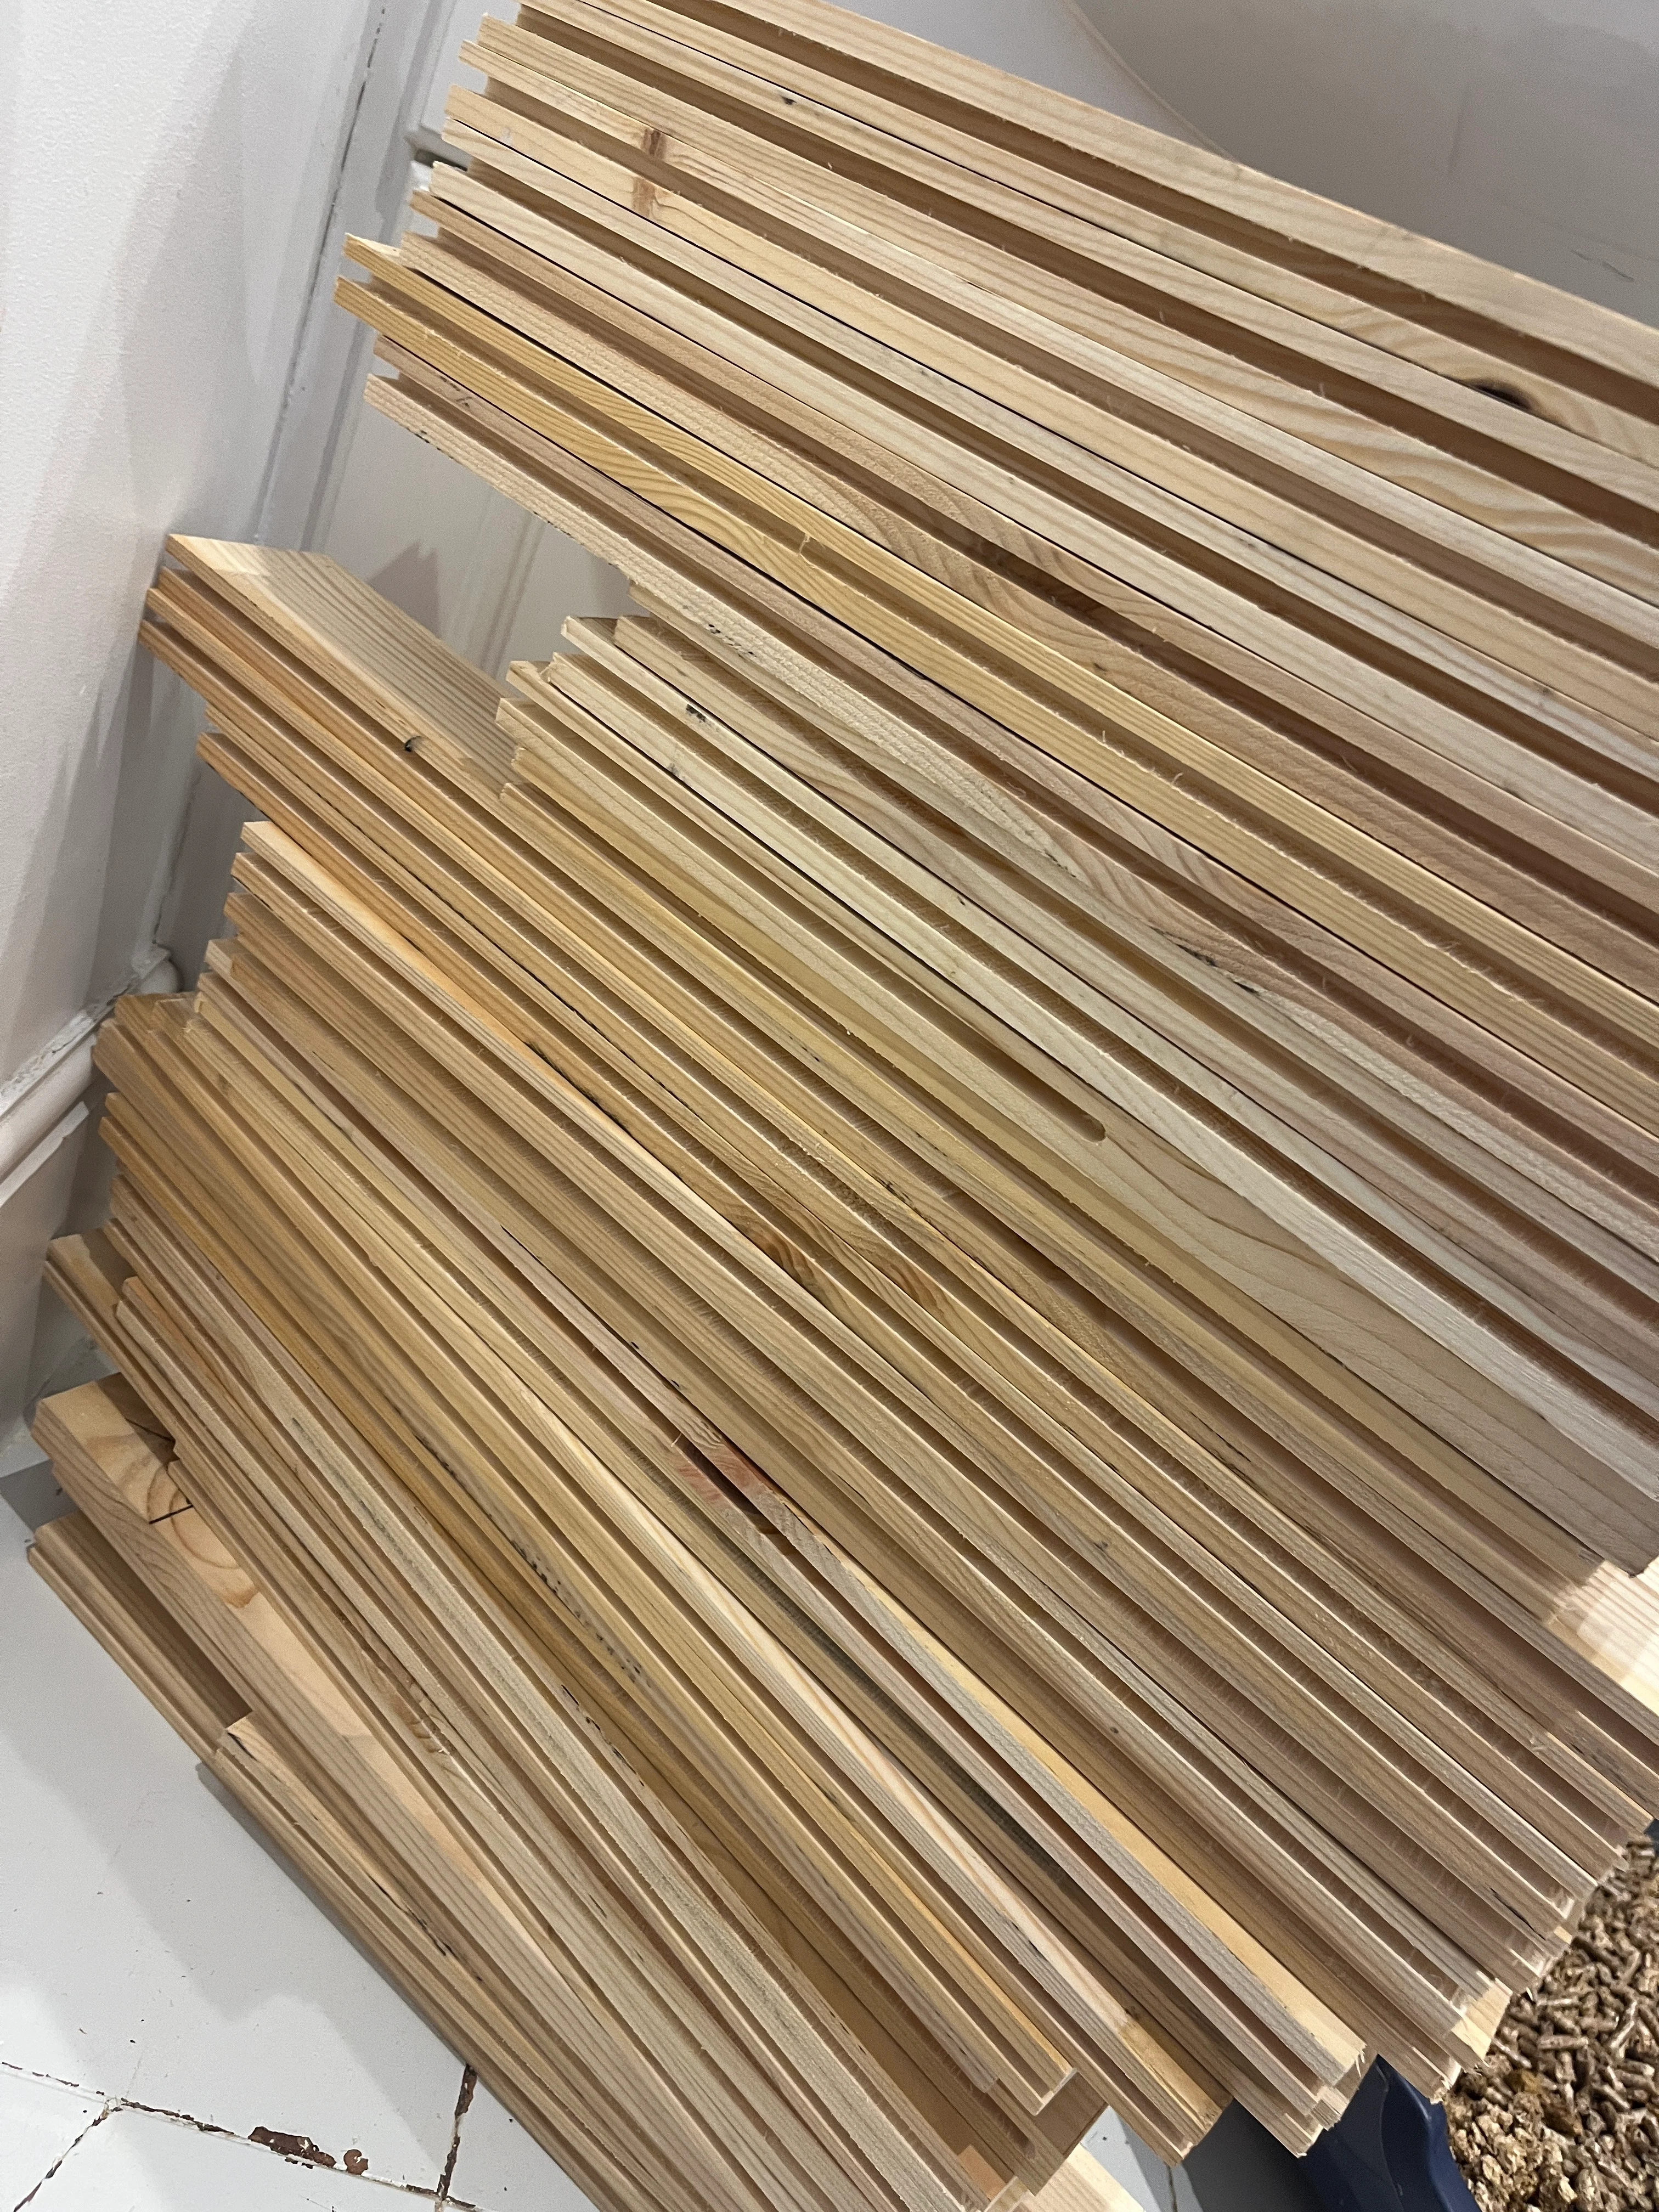
Routing a Channel for the Door Panel
With my two makeshift jigs, I was able to finally take the first step in building doors. I cut a channel down one thin side of about 35 1×3 boards which I will then cut to size. I am making eight doors for the cupboard expansion, and five doors for the appliance garage, so that is 26 rails and 26 stiles for the doors (two per door). Even with my jig, it took awhile to cut everything, between clamping, routing the channel, unclamping, and clamping the next piece.

An important consideration in routing is the direction of the router. You want the blade, which is spinning, to go against the wood, not with it. I find this a bit confusing. The guidance says if you are cutting on the outer perimeter, you go counter-clockwise. If on the inside perimeter, you go clockwise. But what does it mean when you have a straight piece of wood? Both directions worked for me, but pulling the router toward me was a little smoother, so this is what I did. I need to do more research on the direction to go with the router. Stay tuned; I’ll update you when I find any other insights.
Additionally, you need to set the width and depth of the cut. The width is set according to the bit you use. I selected a 1/4-inch channel cutter, for a 1/4-inch channel. For the depth, my router allows me to adjust it. With the bit in place, you press the router down until the bit is level with the floor. Then, placing the base on the work piece, you press the router down until the bit protrudes from the base the amount needed. I did this by eye, then tested it with a ruler. I tried the cut out on scrap wood and checked the depth, which I wanted to be 3/8ths inches deep.

I also found that the router, like all woodworking, is messy, with a lot of sawdust. My router has a place to add an extractor. I typically use this little plastic box with the circular saw and mitre box, but it really doesn’t work that well since it does not suction the sawdust into the box. It often falls off if I bump it, and the sawdust spills out, which completely misses the point of using it in the first place.
With the router, there was so much sawdust, and it was getting packed into the channel I was routing, which then took time to clear out.

I decided to hook my little shop vac to the router and see what happened. Cue angels singing! This worked brilliantly. It sucked up the sawdust as we went along and left the entire area so much cleaner. I will be using my shop vac for all workworking going forward.
(This is a great little shop vac that I bought myself as another birthday present. It is not terribly expensive, it works great, and it does not have too big of a footprint so it is easily stored.)
Next Up: Decorative Details
This is a long post so I am going to stop here today. Next up: I need to figure out how to cut the decorative edge on the boards to match my existing closet doors. The router table would make simple work of this, but I’ve also discovered some feed dogs and grippy mats could also help hold the wood in place. I’ll be trying this out this week and be back next week to share my learnings. Stay tuned, and hold tight, the journey is far from over!
Before we go, let’s enjoy one more picture of those beautiful channels cut with the router!

Happy DIY-ing!


Leave a Reply