This week, I am excited to share the next step in quite an in-depth project to extend our existing closets and create more storage. Today, let’s focus on framing a closet opening.
If you are just joining me, I have undertaken a rather big project to cut new openings above four existing closets in our home, to make use of space that is really unreachable right now. We have high ceilings in our home, and all four of our closets inside are finished up to the ceiling. However, the doors only go about 2/3rds up the wall, so 1/3rd of the space above is really not usable. With space at a premium in our small London flat, this is just not acceptable.

My plan is to cut into the wall above the doors and create a second opening to reach the top part of the closet. By adding custom doors and a shelf, I will gain 4 additional smaller closets, and the storage impact will be significant.
Of course, this project is a big one. Maybe bigger than my skills will allow. We will see.
So far, I have:
- Cut into the drywall to make the openings above each closet
- Removed the metal studs from the openings
- Added the architrave temporarily to ensure the openings are precise and match the existing closets and each other

This week, we move into framing a closet opening, which will help bring a more finished look and prepare the new closets for the bespoke doors I will build to match the closet doors below.
Building Up the Void Between the Walls
First things first. Before I could install the frames, I needed to build up the void between the inner and outer drywall, so I would have something to nail the framing into.

Metal studs line parts of the openings but are set back, so I needed to bring them flush with the drywall opening. Some parts of the void having nothing at all, with studs being quite deep into the cavity.
Where there were studs near the opening, I added blocks of wood around the outer edges, screwing them into existing holes in the metal studs. I needed different sizing, as each closet was different, and each side in each closet was different.

In some cases, I cut a long strip of 1×3 to go in the empty space. I needed to cut several notches or cut-outs to account for the metal stud base, which I did with a chisel or in some cases, my jig saw.


Once I had built up the cavity between the walls, it was time for the frame.
Building and Installing the Closet Frame
Choosing the Right Materials for Framing
The closet frame sits inside the opening, as a square box, covering the wall cavity and straddling the two edges of the drywall. The width of the wall cavity plus the inner and outer drywall in my case is 100mm, so the frame needs to be 100mm deep.
As well, because the frame sits on top of the drywall opening, you lose space in your opening equivalent to the thickness of the material on all four sides, so you need to account for this in your planning.
Initially, I had tried a thin piece of 8mm MDF for the frame, as I did not want to lose too much of the opening. While it looked okay, it was really too thin to play the role it needs to play. This frame will hold the doors including hinges, so it needs to be a bit more substantial.

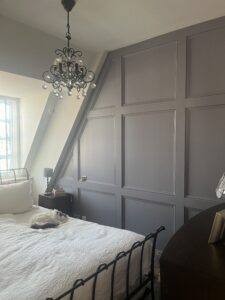
As an alternative, I had some left-over MDF panels from the recessed paneling feature wall in the bedroom, and the width was exactly what I needed. As well, because they were primed square edge MDF, the boards were exact, with no chance of bowing or curving.
Honestly, they were a little thick at 18mm, but I decided to go with them, as they looked good when I held them in place. It does mean that I lose 18mm on each side of the opening, but again, the sturdiness makes me feel it is the better option. And, I am all for using materials I have on hand if I can. Less to find a place to store!
Building the Closet Frame
As with every step, I started with the easier square closets, to get the technique right.
I built the first closet frame using a long piece of the MDF on the top and bottom, with the side panels sitting between. I measured from the edge of the architrave, which gave precise measurements. My theory about installing temporary architrave was paying off.
I used pocket holes for the corners and built the frame on the ground, then slid it into the opening and ensured it was level and square.

I made pocket holes on the outside of both side pieces, at the top and bottom. You won’t see them once the frame is installed, and I do not need to worry about covering them. Confession: I did not have the right size pocket hole screws, so they are not perfect. But, the connection is secure and since they will not be seen, I went with it anyway.

Before installing, I checked that everything was square, using the speed square. This is critical for making sure the doors once installed will swing open and not scrape against anything.

Installing the Frame in the Closet Opening
I am making it sound easy, but framing the closet opening was actually a bit fiddly. Building the frame itself was easy, but slotting it into the opening took some back-and-forth. Remember how I said the inner wall was a bit imprecise when I cut it. I had to eyeball the lines, so it was a bit uneven in places. For the install, I would put the frame in place and note where it would not fit in the opening or where it was scrapping against metal or drywall. Then I would remove the frame and shave down more of the drywall with the jab-saw or cut/bend the edge of the protruding metal stud if needed.
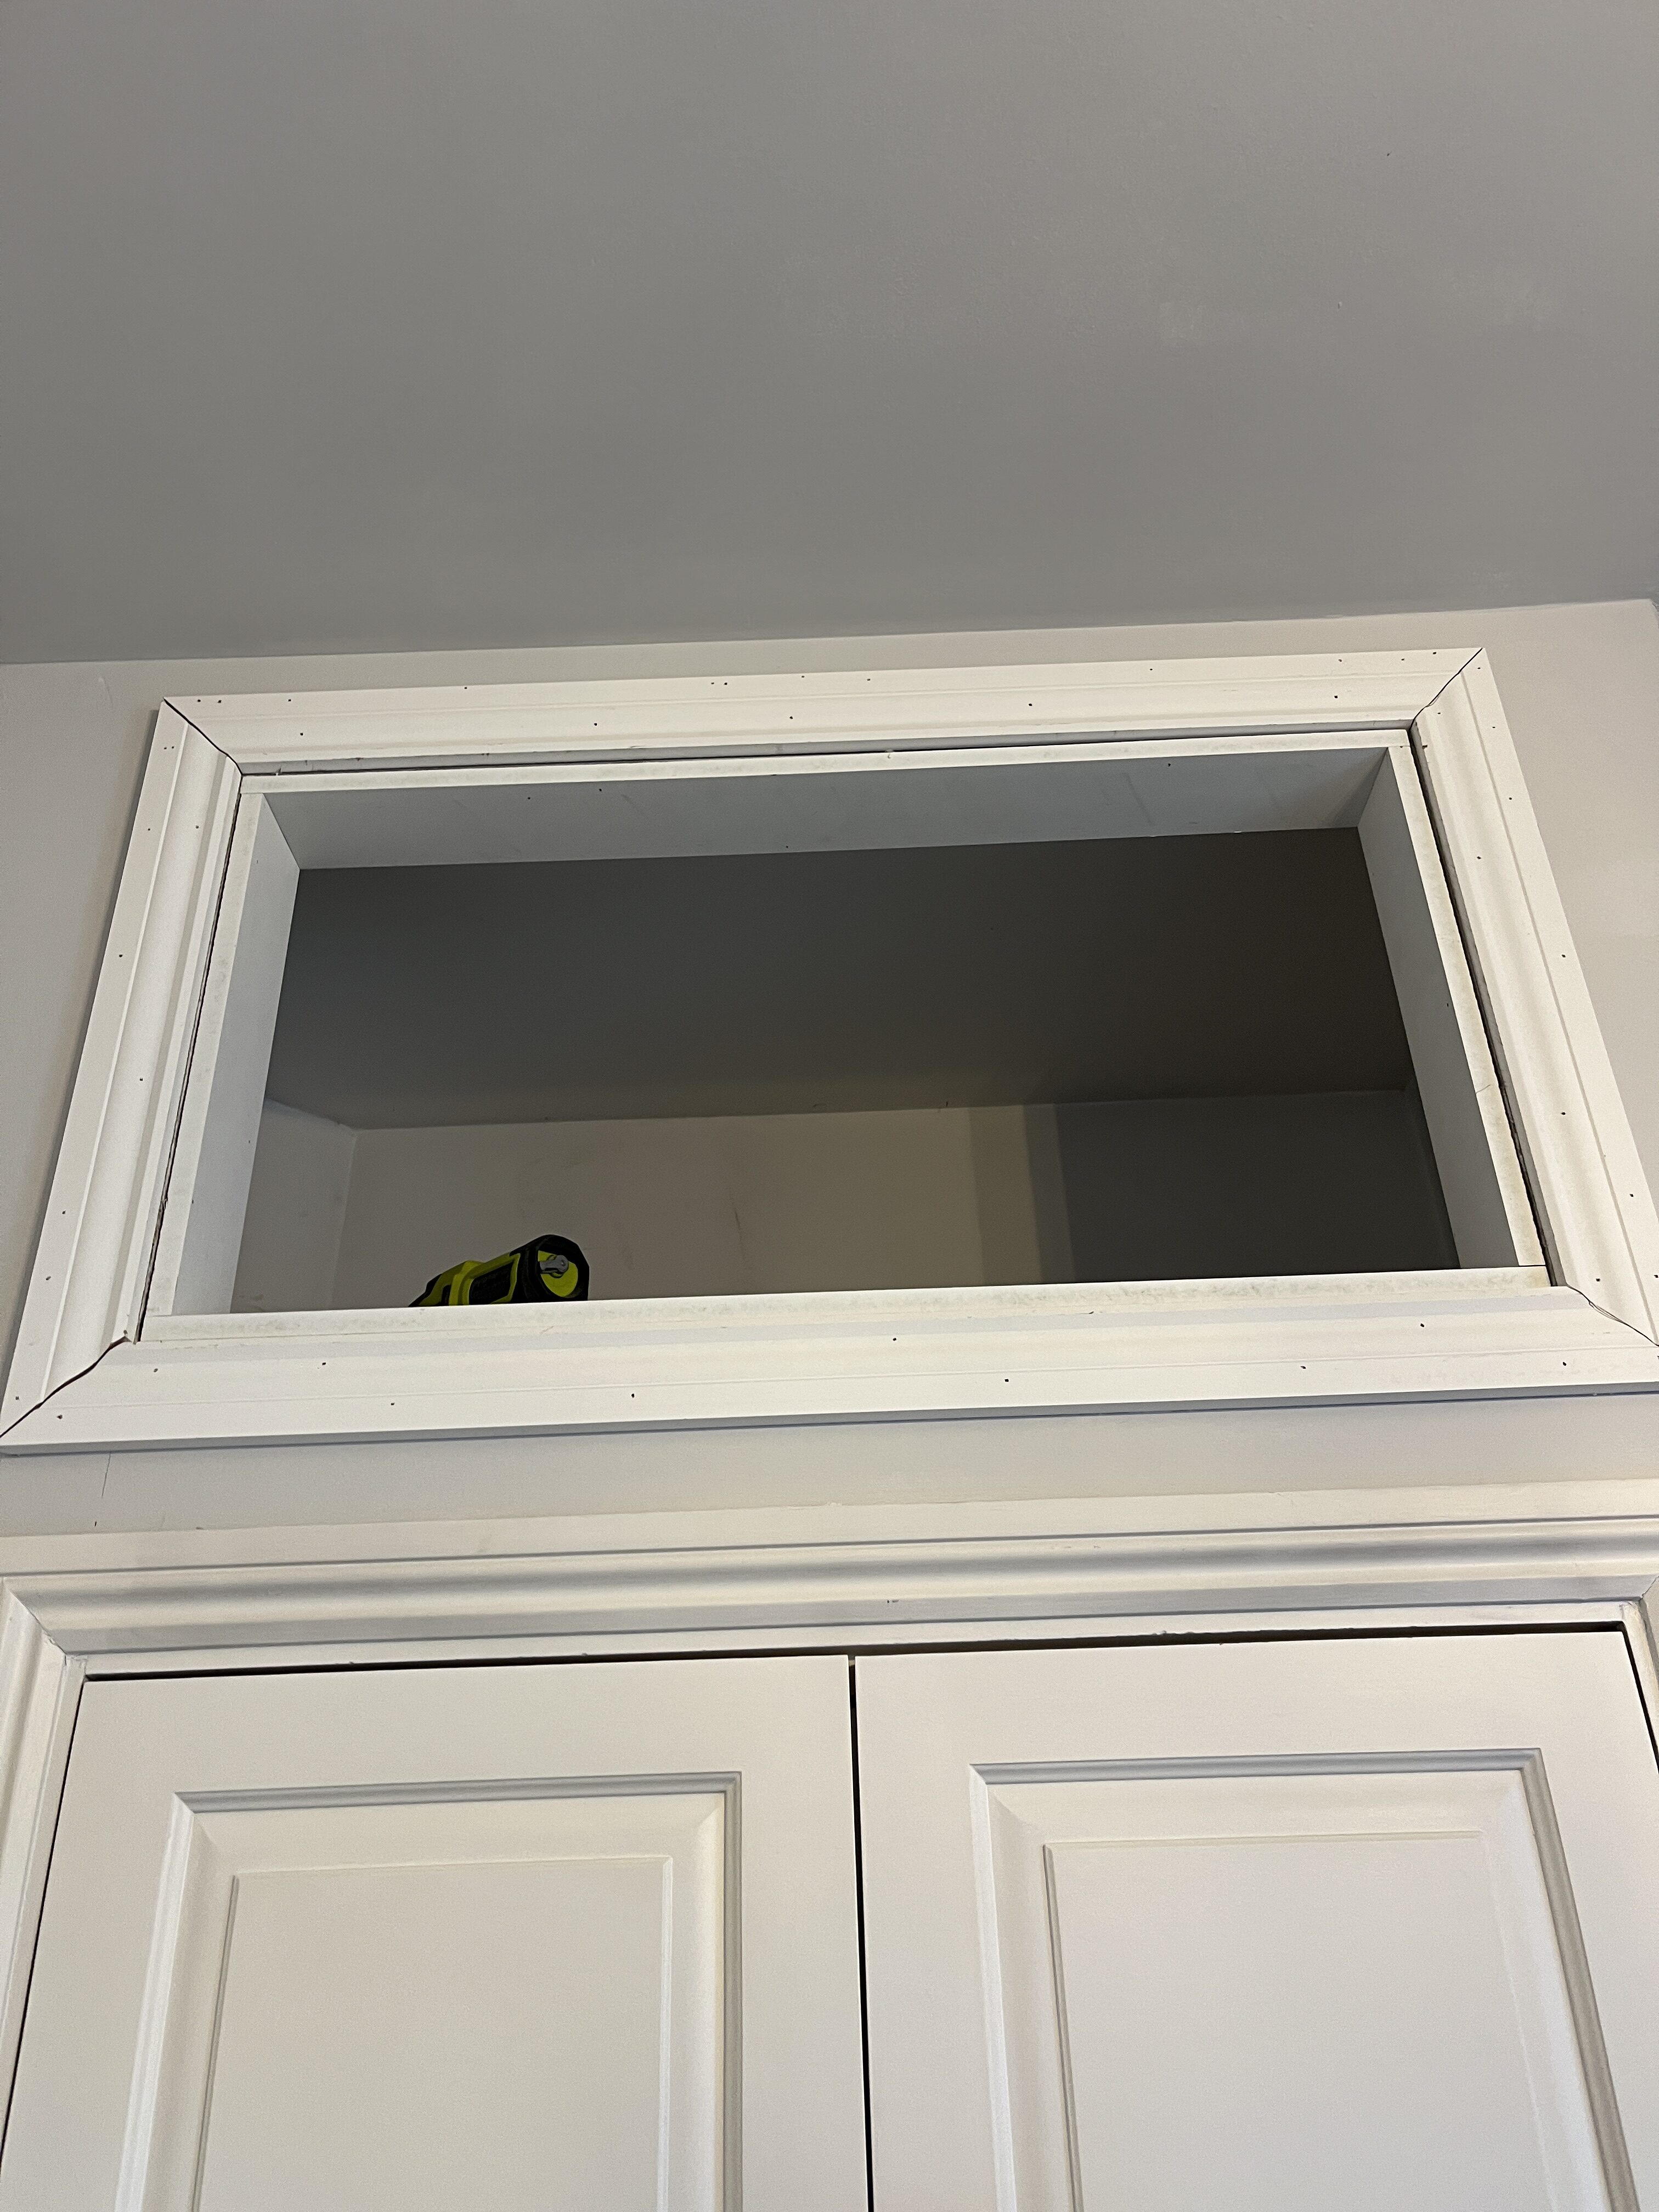
These were minor adjustments, in some cases barely visible to the eye. After lots of trial-and-error, I got the first square frame installed. It slotted into the wall, and I checked it for level and plumb. Importantly, I made sure it sat flush with the edge of the drywall, also ensuring the edge of the architrave was clear. The frame sits on the drywall but flush with it, not outside of it.

There is a small gap between the frame and the drywall which looks a bit jagged. The architrave will cover some of this, and I will seal it with caulk, which will cover over it and make it look seamless. I also may install a small piece of trim as well, depending on how well the caulk covers everything.
Once I was confident in the frame, I nailed it in place, and then I re-attached the architrave using adhesive and more nails.

Wow! It looks amazing! It is aligned with the closet below, and everything looks good. I must admit, I am really pleased. But let’s not go crazy, we still have three more frames to build and install. And two of them are strange shapes with dreaded angles!
Framing the Closet Opening, #2
Perhaps I got arrogant with the success of the first closet, but the second closet did not go as well. While I followed the same steps, getting the frame installed was very difficult. I just could not get it to go in place. Admittedly, this is the closet where I used the multi-tool, so the drywall edges are not as uniform.
Finally, I decided to trim down the size of the frame slightly, to help it slot into the space. It seemed just a fraction too tall. I removed the pocket holes and trimmed the height on both sides slightly. This helped, and I finally got the frame in place. Everything was level according to the spirit level and the corners were square according to the speed square. So I nailed it in place.

But when I stepped back, it just did not look right. I checked everything again, but to the eye, it was clearly off. Further checks, and it seems the frame is not completely flush with the wall. It sticks out a bit at the top right corner, which then means it does not look level, even though the spirit level says it is.How did I miss this?

Sadly, I did not step back to check before nailing it in, so adjustments are not possible. I think I will need to cut it out and build a new one. UGH! And I am out of the MDF, so I’ll need to order one more board. A painful but valuable lesson learned.

As with all setbacks, I decided to stop for the day. I know when I am defeated, but I also know that I will find a way. Because I was successful with framing the closet opening the first time, I will be with this one too. I just need time to consider how I can fix this. Maybe I can find a way to adjust it without a complete re-do.
Even though closet #2 did not go as well, I am pleased that I’ve gotten this far. I will figure this next step out. Not to worry!

Stay tuned, I’ll be back to share how it goes, as well as progress on the angled frames too. Once the frames are in place, there is still caulking and painting, as well as installing the shelf in each closet. And of course, the custom doors to match the closets below. Still lots to do here!
See you next week!


Leave a Reply