
Last week, I shared with you the new privacy screen I built for two walls of our terrace. I love the result, and it was not a difficult project. This week, let me share with you how to build a living wall. This is a great option for both privacy and coziness.

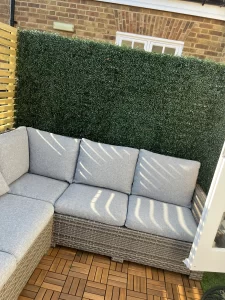
Check out the third wall of our outdoor space: a living wall made up of greenery.

Are you familiar with the concept? Companies often have them in their offices to bring a bit of greenery and life to what can be a sterile environment. I had never thought of adding a living wall to a home.
But in our case, a living wall is a perfect solution for our tiny terrace, to bring a bit more privacy and a bit more greenery. I should clarify though, for today’s post on how to build a living wall, I am actually building a faux living wall. Because I am using artificial greenery instead of living plants.

I am not a very good gardener, so having greenery on our terrace is difficult. We do not have a lot of room for pots or planters, and I have trouble keeping plants alive! A faux living wall will solve all these issues and provide colour and texture with no chance of me killing it.
The Plan
For the third wall, I knew I wanted to do something a little different. This wall looks onto the building, with a window into the communal hallway and the lift. It is not a bad view, but it does mean anyone in the hallway can see onto our terrace.

I could have simply added another slatted wall like I did for the other terrace walls. While the increased spacing between the slats in our wall provides some privacy, I wanted a bit more privacy on this side if I could get it, while still maintaining the light and airy feeling on our tiny terrace.
The chance to build a living wall ticks all the boxes.
I found numerous types of artificial plant panels that can be hung on a wall internally or externally. I chose panels from Premiere Netting, which are sold in 1 x 1 metre panels. They can be connected to one another or cut down to size.
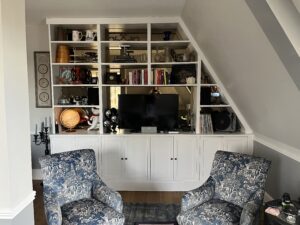
We chose boxwood to build our living wall, as I like the simplicity and uniformity of the plant. But you can choose from all types, some even with faux flowers. And you can build a living wall inside or out. I could imagine a living wall in a cozy den or television room.


For the terrace, I ordered five panels for the third wall, which is 2.5 metres long and 1.8 metres high. The quality of the panels is very good, and they arrived quickly, within days of placing the order.
I also ordered some green privacy netting to put behind the panels and help ensure even more privacy.
My plan, according to the instructions from the company, was to build a frame for the panels to be attached to, with five verticals, giving a place to screw the panels at the top, bottom and centre of each one.

I built the frame and attached the netting. This was a bit tricky, because the netting kept pulling off the nails. I did not have a staple gun and did not really want to purchase one, so I did the best I could.
Next up, I added the panels, one by one. There are specific places to screw the panels into the frame, as the rest of the holes on the backing are too large to secure the panels well. Because I was doing this alone, I hung a few nails in the top batten of the frame and hung the panels from them temporarily while I screwed them in.

The faux living wall looks great going up.

But the view from outside the terrace is not so good. The privacy netting is wrinkled and a bit messy due to not having a staple gun.. And even if it were better hung, the wall looks like a construction site, with the exposed frame and netting. While I will not see it that often, it does not seem in keeping with the building. And honestly, if my neighbours did something similar, I would not like it. (It was so bad, I forgot to get a picture!)
I slept on it overnight, and the next day, I came up with Plan B. So I took the panels and the netting down and started over, working with the frame I had built.
The Third Wall Revamped
I decided to build up the slatted wall like on the other two walls, and then affix the living wall on top of that. It will look nicer from the backside, even if it takes a bit more of the battens and a bit more time. It is worth it for the sake of the communal spaces. And it brings a nice consistency with the three walls of the terrace, as seen outside of our walls.
It was quick work to re-purpose some of the left over battens and cut down the remaining ones for the third wall. However, because I had not planned to do a full slatted wall on this side, I ran out of wood. I was less precise with the battens on this side, allowing for varying lengths according to what I had, as I do not think people will notice this too much. But I still ran out of wood.

It is always tricky, ordering just enough wood but not too much. I do not have a lot of wood storage options, so I need to err on the side of under-ordering.
In this case, because I changed the plan, running out of battens was unavoidable. I did not want to order more battens from Fulham Timber and pay the delivery charge for such a small amount, even though they are the perfect product.
After a bit of research, B&Q came to the rescue. I purchased six more battens, which I picked up at the store, and I was able to complete the rest of the slatted wall. The battens are not an exact match, but they will be hidden by the faux living wall on our side, and they are fine for the common area.
I did have to piece together a few slats, given the sizing and trying to use up all the left-over wood. But again, I really do not think anyone with notice.

Completing the Living Wall
The final steps to complete the living wall were quite easy, once I finished the slatted wall.
As with the first round, I hung the panels by a few nails in the frame, to hold them in place while I screwed them in. I used outdoor screws and placed a screw in each corner, along the sides, and in the centre of each panel. It would be helpful if the company included screws with the panels , to ensure you get the right sized screw head to hold the panels. I found that the panels slipped off the screws quite easily if I pulled at them. Let’s hope they will hold!
The panels also have little clips along two sides, with the corresponding receptor on the other two sides, so you can connect them together. This helps provide a seamless finish on the final wall.
I found that connecting the top and bottom panel, hanging them, then doing the second column of panels in the same way and connecting them to the first column was easiest The connections are a bit difficult to make, just like the IKEA floor tiles, so connecting them before hanging when possible was easier.

For the bottom and right edge, where the panels were too long, I used sharp scissors to cut the panels where they met the floor or the wall of the building. Screws on the bottom ensured a secure fit.

Finally, I brushed and fluffed the greenery with my fingers, hiding the screws and blurring the seams so as not to be visible.
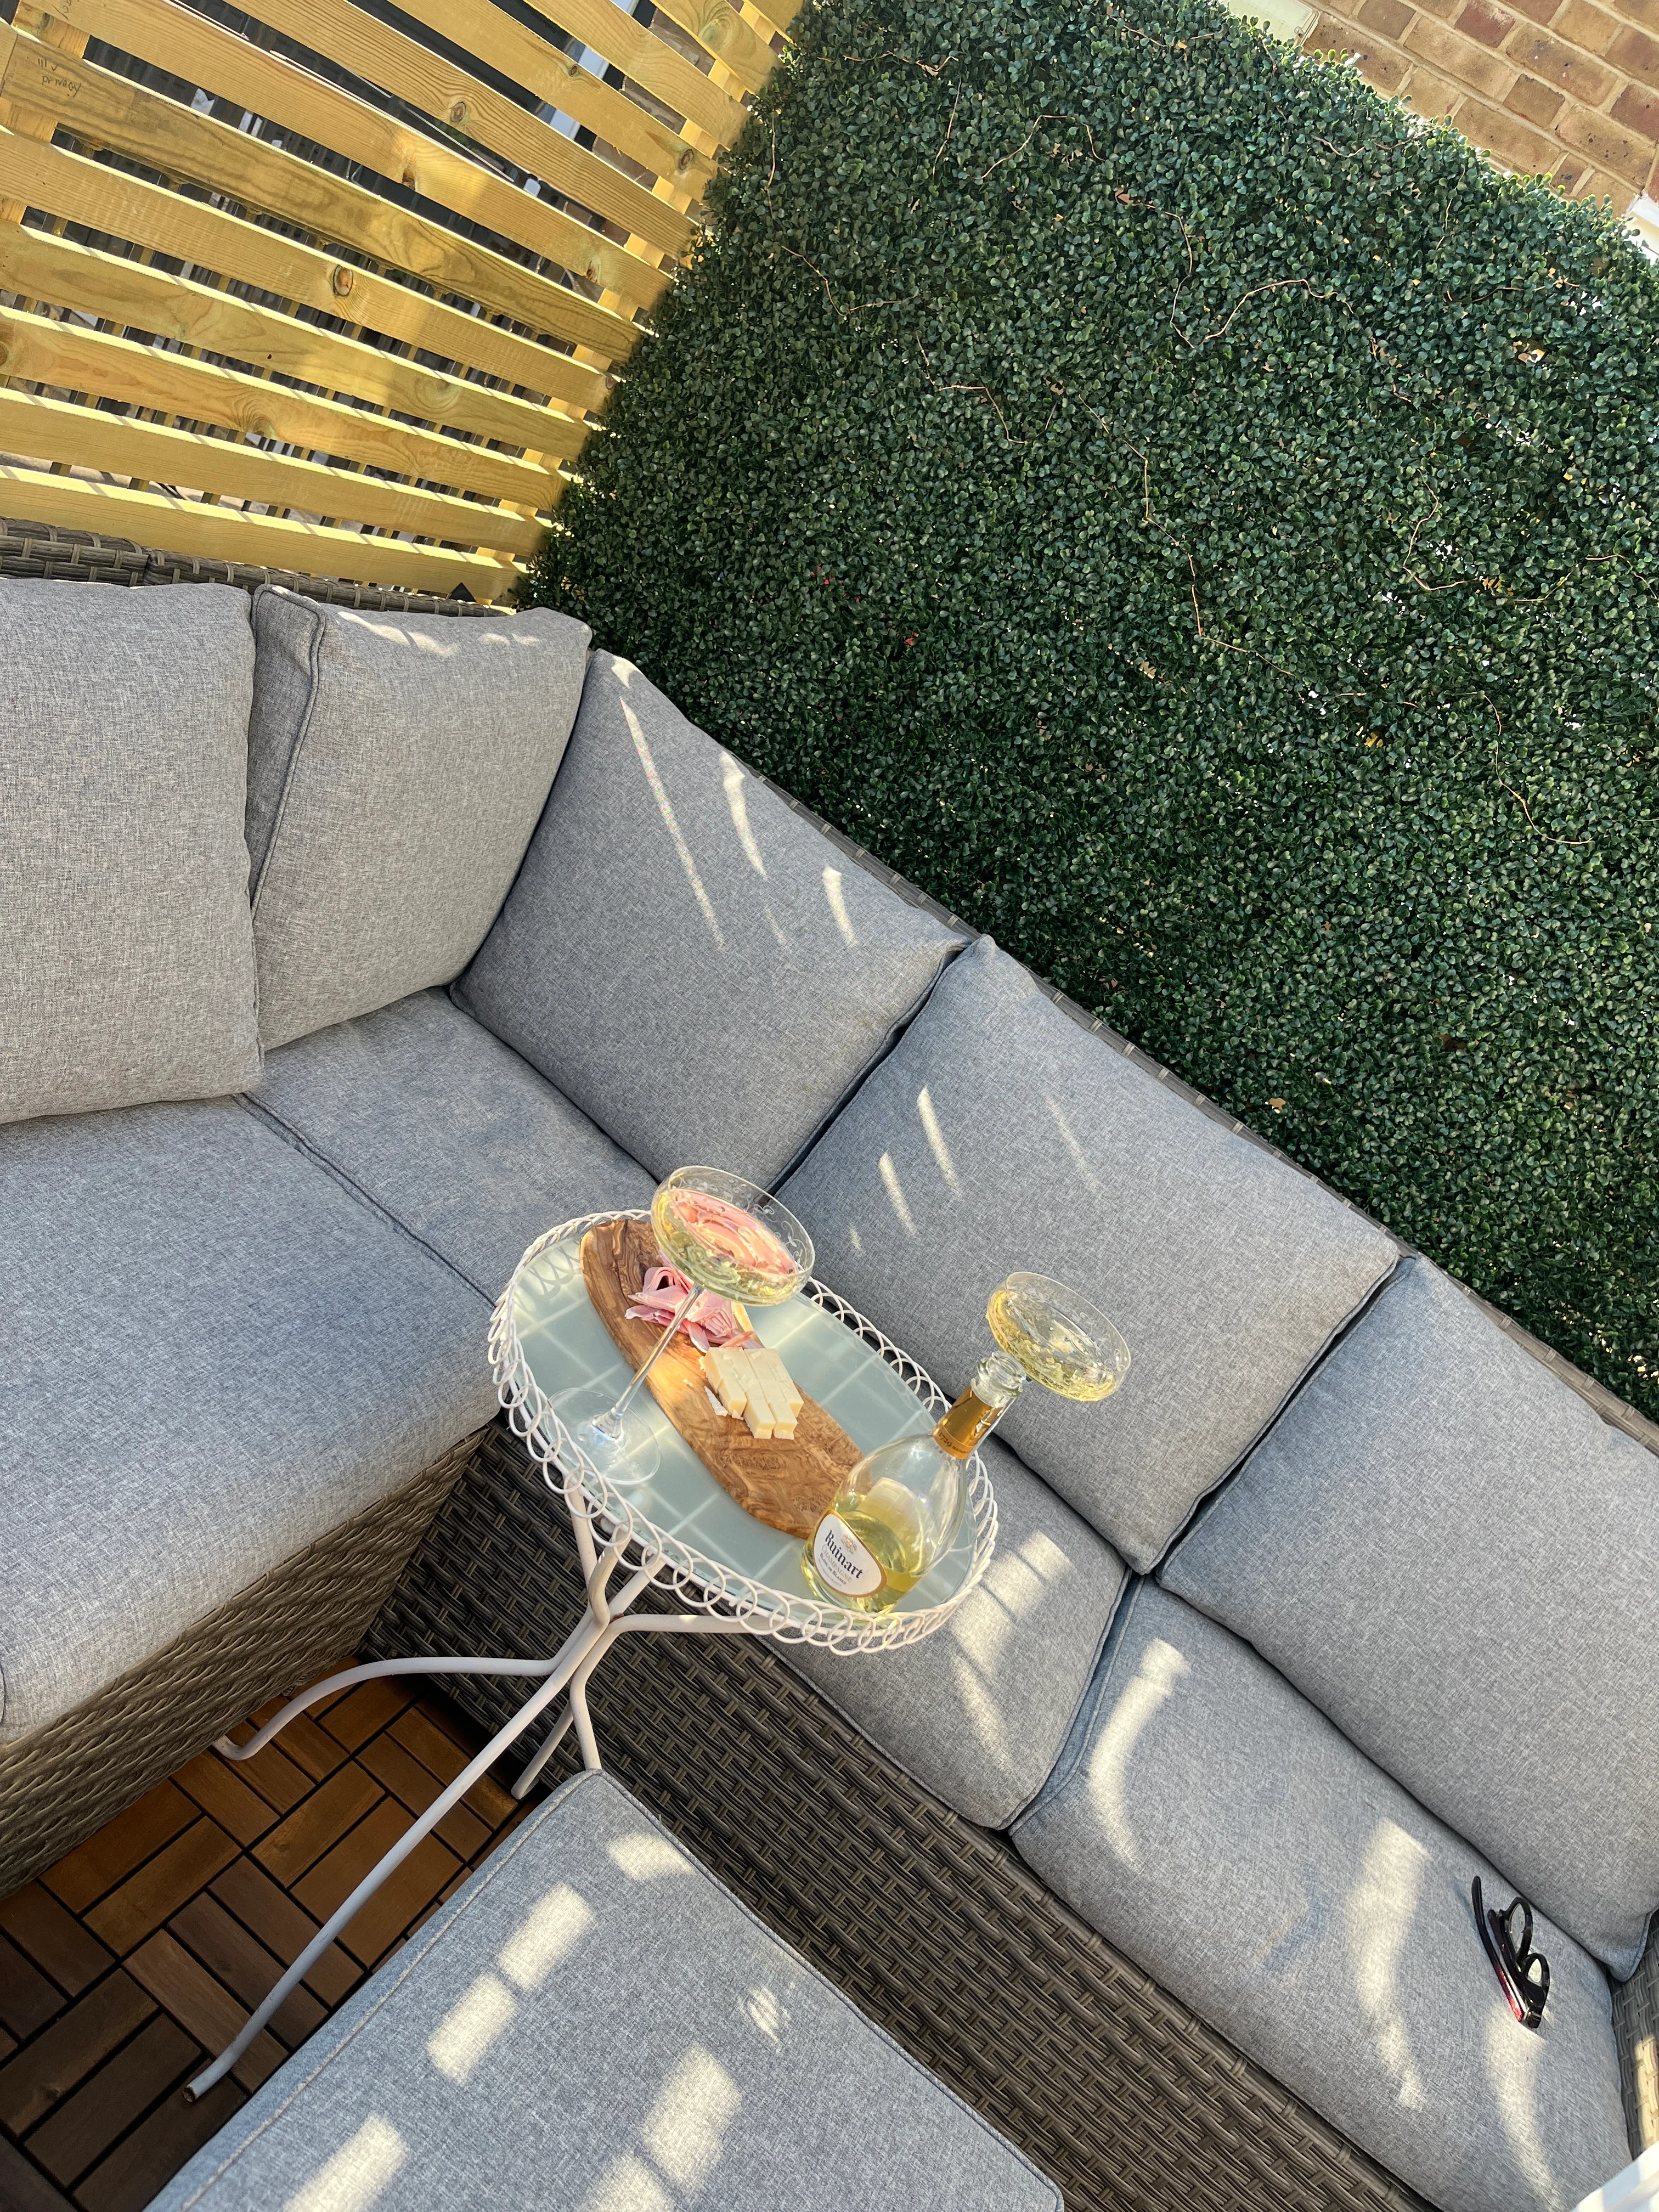
I love the final look! On both sides!

Finishing the Terrace Privacy Screen
Once I had the faux living wall fully installed, I did the all-important finishing work. I cut down any of the verticals that were higher than the top slat, using my multi-tool.
To further enhance the security of everything, I added some L-brackets at each corner, connecting the battens that were screwed in. This especially helped make the higher parts of the privacy screen more secure, since they rise above the metal railing and are therefore slightly less stable.
Overall, though, the stability seems quite good. I wouldn’t recommend trying to pull them down, but when I give them a good shake, they are pretty strong.
I do plan on staining them, potentially with a grey stain to match the cushions on the outdoor sofa. But that will have to be for another day.

And of course, no terrace would be complete without some fairy lights. I purchased these solar lights from Amazon and tucked them into the living wall. I’ll probably play around with the placement over the next few nights, once I can see how they look after the sun goes down. I’ll share pictures once I get them in the right placement.
What do you think? I am so pleased and am excited to enjoy this new outdoor space all summer! We are already putting it to get use with some champagne and charcuterie.

Happy summer and happy DIY-ing!


Leave a Reply