
Do you need more storage? Have you considered building more storage? Or expanding a closet opening to gain more storage?
Of course, we all need more storage. No matter where we live or how big our home is, we are constantly searching for somewhere to put our stuff!
Because I live in a small flat in central London, I am really desperate for space. And the flat we purchased, while full of charm and great potential, does not have a lot of storage.
As I look to expanding a closet opening to gain more storage, let’s look back at some of my other storage-finding successes. I’ve spent the last year adding storage everywhere I can. From my first renovation DIY, where I added free-standing shelves to an oddly shaped closet.

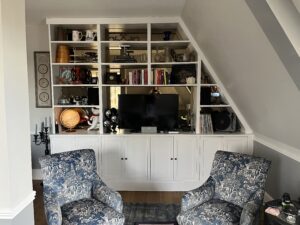
To the bespoke shelves added to our lounge to provide a beautiful focal point and plenty of storage, both open and closed.

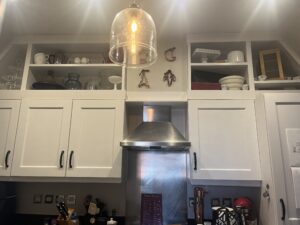
And most recently, the kitchen mini-renovation, complete with new shelves in the dead space, a rolling spice cart, and the appliance garage.


It would be fair to say that I spend a lot of time thinking about how to create more storage solutions in my flat.
My Method for Finding Space
One of my go-to moves is looking to maximise the dead space in a room. Think the space above the kitchen cabinets if they do not go all the way to the ceiling. Or the wall cavities between the studs. Or in this case, the unreachable space high up in our existing closets.
Expanding the Closet Space
We are fortunate to have built-in closets in our two bedrooms. They offer nice space and are quite roomy, although one is dedicated to the boiler, which takes up very valuable real estate but is a necessity.

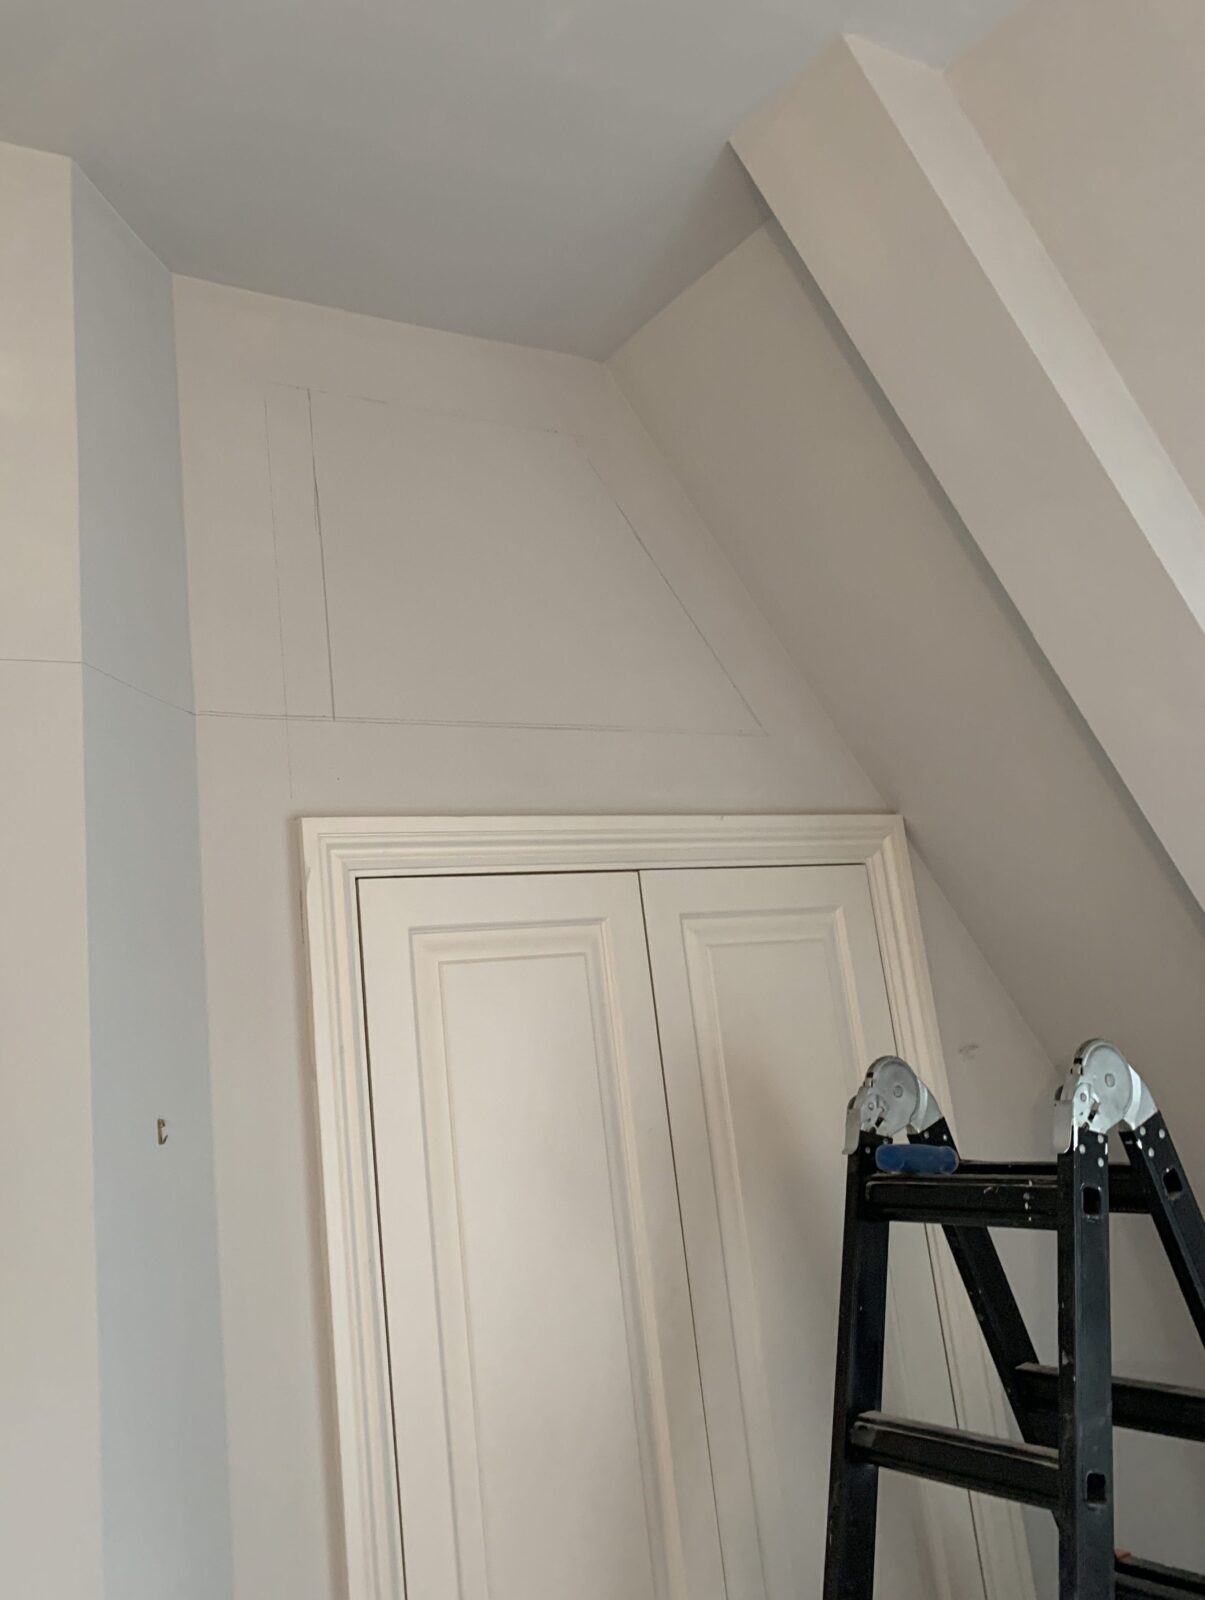
However, while the ceilings in these rooms are quite high at 2770mm (approximately 9 feet), and the insides of the closets go up to the ceiling, the door openings are only 1960mm high.

This results in a lot of wasted space, because you cannot access these high areas. Sure, you can stack things on top of one another, but there is a limit to how much you can actually store up there and how accessible it actually is. Only items of a certain size and weight really work.
So we have space that is not being used to the best of its ability. And I just cannot allow that, when space is at a premium.
The idea
To turn this space into something useable, I want to expand the closet openings by creating another opening, above the current door, almost like a second cupboard above the first one.

The inside of the closet is already finished up to the ceiling and ready for use, I would just need to add another shelf in the upper cabinet. Essentially, all that is needed for expanding the closet is cutting into the drywall above, framing out an opening and building custom doors to match the existing closet doors.
Simple enough, right?
Surprisingly, there are very few tutorials I could find showing how to expand a closet that already exists.
This Old House offers a very good video on how to create a pass-though in a wall, which is helpful in terms of cutting into the drywall and framing out the opening. I found a few videos showing how to build a closet from scratch, including framing the door and walls, which gave me some insights, but not exactly what I need.
Has no one done this project before? It seems like I might be on my own on this one!
Metal Studs … Grrrrrrr!
As I recently learned, our home’s internal walls are all metal studs. Most of the tutorials I find are with wood studs, and somehow, this just seems easier. I know how to cut wood studs. But metal studs are a whole new game.
And I am sure expanding a closet is going to require some stud removal and replacement. This is my biggest worry. But, I have to face it at some point, as long as we continue living here and I keep learning DIY. Both of which I intend to do.
As I continually remind myself, worst case scenario, I will need to pay someone to come in and fix what I have messed up. But, let’s hope it does not come to that.
So, are you with me? Interested in learning how to tackle a similar project in your home? Here is my plan for expanding a closet to provide more storage. The plan is flexible and open to adjustments as we go. Adaptability is key as I enter the unknown!
The Opportunity
We have 4 closets which could benefit from improved access via another opening above. Given that two closets each are in the two bedrooms, we’ll need to tackle both closets to ensure symmetry in the room.
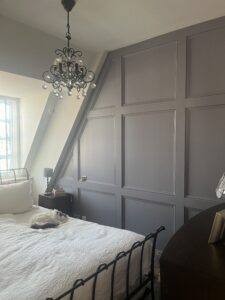
Each closet is a different size, so all will be custom builds. And of course, two of them are under the angled ceilings, so we will need to build an angled opening. I have not decided what the door will look like for these, but we will get there.

I want these openings to match the closet openings and doors below, so it looks like they’ve been here forever. This will require precision to match the architrave, size of the openings, and the door style.
And of course, the sizing will need to match the opening below perfectly, and the height of the two new openings in the same room must be perfectly aligned.
So, precision will be critical in both the cuts and the install.
My Plan for Expanding a Closet Opening
I have never cut into a wall before, other than drilling holes, so I am actually the most nervous about this step. To ease myself in, I plan to start in the office, in what I expect to be the easiest install, as it is a simple rectangle, straightforward, and will not be stared at from the bed each night if I mess it up terribly.
Here are the steps I plan on following:
- Draw out the new closet on the wall. Account for the architrave, frame and opening. Ensure alignment with the closet below and with both openings in the room. Take measurements.
- Cut out the drywall for the opening of each closet, using a multi-tool, following the lines carefully. This includes both the outer wall and the inner wall.
In our case, there are old cupboard lights that have been installed but no longer work. I am assuming they are still live though, so I need to be careful of any electrical wires. - Once the wall is cut open and any electrical wiring is revealed, have the electrician remove the installed lights and cut all power to these areas.
- Remove any studs in the new cupboard openings. (To be determined once we see what we are dealing with.)
- Frame out the opening, using boards that cover over the edges of the drywall opening. Ensure they are level, plumb and square. Attach to the metal studs to secure.
- Add architrave to the outer edges, again ensuring alignment with the closet below and beside. Mitred corners, installed with adhesive and nail gun.
- Add a shelf in the new space, above the current shelf in the cupboard below and level with the new opening.
- Build doors to match, at a custom size to match the opening. Match existing closet doors. Determine how to build doors for under the angled ceilings.
- Sand, caulk, wood filler, prime and paint everything.
- Install hinges and doors.
And there you go. Nice and simple, step-by-step.
Of course, I have no idea what we will find and how this will go. I will admit, I am nervous. And I am pretty sure expanding a closet is a bigger task than I realise. But, that seems to be my style, taking on the most complex version of a project that I can, while I have several other projects still not yet finished (I’m looking at you, kitchen appliance garage doors!). But, that is the way I learn, so let’s get started.
Tune in next time when I begin cutting in to the drywall and making the openings to expand the closet space. Are you as eager as me to see how this goes?


Leave a Reply