
Over the last several months, I’ve been working on a kitchen mini-renovation of our small, outdated and cluttered kitchen. Good-bye orange flooring, hello more storage space.
As shared here, we plan to do a full renovation in the next few years, but until that time, we wanted to make some simple changes that would improve the kitchen both in terms of functionality and aesthetics.
The rules were simple: changes needed to work within the existing floor plan and not require any major plumbing, moving of appliance connections, or cutting of countertops. And because this is a temporary renovation before we do something more significant in a few years, I tried to use spare supplies and keep costs to a minimum. Nothing should be purchased unless it can be used in the future renovation.
Let’s first look back at the steps we took for this kitchen mini-renovation.
New appliances
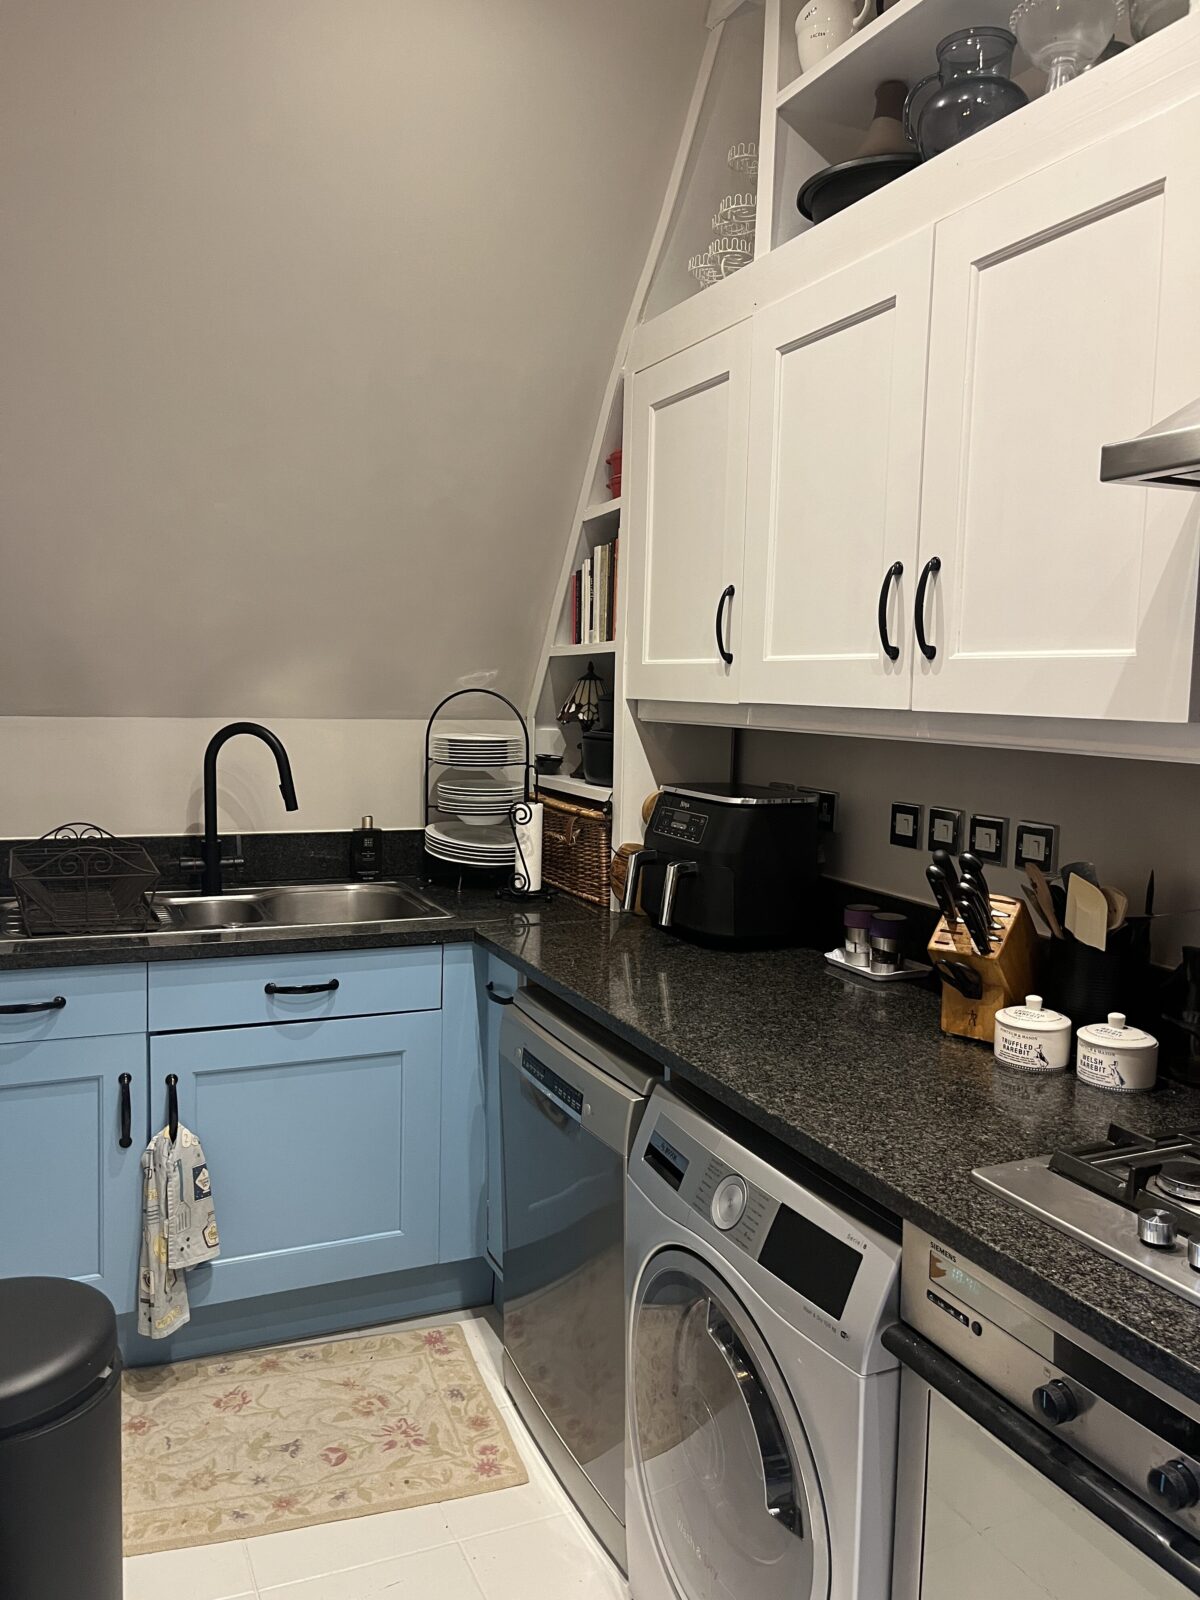
First, we replaced several old and outdated appliances, including the dishwasher, washing machine, and, to my absolute delight, the tiny under-counter refrigerator and freezer. To spread the costs out, we purchased one appliance per month, taking advantage of sales where possible. All appliances are Bosch, purchased from John Lewis. (As stated previously, this is not a sponsored post but just a shout out to two brands I really like!)


We also splashed out for a new kitchen tap, opting for AquaTaps 4-in-1 tap, including boiling and filtered water, as well as hot and cold normal tap water, and a flexible spray head. This was a splurge, but I justified it in part by the fact that we got rid of the kettle and filtered water pitcher. Less clutter for the win!


More storage
Next up, using the skills learned for the bespoke shelves in the lounge, I used spare wood and supplies to build similar shelves in the dead space in the kitchen, giving us more storage.


Paint to Cover the Orange
We painted the cabinets below the counter a sky blue, and everything above the counter a bright white. The walls are painted in F&B Cornforth White, to match the lounge.

We also painted the hideous orange floor tile, which I hope to replace with wood flooring when we do the full renovation. Sadly, this is the one step that did not work out and still needs to be re-done.

We added a rolling spice drawer and 4 under-counter shelves on slides as an appliance garage of sorts, which has helped remove a lot of clutter from the counters.


What do you think? Do you want to see the kitchen mini-renovation in all its glory?
Today, the full reveal.


Always More to Do
Let’s be honest, there is still so much I want to do, even for this mini-renovation. I’d like to build a shelf to go alongside the new fridge, to hold drinks. Think wine, champagne, and coffee in one place. I envision a tall-free-standing shelf, with wine cubbies on the top half and cabinets with doors on the bottom half, to hold our Nespresso pods and bags of coffee.
And the floor! I painted the orange tiles, and it has just not stood up very well. The kitchen is a high-traffic area, and we seem to drop a lot of things, so there are scratches everywhere. I am not sure if sanding the tiles would have helped, or perhaps using a final coat of a sealant to protect and seal the paint? I asked at the paint store and they said I should not need these steps, but something needs to be done. Despite damage to the paint, though, it is still better than the orange tiles! 🙂

And there are a few spots where I need to do a bit of caulking or filler. I will get to that as and when I can, between other projects.
But for now, I am really pleased with the progress. So much better, with a lot more space, and appliances that really meet our needs.
What is frustrating is that no matter how much space I create, we seem to fill it and the counter continues to be messier than I would like. The reality of living in a small flat where space is at a premium. Am I alone here? Or do you face the same challenges? #reallife
Let’s take one last view of the before and after, to get the full effect.


So pleased with such a dramatic improvement on a small budget!
Tell me what you think in the comments.
Pin for future reference:


Leave a Reply