
Well, check that off the list! I’ve just finished the final step of demolition. Up next is first fix (plumbing and getting the pipes in position before installing the fixtures). But an important step before that is to re-assess the bathroom renovation.
I make the demolition sound so simple, but it has been quite a few weeks. Four weeks, actually. Nights and weekends, and with a heatwave in London to make it all the more fun!
I’ve shared the key steps of my demolition over the last weeks. From removing a glued-on wall mirror to removing wall and floor tile. Then disconnecting and removing all the fixtures, including the bathtub, basin and toilet. I also had the unplanned work to remove the plasterboard where the tiles had been, because I could not get the dried mortar to come up. Removing the flooring overlay underneath the floor tiles was also more challenging than expected.


Today, with the final nail removed, the last piece of plasterboard pulled off the studs, the sub-flooring lifted and everything taken to the tip, I want to stop and reflect before moving forward. And now is the perfect time to re-assess the bathroom renovation and my plans. And to adjust as needed. I will certainly be making some adjustments, now that I have a better picture of what we are working with!
Are You Considering a Bathroom Upgrade?
Get a step-by-step guide and tons of tips and tricks from my own experience renovating my bathroom. From demolition, to water-proofing, tiling, and installing fixtures, this is your ultimate guide through the process.

What I’ve Learned As I Re-ASsess the Bathroom Renovation
First up, I have learned so much in the process of demolition. And so much of what I share here on the site is all about growth and learning, for the intrepid DIY-er. After all, Do–It-Yourself projects can be hard and frustrating. I am all about showing how we can get past the frustrations and get better and better as our knowledge and skills improve.
For the bathroom renovation, there has already been so much to learn. And we have only just begun.
Significantly, I now understand so much more about how a house is built, how things work, and what is needed when taking apart or changing something in one of my many DIY projects.
Honestly, I’ve never been that interested in the way things work. I didn’t think too much about it, but simply appreciated that I have running water, my toilet flushes and my walls are secure and stable. But since I’ve started to DIY, I’ve had to learn how things work. And the more I learn, the more I want to know. Which in turn makes me a better DIY-er.
Some of the key learnings in the demolition have been:
- Now I get the inner workings of the bathroom fixtures. An obvious one, but there is no better way to understand how something works than to dis-assemble it. (Re-assemby will help too, when I get there!)
For example, I really struggled to remove the flushing handle from the cistern on the toilet. It had some tape on it (which I do not think was part of the original design!), there were no screws that I could see, and I worked and worked at it with no solution in sight. I finally just broke it apart, reasoning that it was going into the rubbish anyway. Once I broke it, I could see how it went together and that it had rusted over the screws. Now I know for next time. And it was the same for the shower riser too.

- I can be a bit more brutal than I think, and the house will withstand my efforts. I am quite worried about breaking something I should not. Or puncturing a water pipe. Or removing a piece of frame that actually needs to remain. Of course I need to be careful with these things, but chances are good, I am not going to do untold damage.
By the end of the demolition, I had gotten a lot better at this. I have become a champion at prying things away with my hammer and chisel. Wall tiles, floor tiles, wooden frames, plasterboard, you name it, my chisel and I have got this! And next time, I will not need my husband to make the first break in the mirror. I was just too timid, and now I know. - I am slow and steady, and there is some opportunity to be a bit more down and dirty. I’ve always been this way. As a result, it takes awhile for me to get something done. (Hello, four weeks for a small bathroom demolition.) But, I am incredibly precise, which counts for a lot in other areas, so I really just need to plan for my pace.
A great example of this was when I was removing the floor tiles, which was the biggest challenge. I was so careful and methodical, stopping to clean up the debris, stack each piece in the bin as it broke away. My husband took pity on me when I reached the final tile and it just would not budge. He came in and had it out in a matter of seconds. I watched him work, and he was not precise. He didn’t clean up the shrapnel after each hit, he just got it done. He left a pile of debris, but the tile was up and he was off. I could get a bit dirtier with my own demolition efforts, and it might go faster and will probably be just fine! - When in doubt, always ask! This is a good life lesson, but specific to DIY, I hit a few snags along the way with the demolition. While the wall tiles were pure joy to remove, the floor tiles were a completely different story. I got the first few up like they did not even have any mortar on them. So I got confident, only to find most of them felt like they were super-glued to the sub-floor. Thinking perhaps I did not have the right tool, I stopped by my wonderful neighborhood DIY shoppe, and they reassured me I had the right tools, the right technique, I was just missing patience! The encouragement was just what I needed, and it seemed to be just a touch easier after that word of advice.
I also asked my plumber to come out twice and check my progress. Yes, this is additional cost, but I just was not sure about a few things, and before I went too far, I wanted a second opinion. This was a great step, because we thought I should tear down a wall and push it back a bit, but once we could see behind the wall, we agreed it would not be worth it. So, lesson to all: Stop and ask. It will not hurt, and it will probably help!

Empowerment Through Effort … and So Much More
So, I learned a lot. That is good, and that is a big part of why we all are on this DIY journey.
But, I also feel like a super hero.
I do not want to overstate things, people do DIY every day. But not me. I’ve arrived a bit late in life to the game. And while my dad is an amazing DIY-er who can do anything, I am not sure this skill is passed on genetically.
But with the demolition of my bathroom, I have tackled the unknown. I’ve torn down walls without knowing what would be behind them. I’ve ripped out a toilet, a basin and a bathtub (with help from my lovely husband). And I’ve brought down an entire wall of mirror with only one tiny cut on my hand.
I feel unstoppable! And that is a pretty good feeling.
I know, something will go wrong. Several somethings, probably. But, I am basking in what I have achieved, and I really feel good.
Which has made me reflect on not just what I learned these last four weeks, but how perfectly my DIY journey has all come together. When I first started, I tried to change the basin taps in my main bathroom. I gave it a good try, but I needed to call in a plumber in the end. Fast forward to today, and I’ve cut and capped six pipes, and I have a good sense of what we need to do in first fix to move the pipes or adjust them to be in the right places. That is progress!
Another great example is cutting into the walls in the bathroom. We needed to get behind a wall to reach the pipes to the bath, and in the end, I not only ripped off the plasterboard, but I removed the metal studs as well. Without the cupboard expansion project, this would have been so daunting. But I have learned so much about cutting into walls and working with metal studs.

These are just a few examples, but it is so exciting to look at how far I’ve come. I encourage you to do the same! Take some time and think about all the progress you have made. I am sure you will be amazed at all you are learning and how far you have come. (This is true for any journey you are on in life!)
Up Next: A Slight Change of Plans
I always said that we need to be flexible in our plans until we know what we are working with. Well, as anticipated, I do need to adapt some of my plans based on what we’ve uncovered through the demolition.
As I re-assess the bathroom renovation, I’ve needed to change some aspects, and then change them again. We had thought we might be able to push one wall back, as there is a void behind it, going to the roof line. When we actually saw the size of the void though, we agreed the space to be gained is not worth the work involved. So slight adjustments to sizing of the shower.
We also can now see that the waste pipe for the toilet sits in front of the wall, which had been covered by a built in vanity. I’ll need to build a partial wall to cover this, but I do not want it to look boxed in, so I am thinking about a higher wall. Still considering the options here. I had hoped not to have to do this, but there is no good way of moving the waste pipe as it connects to multiple other pipes and would be too much effort for the payoff. I’ve never built a wall before, so this will be a new skill to gain.
I’ve also never installed plasterboard or cement board, which will be necessary after I had to remove some of the boards in the bathroom.
As a result of these changes, I am adjusting my layout and plans slightly, but nothing we cannot manage. It is important to be able to re-assess the bathroom renovation and make adjustments as needed. More to come as we get into the actual work.
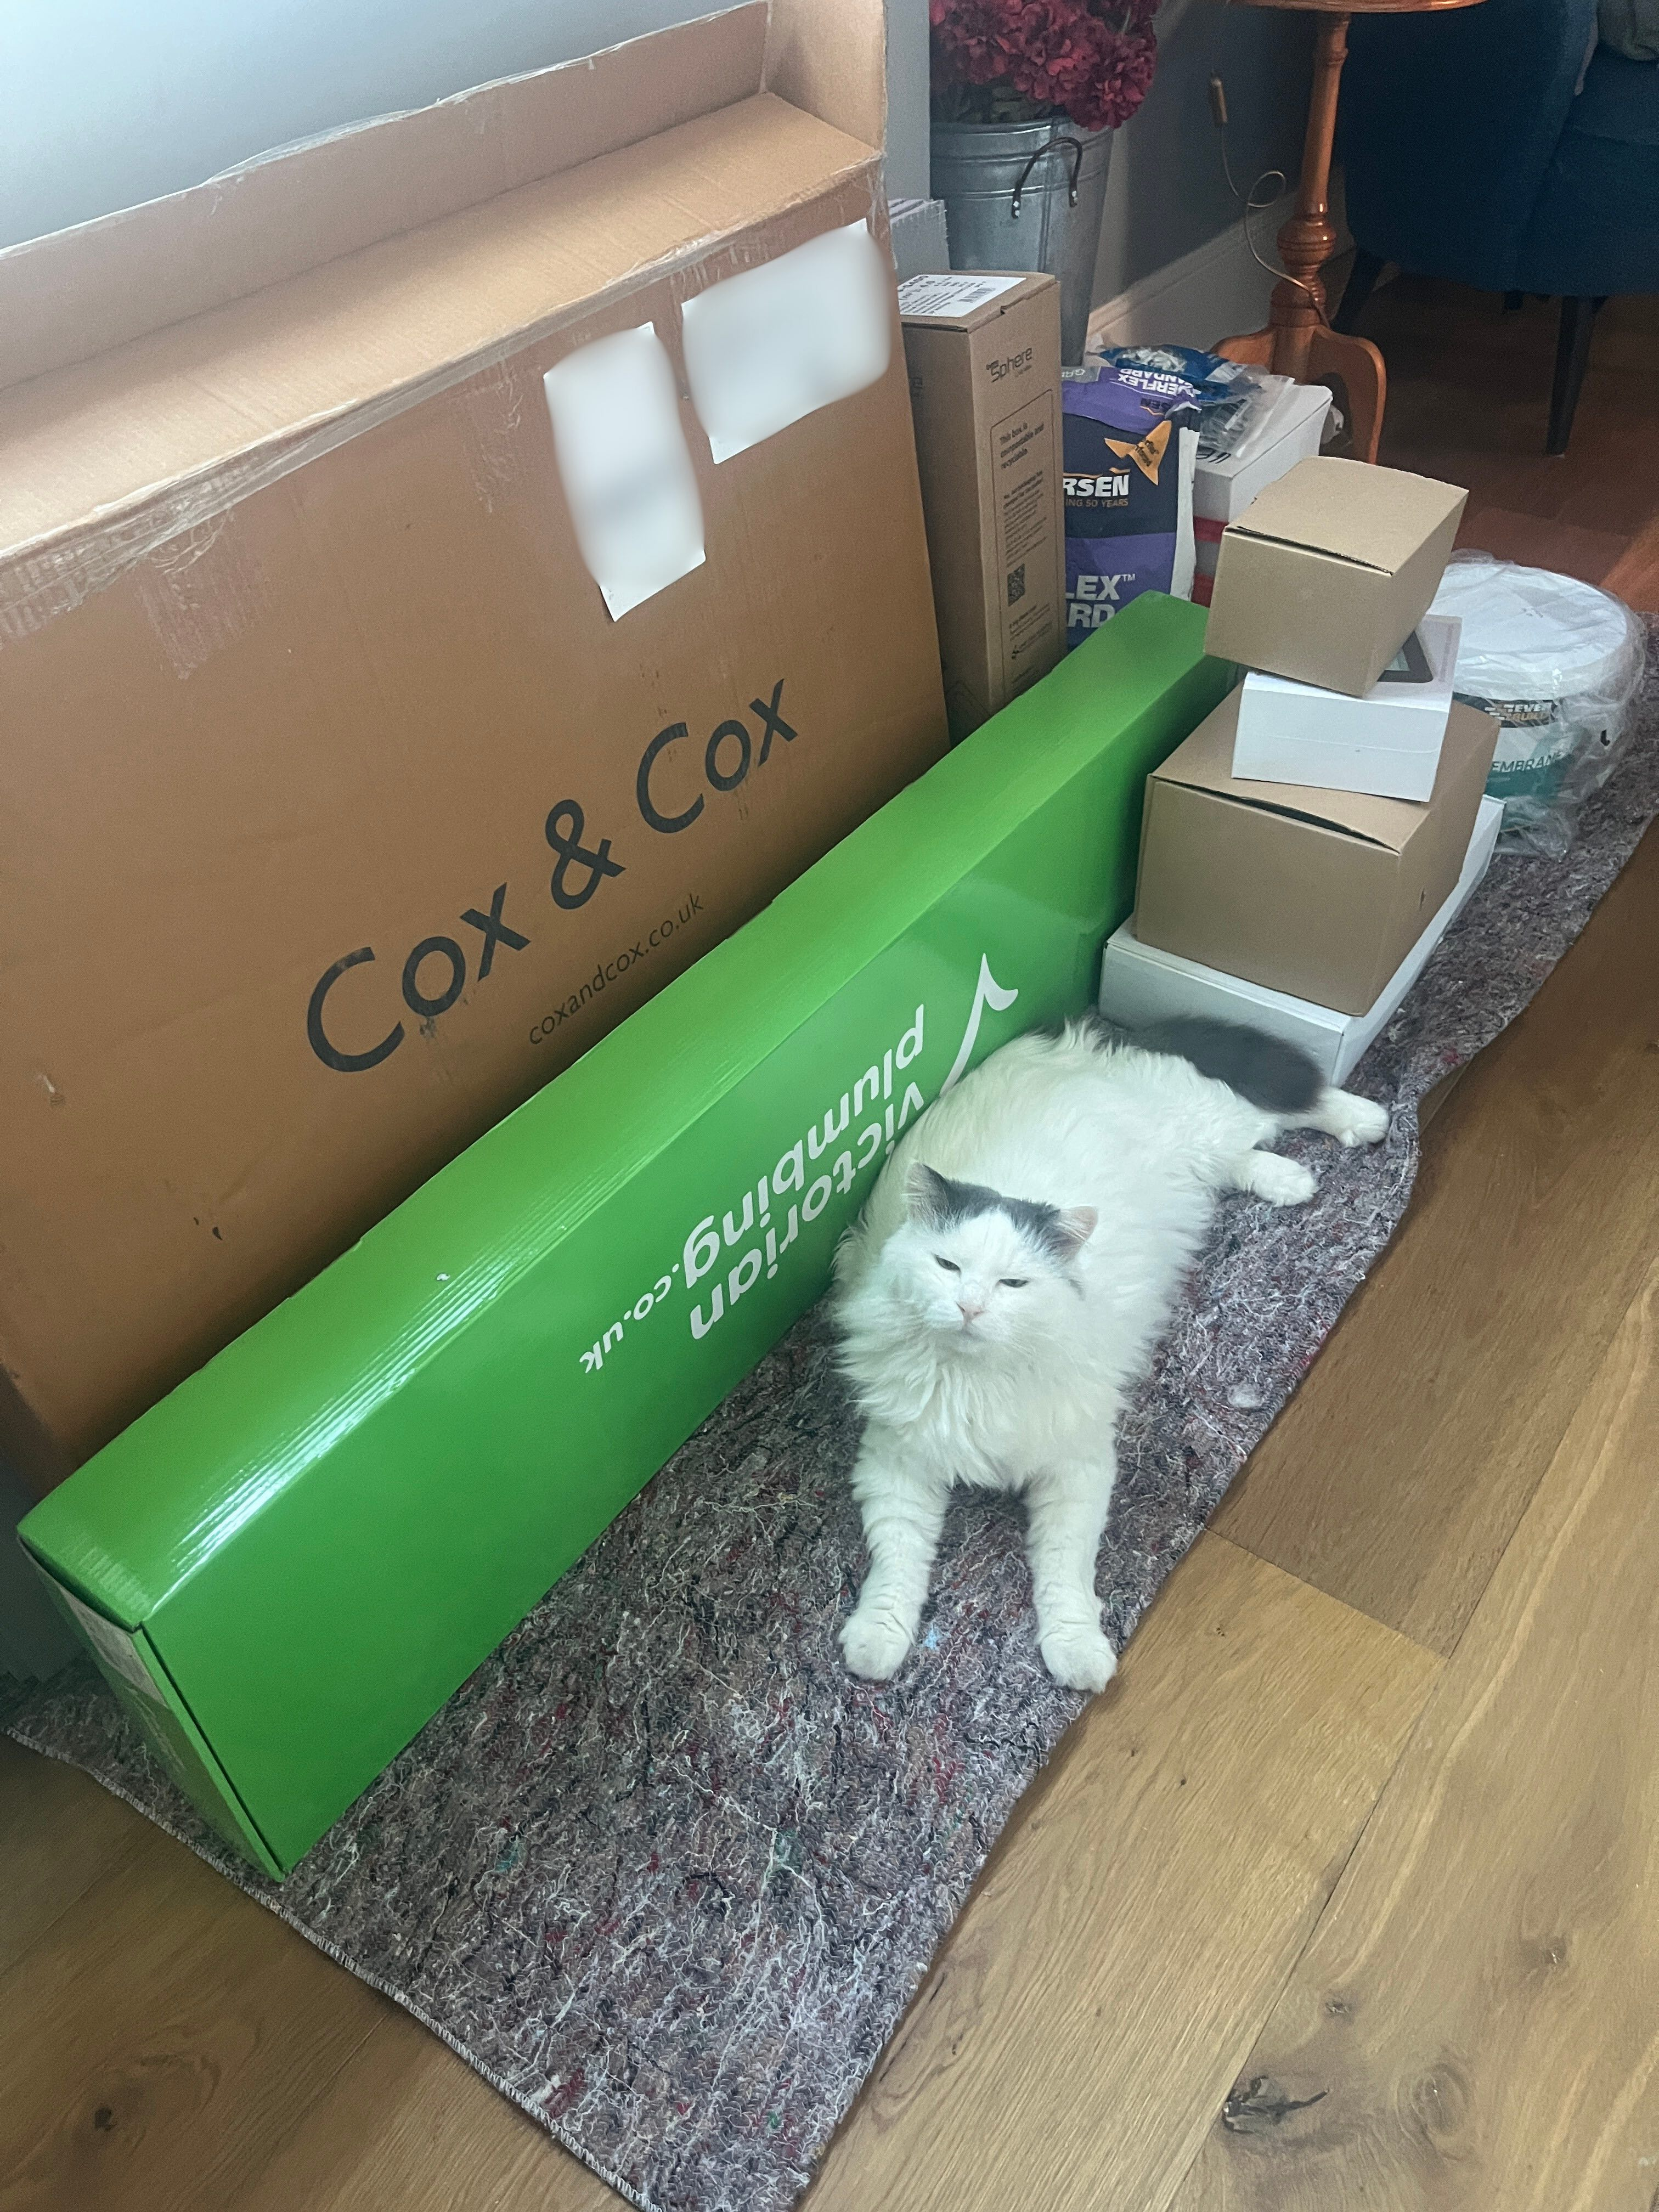
I also will probably be slightly delayed, as I need to exchange a few items I bought, including the shower pan. The original one is too large for the space, after I got everything in place. But, this is the nature of the project, and we will do the best we can. So there may be some adjustments to my to-do list order of steps.
I don’t know about you, but I am ready for some beautiful pictures on this site. The last four weeks have been all about demolition, it is time to start building! I’ve ordered most of the materials, and it is time to start getting them in place!

Thanks for joining. Stay tuned for next week, as we move into constructing some of the walls needed, as well as first-fix plumbing and starting to lay the flooring.
Happy DIY-ing!








Leave a Reply