
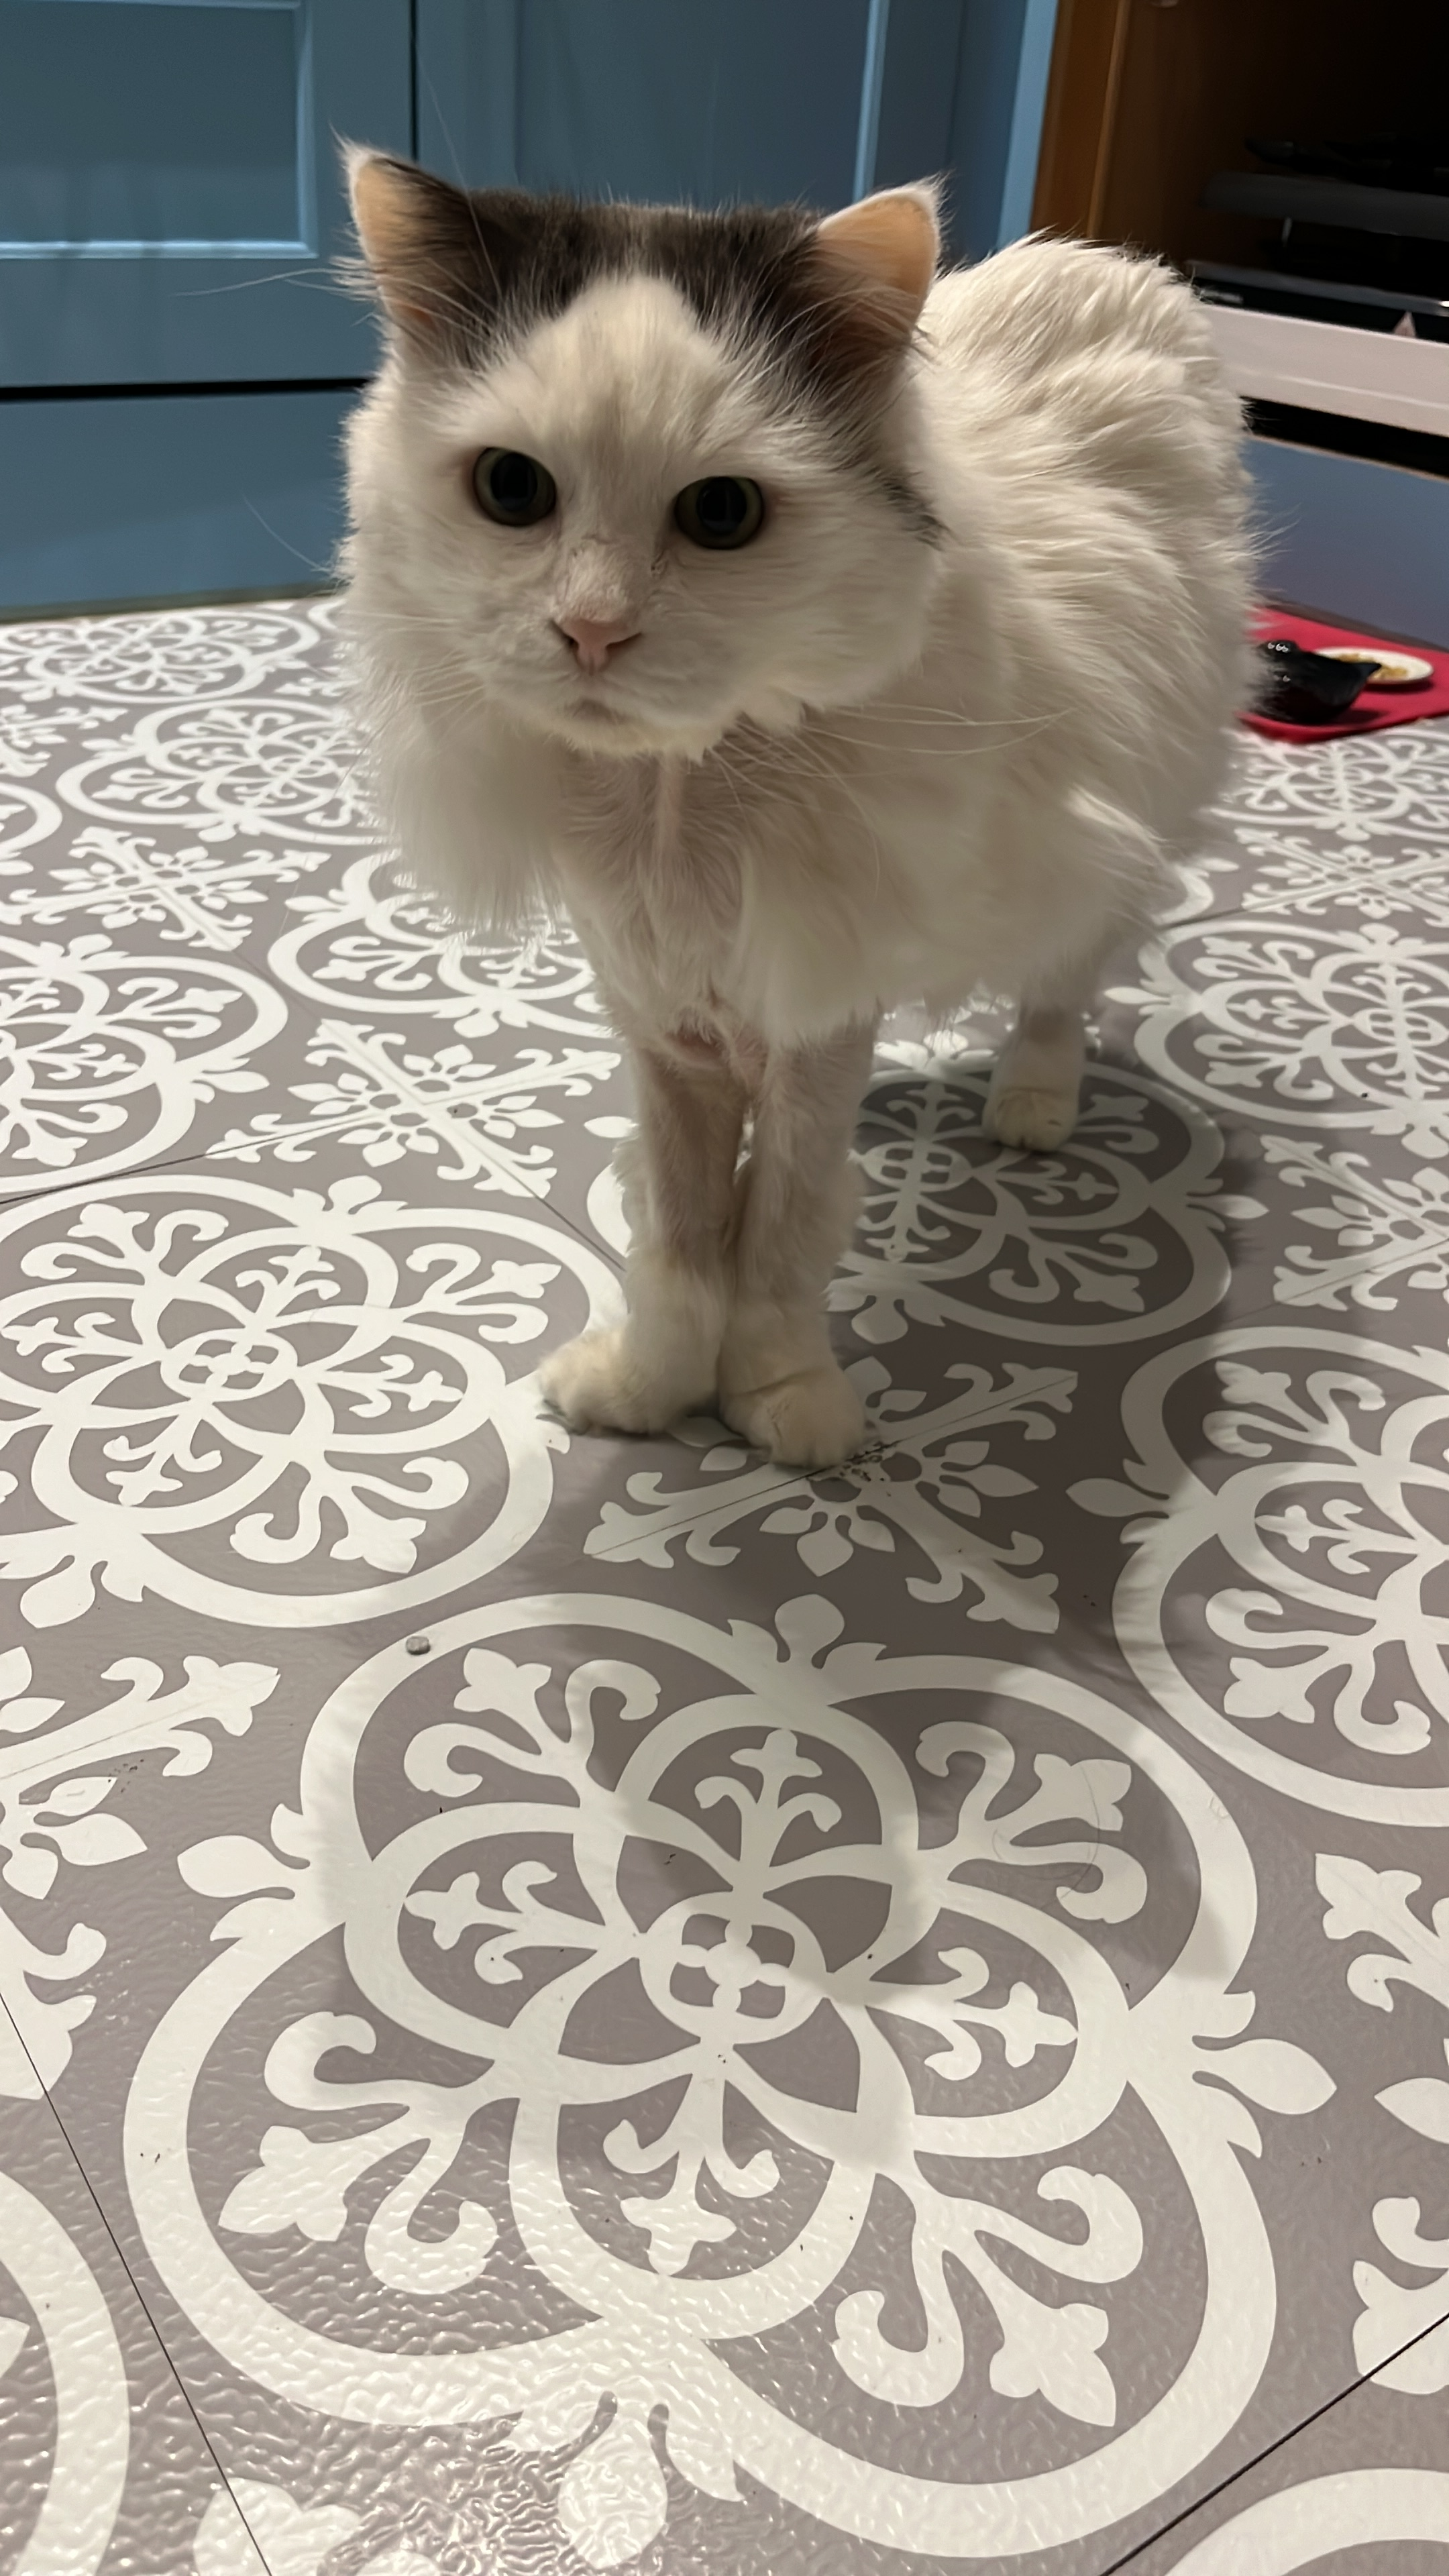
As a DIYer, we take on projects, and when we finish, they look great (or not!). Some become all-time favourites that you wonder how you ever lived without. (I’m looking at you, built-in cupboard extensions and bespoke built-in shelves in the lounge.) Others, you wish you had not wasted the time (ahem, mood lighting on the bespoke shelves). Today, I am taking a look at the vinyl flooring I added to our kitchen last year, to test vinyl tiles durability over time.
Spoiler alert: Vinyl tiles durability is outstanding! I have been so surprisingly pleased with this change to our kitchen flooring. It has brought a dated, orange kitchen into a calm and enjoyable place to make our meals, and I love the view of the floor from the living room. And, the tiles have absolutely stood the test of time!

To catch new readers up, when we moved in to our flat, we had a kitchen that was dated, dark, and orange. Terra-cotta-ish tiles in the kitchen, that gave orange vibes rather than the rustic feel they were meant to inspire. Old appliances, including a tiny university-sized refrigerator. And lots of dead space, in a tiny room that needs all the storage I can get.


We are planning a full kitchen renovation in the next few years, but it is not quite time yet. So one of my early projects was to do a mini-renovation, replacing things that could still be used post-renovation and making some simple updates. Building cabinets into the dead space, adding an appliance garage, painting the cabinets.


At that time, I tried painting the floor tiles. Many people have done this with great success, but my effort was a fail. The paint began peeling almost immediately. And the only thing worse than orange tiles is painted peeling tiles with orange peeking through.

Early last year, I decided to give vinyl tiles a try. This would not be my first choice for a long-term solution, but easily-installed peel-and-stick vinyl tiles could be a good short-term solution, just to hide the hideous orange. Vinyl tiles are not expensive, are available in some lovely designs, and are easily removeable if they do not work out.
Honestly, my expectations were low. I thought they would look a bit cheap, and I really did not think they would withstand the high kitchen traffic. But I was wrong. A year and a half later, and they have stood up so well. They look great and have adhered really well, with no peeling corners or edges. And they are so much better than the orange. I highly recommend this approach when cost, time, or effort is a factor. And even when it is not!

Withstanding the Test of Time
I am sharing an update on vinyl tiles durability today, because I have just put them to the test. Beyond the usual wear-and-tear of the last 18+ months since I installed the vinyl tiles, I had to replace a few of them recently, due to a leak that got under the tiles. Honestly, you could not really tell there was anything wrong unless you looked carefully. There were some cracks in a few of the tiles where the water had built up.
I decided to replace them to make sure there were no other concerns underneath. I needed to replace a few tiles due to the removal of the washing machine into the guest bath anyway. Because I had cut the tiles to fit around the legs of the washing machine, I wanted to replace them with uncut tiles before adding new shelves into the now empty space.

The tiles were stuck down really well and required some effort to pry up. Not too much effort that it was overly difficult. But enough that I could tell these tiles were not moving on their own. Even after water leaked under them. The adhesive really held them in place.
I scraped away any excess adhesive, using a flat putty knife. I did not try to really remove all the adhesive, since I would simply be adding new tiles and more adhesive. And then, using the same process as before, adding more adhesive to bulk up the stickiness of the peel-and-stick tiles, I replaced six tiles in a matter of minutes.

If you are going to add vinyl tiles, I highly recommend the additional spray-on adhesive. All reviews said the existing adhesive is not enough. The spray-on really ensures good contact and strong vinyl tiles durability.
The one additional step that I took this time was using a roller along the edges of the tiles. This is recommended, but last time, I did not have a roller. I’ve since bought one for installing wallpaper, so I used it. I do not think it is overly necessary, but it was satisfying to see the edges really press down and adhere under the pressure of the roller. But, you can use your hands to achieve this as well, which worked just fine for me last time.

So, in my view, peel-and stick vinyl tiles are well worth the effort. The vinyl tiles really look good. They withstand significant traffic and do not peel up. They are not terribly expensive and come in some great designs. And they are quite a secure option, in terms of longevity.
If you are looking for a new floor option, what are you waiting for? Vinyl tiles could be just the answer! I will certainly use them again.
Happy DIY-ing!
Interested in similar posts? Check these related topics out:








Leave a Reply