
In a room as wet as the shower, it is critical that you waterproof everything. And that includes when building a secure wall for the shower. I’ve run into some issues with installing tile backer boards in my master bath renovation, and today, I am sharing some of my tips for ensuring a strong, stable, waterproof wall as a base for tiling.
For those following along on my master bath renovation, I installed a fully waterproofed shower wall with plasterboard and tile backerboard. And I even finally solved the mystery of drilling into metal studs, which helped. Until it didn’t. At the final stage of adding the mechanical fixings (aka screws and washers), I just could not install enough of them securely. While the boards had been fixed with mortar, it just was not enough security for a wall of 500+ tiles.
In the end, I decided to remove the shower wall and start over. I just want peace of mind with such a large wall of tiles. And that requires building a secure wall that I can trust.
As I had hoped, it was quite quick work to remove the boards with the multi-tool. However, I decided not to remove only a portion of the wall; I removed everything and started over from scratch.

Removing the Wall
In case you ever face a similar challenge, here is what I did to remove the wall. Using the multi-tool, I cut down the length of the wall, alongside a metal stud. I then cut another line along another stud, and I cut horizontally to make the pieces manageable to remove. I cut around the fixings, pulled the boards off quite easily, and then pried the remaining pieces off the studs. Then I removed the screws left behind in the studs.
Because I needed to cut through tile backer boards, mortar, and plasterboard, the idea of the jab saw alone was just too much. While I love using a jab saw to cut plaster, it takes time. I really like the precision. And if I do not know what is behind the wall, it is a safer option. But in this case, I knew there is nothing behind the wall except a line of electrics, which I marked out to avoid, and lots of insulation. It was quick and easy with the multi-tool. And it was good practice since this is a tool I have not really mastered yet.
The multi-tool made very quick work of the job. I finished in under an hour. It was discouraging to take down all of my hard work, but I am pleased it was quick and painless. And, it will ultimately lead to the building of a more secure wall in the master bath.

Bulking Up the Studs
Once I had all the boards removed, I began again, with plasterboard, then tile backer boards.
This might feel a bit wasteful, to re-do the entire wall. But I had extra supplies already that would be more difficult to return than use. And it allowed me to make some further adjustments to truly ensure I was building a secure wall for the master bath. If I was going to remove the wall and re-do my work, I might as well address a few other aspects.
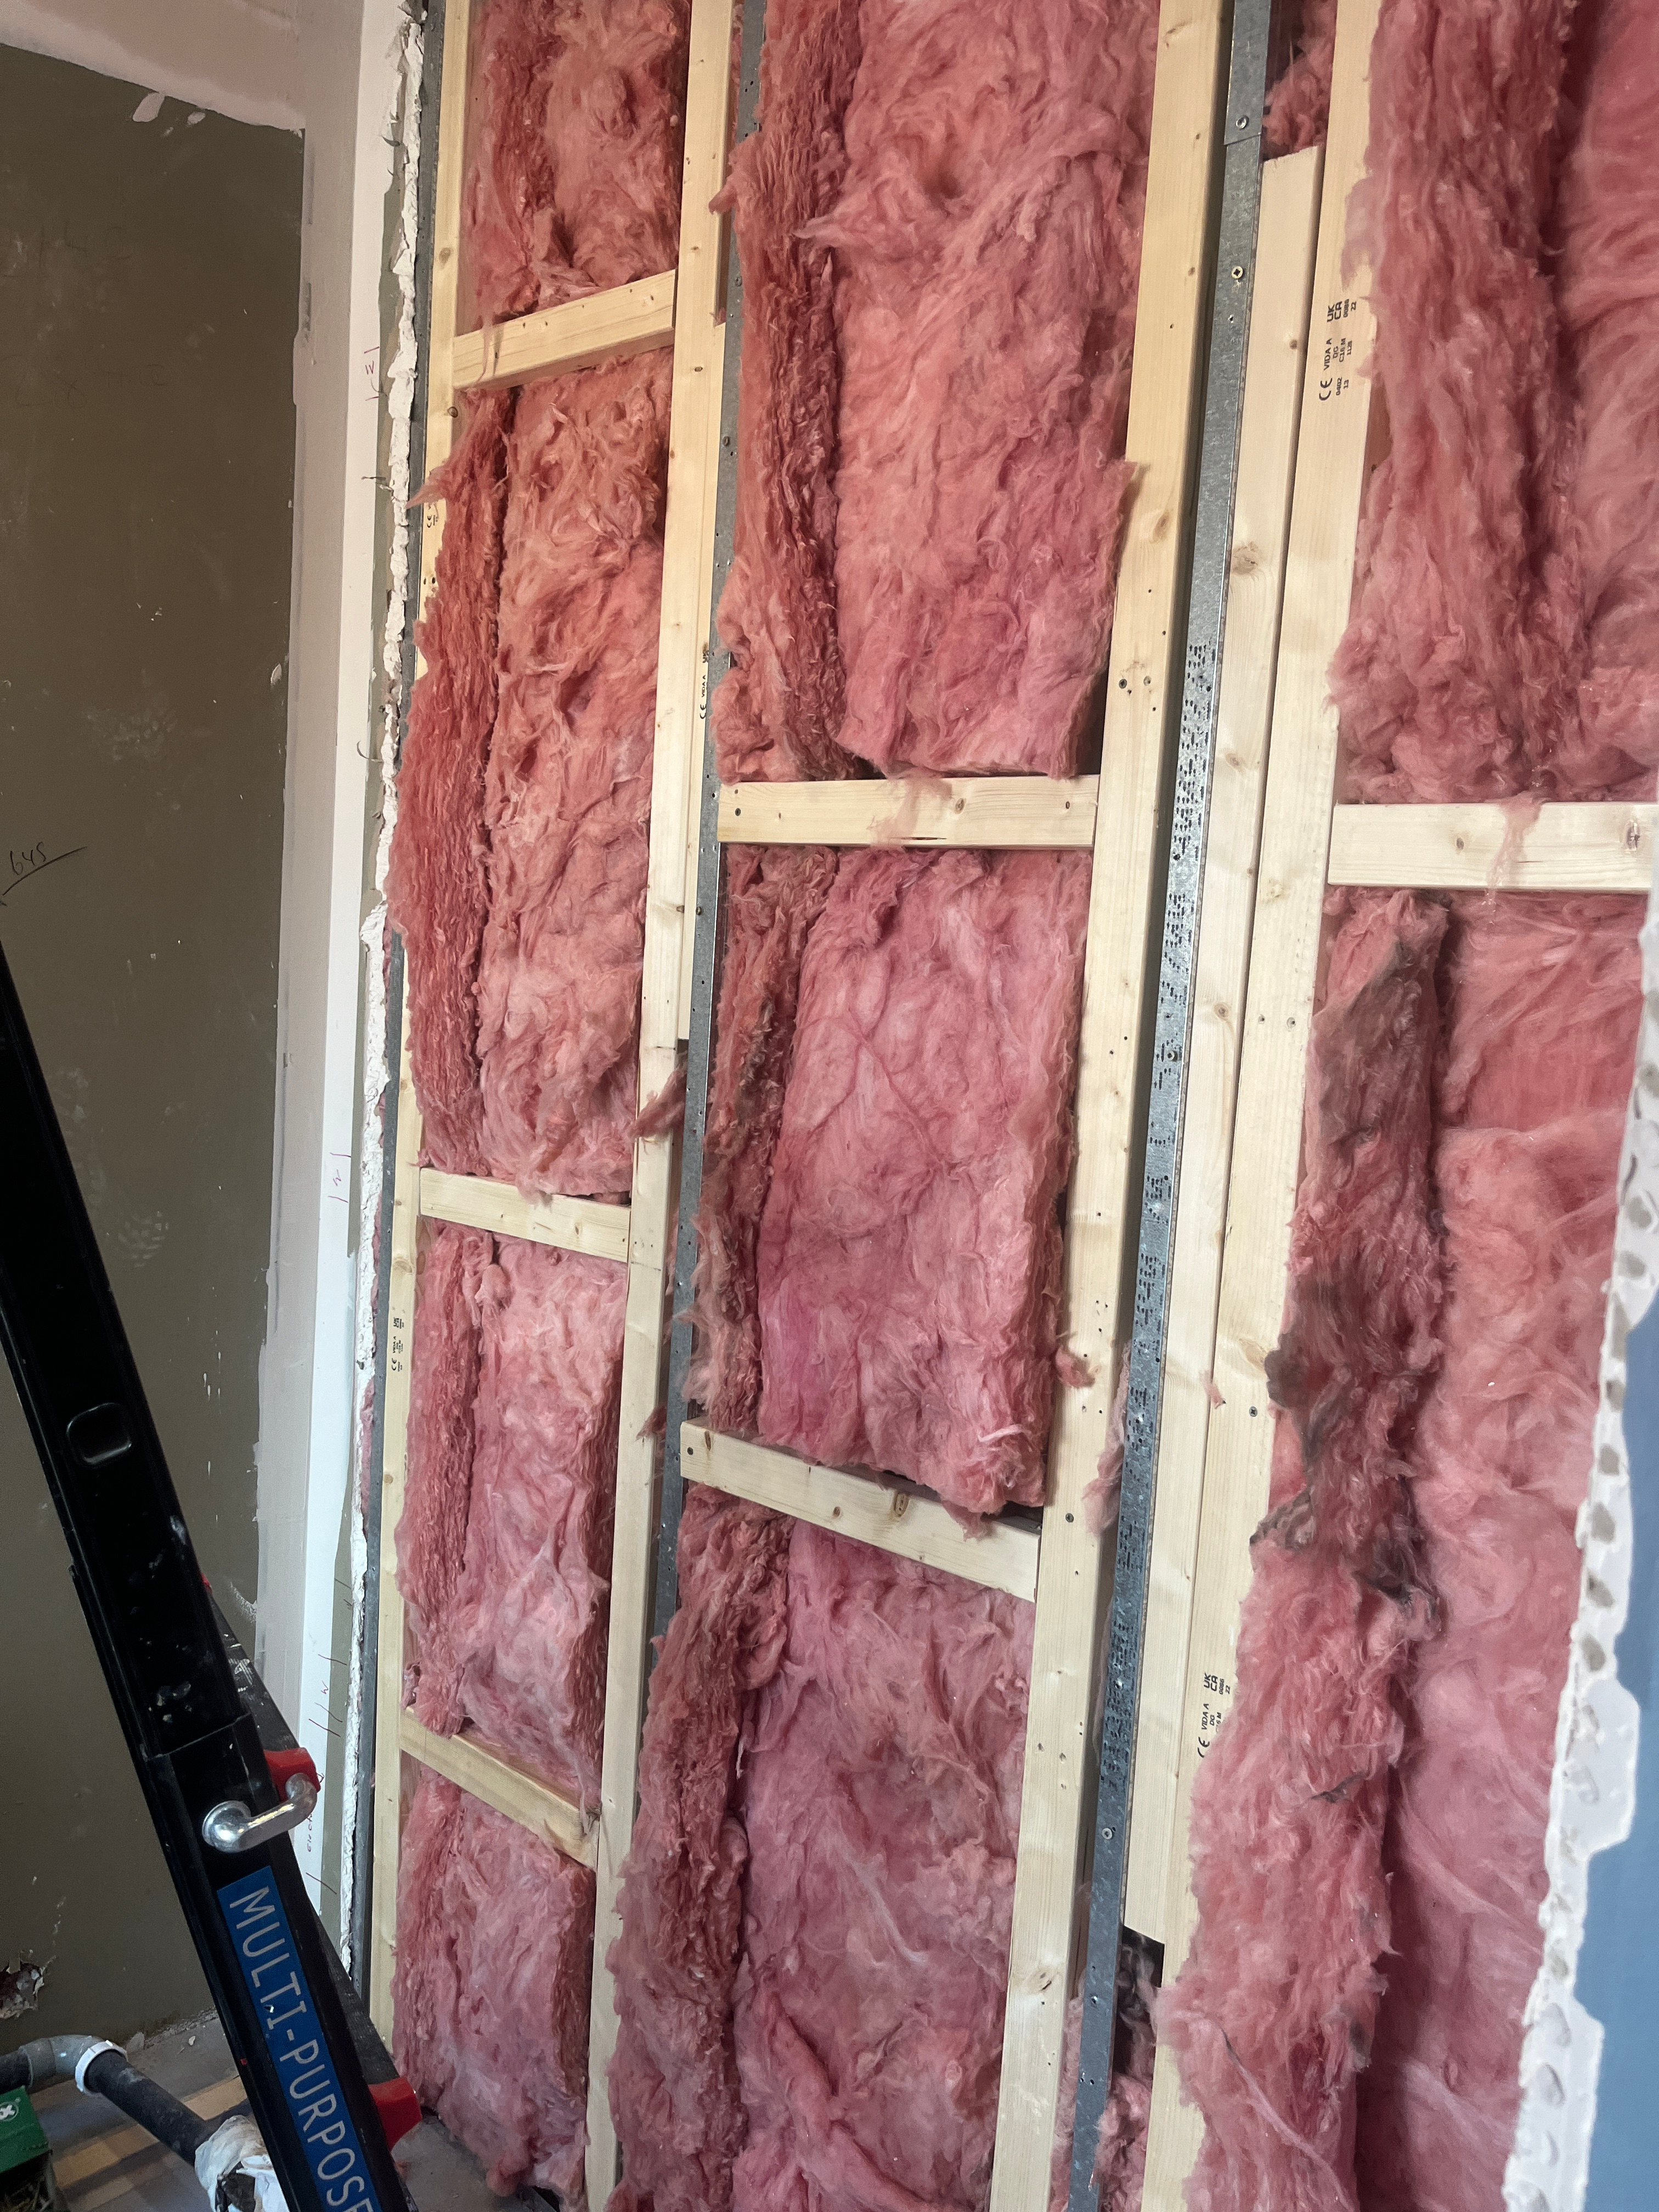
First and foremost, I bulked up the metal studs with timber studs. While I can now drill into metal studs, I decided that I would feel more confident with the additional timber. As well, closer placement of the studs would ensure more locations to secure the tile backer boards with the mechanical fixings.
Also, this allowed me to add studs to two places on the wall where we will attach the additional wall to cover the pipes and where the glass shower walls will be installed. Previously, there were no studs in these two places. While we could have made it work without the studs, this gives added peace of mind and greater security for these two important connecting points.

I added timber studs throughout the wall, alongside the metal studs. I will use both metal and timber studs for securing the boards. Metal studs for the plasterboard, as previously. And timber studs for the tile backer boards, with the plaster boards sandwiched between and even more secure. I placed the timber studs strategically, to ensure the edges of the tile backer boards would have something to secure them to. And, according to where the glass shower wall and the extra wall would be placed, so I have a secure base for these fixtures.
I fixed the timber studs to the metal studs using screws. I added horizontal pieces to connect the studs to one another and give further structure for affixing the boards.
To add the timber studs, I also removed all of the insulation, which I thought would be too dusty and dirty to re-use. Surprisingly, it was not too bad. I wore a mask and protective eyewear, but it was very quick and easy to take the insulation out and then add it back in after the studs were in place. Which is good, because insulation for that big of a wall is expensive!

Pro Tip: Mark all the studs on the ceiling and the floor. Once you hang the plasterboard, the studs will be covered. You can still see the line of screws, but when you start adding mortar, it will be hard to know where to drill for the tile backer boards.
I marked the metal and wood studs on the ceiling and floor, and I also added marks for the horizontal boards to the side walls. All this will be covered later with the finishing (paint, etc.) Because in the last round I had drilled into some of the plasterboard screws, I also was very careful about where I placed the screws in the plasterboard. I placed them evenly across the wall and then marked their placement on the side walls, so I could avoid them. And, I made sure to avoid the electricals as well.

Board the Walls
I added plasterboard first, which quite honestly, is very enjoyable. From a wall of studs and insulation, suddenly it is this clean, crisp wall. I say that while recognizing that I did not do any skimming or filling seams and screw holes, which is where the real precision comes in. Not to mention plastering.
I drilled into the metal studs for the plasterboard, except in a few places where I wanted to ensure extra security.

Because the mortar will cover the plasterboard, along with the tile backer board, tanking agent, and tiles, I just left the plaster board screws and seams as they were. I will need to address the plasterboard wall not covered by tile backer board, but that is for another day.
Another pro tip: Use a level and draw a line down the plasterboard where the stud is located. This gives you a clear place to screw into, so you never miss the stud.
Next up, I added the tile backer boards, again using mortar. Then, using the screws and washers, I screwed them into the timber studs. This helped avoid the screws in the plasterboard, and all the fixings went in securely.
Since this was my second go, boarding the walls went quite quickly. Plasterboard with screws into the metal studs. Mortar and tile backer boards, then screws and washers into the timber studs. Adhesive into the seams of the tile backer boards to further secure them; seam tape; and then two coats of tanking agent.
And we have a strong, secure wall, ready for tile.

Next Up: Building the Additional Wall
I started building the additional wall that will cover the pipes and where the shower tap and head will be placed, as well as the shower niche. I followed my approach in the last bath for building a stud wall.
Especially because of its height, this wall really needs to be securely fixed. I started by fixing a timber stud over the tile backer board, into the timber stud added especially for this purpose. This becomes a secure base against the existing wall. I then added an additional stud parallel to the base stud. This stud is placed just 2cm past where the shower pan will end, so the tiled wall goes just past the pan.
I then fixed a timber noggin horizontally across the top and bottom, screwing into the two side pieces. And I secured both of these pieces to the ceiling and floor, respectively. I added another cross piece at the approximate location of the shower tap placement, for security.

I need to figure out the shower pan height before adding more structure to the wall. I want to ensure the right support for the shower niche and the shower head. As well as for the tile backer boards that will be added.
So I’ve stopped here and will move on to adding underfloor heating, self-leveling, and building the shower base for the shower pan to rest on. Then when the plumber comes back to finish out first fix, I’ll come back to make the wall more secure, bulked up with plenty of support.
It’s been a longer journey than it should have been. Building a secure wall for tiling the shower was harder than expected. But, we are there now, and I am happy that things are more secure. Onward to the next steps, and the inevitable challenges that are sure to come with this DIY life!
Happy DIY-ing!
Interested in similar posts? Check these related topics out:








Leave a Reply