
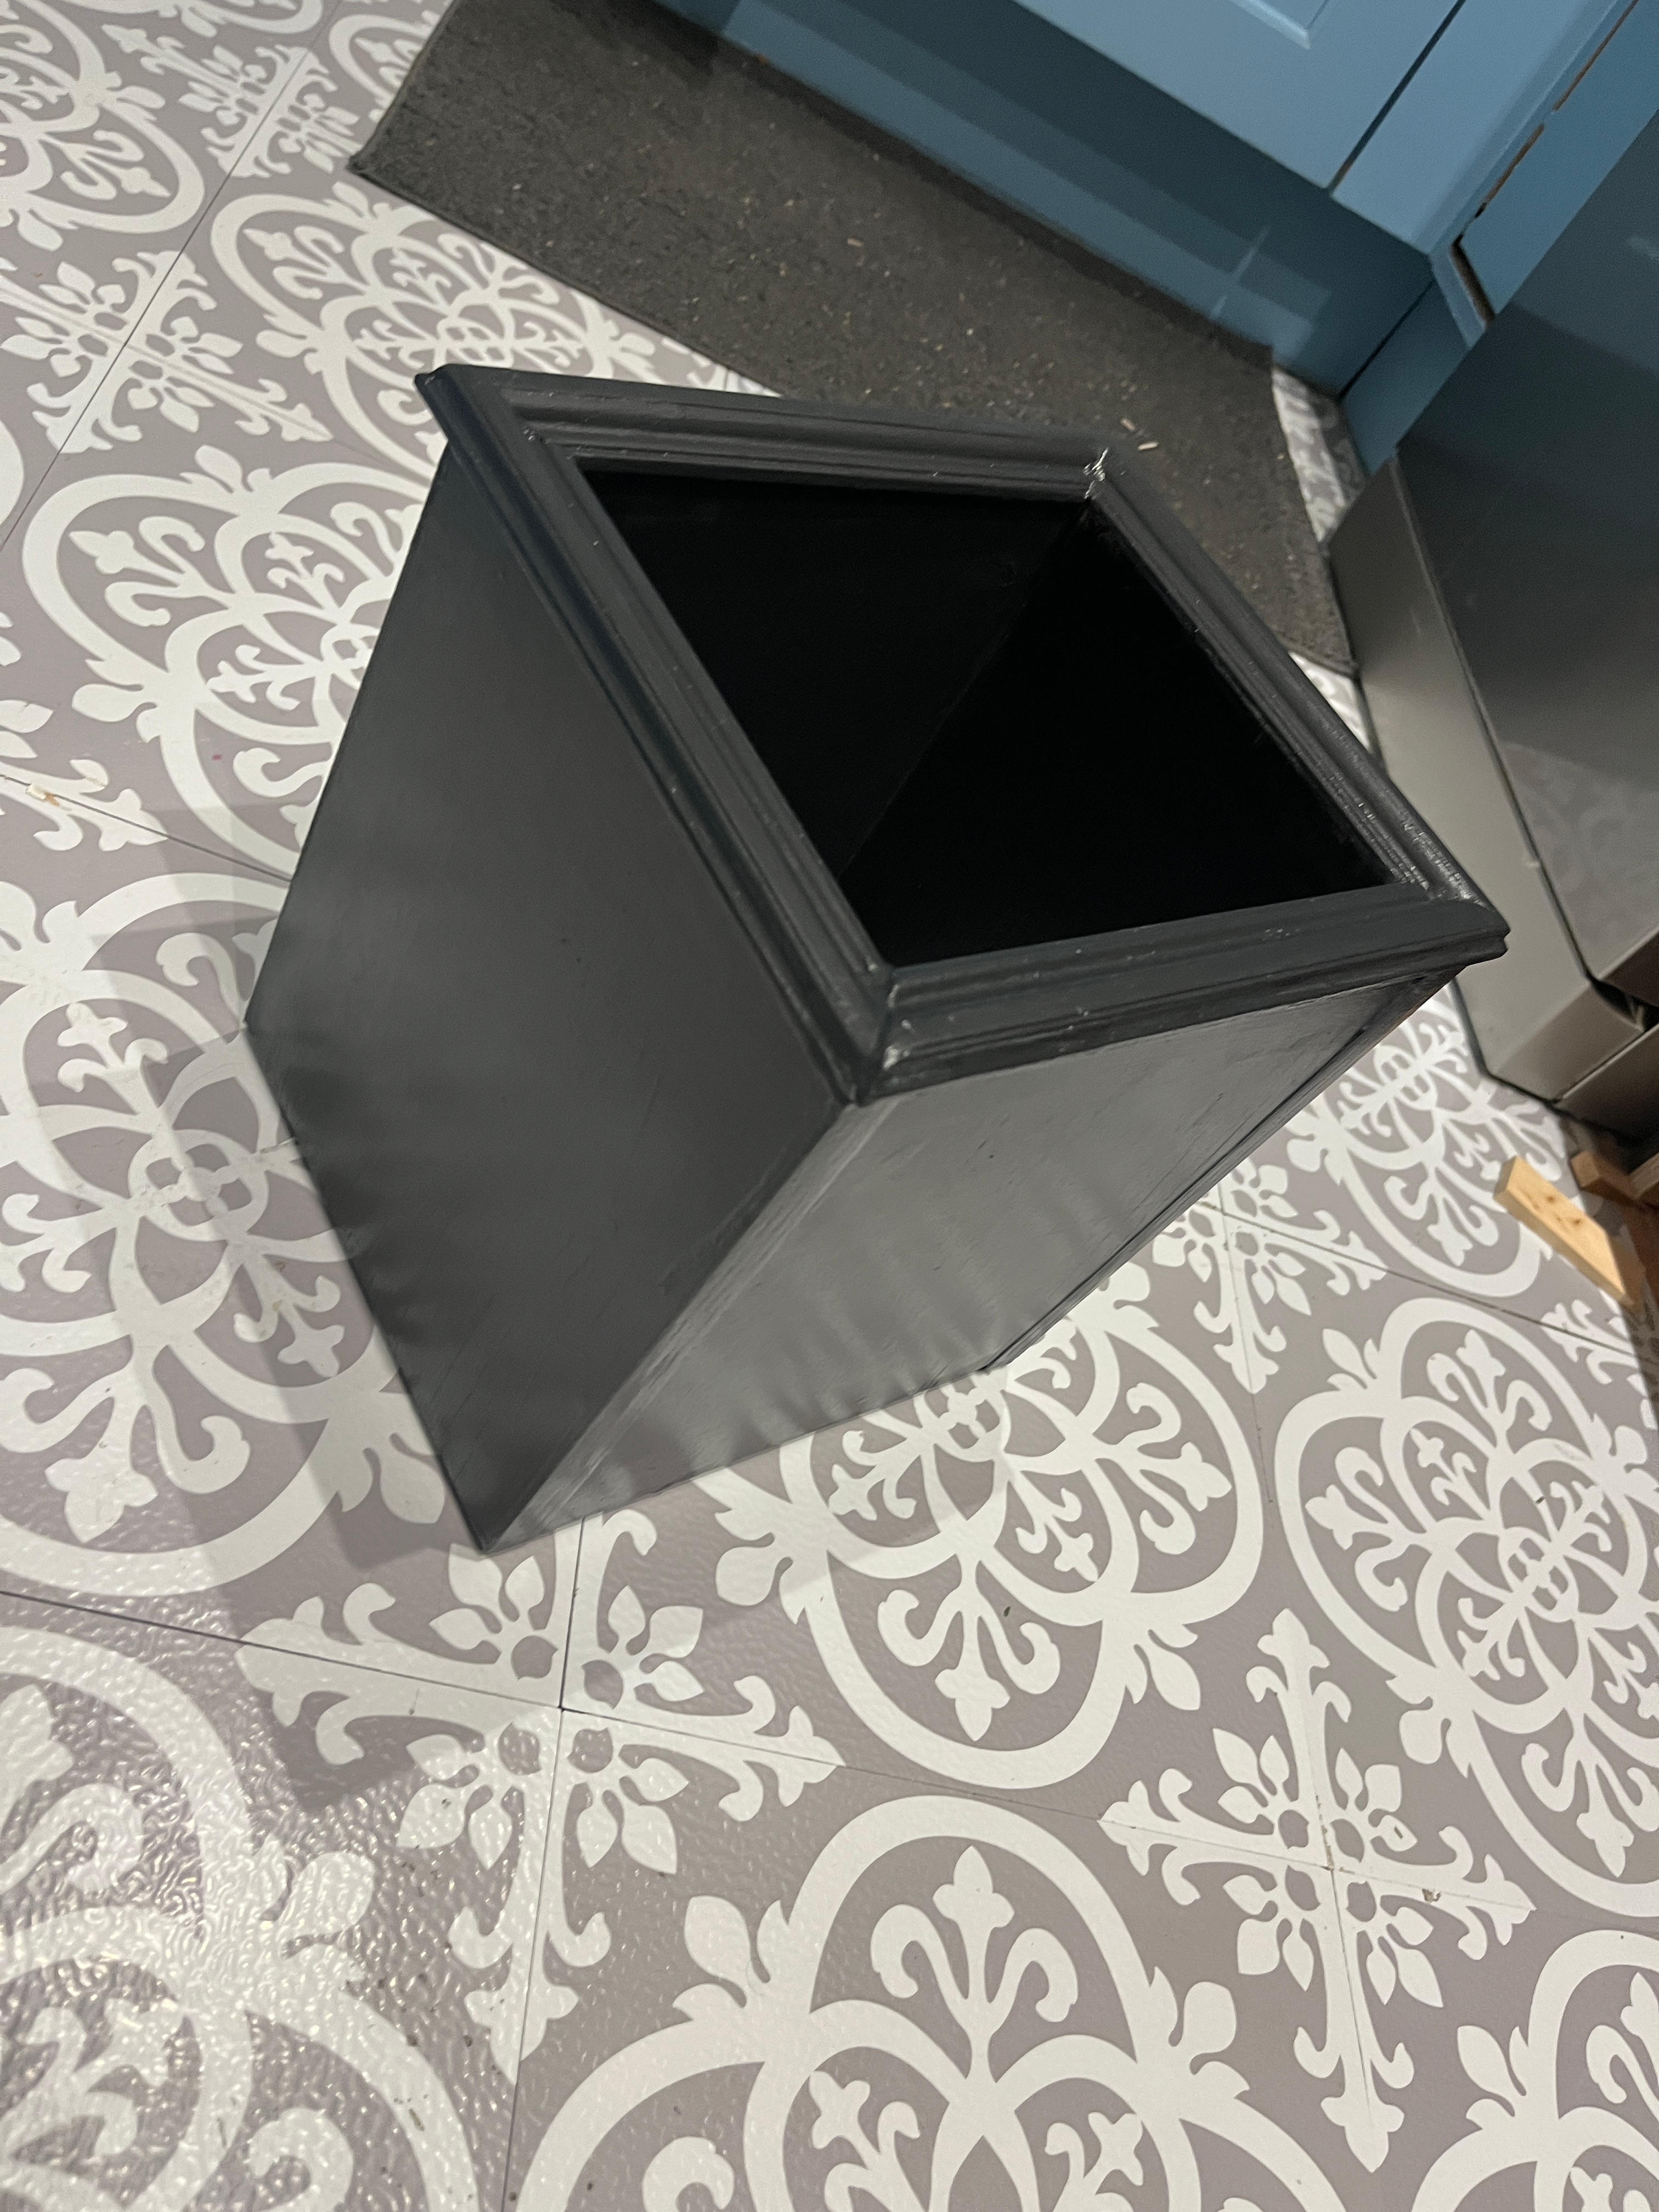
I love decorating, and once I finished the bulk of the guest bath renovation, I was left with the really fun bits. Decorative hooks for the doors. Matching towel and loo roll holders. Candles and baskets to create some ambiance. And the rubbish bin. For this important element, I copied a design from Zara Home, and today, I am sharing how you can make your own designer rubbish bin.

Look at this little beauty. I know, I am a bit too excited about a rubbish bin. But, little things can really make a room. And before, I was using a metal office trash bin, which is absolutely not up to the standards we’ve created with this beautiful guest bath.

I wasn’t sure what kind of rubbish bin to buy. I do not like the little metal ones with a pedal to flip the lid open. They are always too light-weight and the whole bin flips over instead. I certainly did not want plastic. It is actually hard to find a nice looking and reasonably priced rubbish bin that is fit for purpose.
Then one day, I was browsing Zara Home and saw the loveliest little bin in their bathroom section. Wooden with a swinging lid. Absolutely perfect. Classy, understated, simple.

Until I saw the price! £59.99. For a rubbish bin. Absolutely not. That is just too much money.
So, I decided to make my own. It never occurred to me previously that I could do that. But with my DIY skills, why not?
Now, full confession, while I started out making a copy cat, the end result is a bit different. I completely missed off that the lid needed to be removable in order to empty the bin. By the time I went to make the lid, I had already attached the trim around the top with adhesive and nails. And I could not figure out a way to make only the swinging part of the lid easily detachable.

So really, this is not a copycat of the Zara rubbish bin. Rather, it is an homage. Inspired by Zara, designed and built by me. That is the great thing about DIY; you can make things and customise them to fit your needs, style, preferences. In this case, I missed out on a step, and I would have liked a covered waste bin, but still, I really love the result. And it did not cost me £60.
A Special Little Detail
Because I missed out on the lid, I wanted to do something special to make the rubbish bin just that much more special. Check it out:

I added some of my beautiful wallpaper to the bottom of the bin. A little surprise when you go to toss your rubbish. With a very clear tie to the room itself. I love it, it is unique and special to our guest bath and our home.
Make Your Own Designer Rubbish Bin
So if you love the idea of a lovely rubbish bin but not the price, today, let’s look at how you can make your own designer rubbish bin. For a fraction of the cost. And completely customised to your own vision.
Supplies Needed
If you do any amount of DIY, I am sure you will have most of the supplies on hand, and you will probably be able to use left-over scraps for most, if not all, of this designer rubbish bin.
- 12 – 18mm plywood
See measurements below. I used 18mm because that is what I had on hand, but next time, I will go with 15mm. You will also need a thinner piece of wood for the bottom, although you can use the same thickness if that is what you have. - Trim for the top
Again, I used some left-over pieces from the inner trim on my DIY recessed panel feature wall. - Edge binding (optional)
- Wallpaper scraps (if using)
- Nails
I used 1-inch nails and my nailgun - Adhesive
- Caulk
- Wood filler
- Paint or Stain
I used some left-over primer and paint from when we had the window frames painted. It is Farrow and Ball Railings, which is a nice black / charcoal colour with just a hint of blue. It looks great against the purple walls and matches the shower rails and bathroom accessories.
You will also need a circular saw or mitre saw for cutting the wood, as well as sandpaper for ensuring a smooth finish before painting. I used corner clamps and a carpenter’s square to ensure perfect angles and trim shears for cutting the decorative trim.
The Process
Determine Sizing
To make your own designer rubbish bin, first determine the sizing.
The Zara rubbish bin is a perfect square, 20cm x 20cm, with a height of 25cm. I set out to copy this exactly, but when I marked it out, it felt a little small. Since my scraps of ply were big enough, I cut my pieces at 25x25cm, with a height of 32cm. In hindsight, it is a little large, so next time, I will probably go with the Zara sizing.
Cut Walls and Bottom
You will need to cut four pieces of ply in your chosen thickness at the height and width you decide. In my case, I cut four pieces of 18mm ply at 22×25. Again, if I make this again, I will use 15mm ply and cut the panels smaller.

I also cut a square out of 12mm for the bottom. Here, I cut it slightly smaller than the final size of the box, as I wanted the bin to look like it was floating just a bit, to give some depth. You can do this, or you can cut it to size. You also could cut it to the dimensions of the inside of the box, so it sits flush with the bottom and inside the walls. It is completely your choice!
Sand the pieces before assembly, just for ease. You could also choose to paint them before assembly, but I painted it after it was put together.
Assemble the Box
Next, assemble two sides using adhesive. One side butts up to the other, with one raw edge covered and the other exposed. Like this:

Make sure it is square and straight. I used my corner clamps to hold it all together, and then I drove a few nails into the two pieces, being careful that the nails were straight and did not come out through the walls.
Repeat with the other two sides.

Note that the Zara version has mitred corners, which is another option. It is made from timber, not ply. If I was making this out of timber, I would mitre the corners. But for this version, I chose not to mitre them and just use edge binding tape, which creates a nice feature.
Now you have two halves of the rubbish bin. Put them together to form a box. You can assemble so every side has an exposed edge, or you can assemble so two of the four sides each have two exposed edges. This is what I did, which is nice and symmetrical.

Add Trim
Next up, add trim pieces to the top. Here is where you would create a separate lid if you were copying the Zara version, but I completely missed this out. I cut four pieces of trim with 45-degree mitred corners and glued and nailed them to the top. Make sure the spacing is even if the trim pieces hang over the side.
I needed to use a bit of wood filler to fill a small gap in one of the pieces that I just could not get to sit perfectly flush.

Now, add the bottom piece. As shared previously, I cut a piece from 12mm ply, slightly smaller than the outer perimeter of the box, so it would not show. I attached it with adhesive only. It elevates the box just ever so slightly, which I think is a nice touch.

At this stage, I also filled in the nail holes with wood filler, as well as a few gaps in the outer seams. I put a bit of caulk at the seams inside the bin and along the seams where the bottom is attached.
Using Edge Banding
A final and optional step in the build is to add edge banding to the exposed edges on the side. This is optional; you might prefer the rustic look of the raw edge. I added the banding, which created a nice design feature, with symmetrical strips on the edges of two of the sides.
Edge banding comes with an adhesive backing that you activate with heat. Use an iron at its highest setting and hold it on the banding in the place you want to install it. 10 seconds should be enough for the glue to melt and the banding to adhere. You can adjust it if needed, and simply apply more heat to remelt the glue if you need to reposition the banding. You can buy edge banding in several wood types, or if you are painting it, the finish does not matter. This is the banding I purchased.

Sand everything with 120-grit sandpaper, to prepare for painting.
Finishing Touches
I primed the rubbish bin with a tinted primer, then painted two coats with the charcoal paint I had on hand. Sand between coats for a smooth finish.

Wallpaper For An Extra Touch
Once the paint is dry, you can add the wallpaper like I did, if you choose. I cut a square to the size of the bottom, and used Mod Podge to adhere it. I painted the bottom of the bin with a thick layer of the glue / sealant, as well as the backside of the paper. Once I had stuck it down and smoothed it out, I painted a layer over the paper, to seal it.
I’ve never used Mod Podge before, so I am eager to see how it holds up. One note here: While the wallpaper is protected with the Mod Podge, this step would not be a good idea if your bin will be used for wet or messy items. Which is a perfectly acceptable use for a rubbish bin. In our case, the bathroom rubbish is not too messy. Face cleaning pads, empty loo rolls, tissue. Maybe a little bag of cat litter, which is always tied closed. So I do not expect there to be much wear-and-tear on the wallpaper bottom. But do consider this depending on how you will use your rubbish bin.

My Own Designer Rubbish Bin
I am so pleased with this simple addition to our bathroom. I do want to try a version with the swinging lid, maybe when I finish the master bath renovation. I’ll be sure to share the details if I do give it a try.
I also am just so pleased at how much money I did not spend. I can spend what I saved on something else! And every time I throw something away in the guest bath, I will have the joy of knowing that I made my very own designer rubbish bin, and it is perfectly unique to my lovely little home.
Happy DIY-ing!








Leave a Reply