
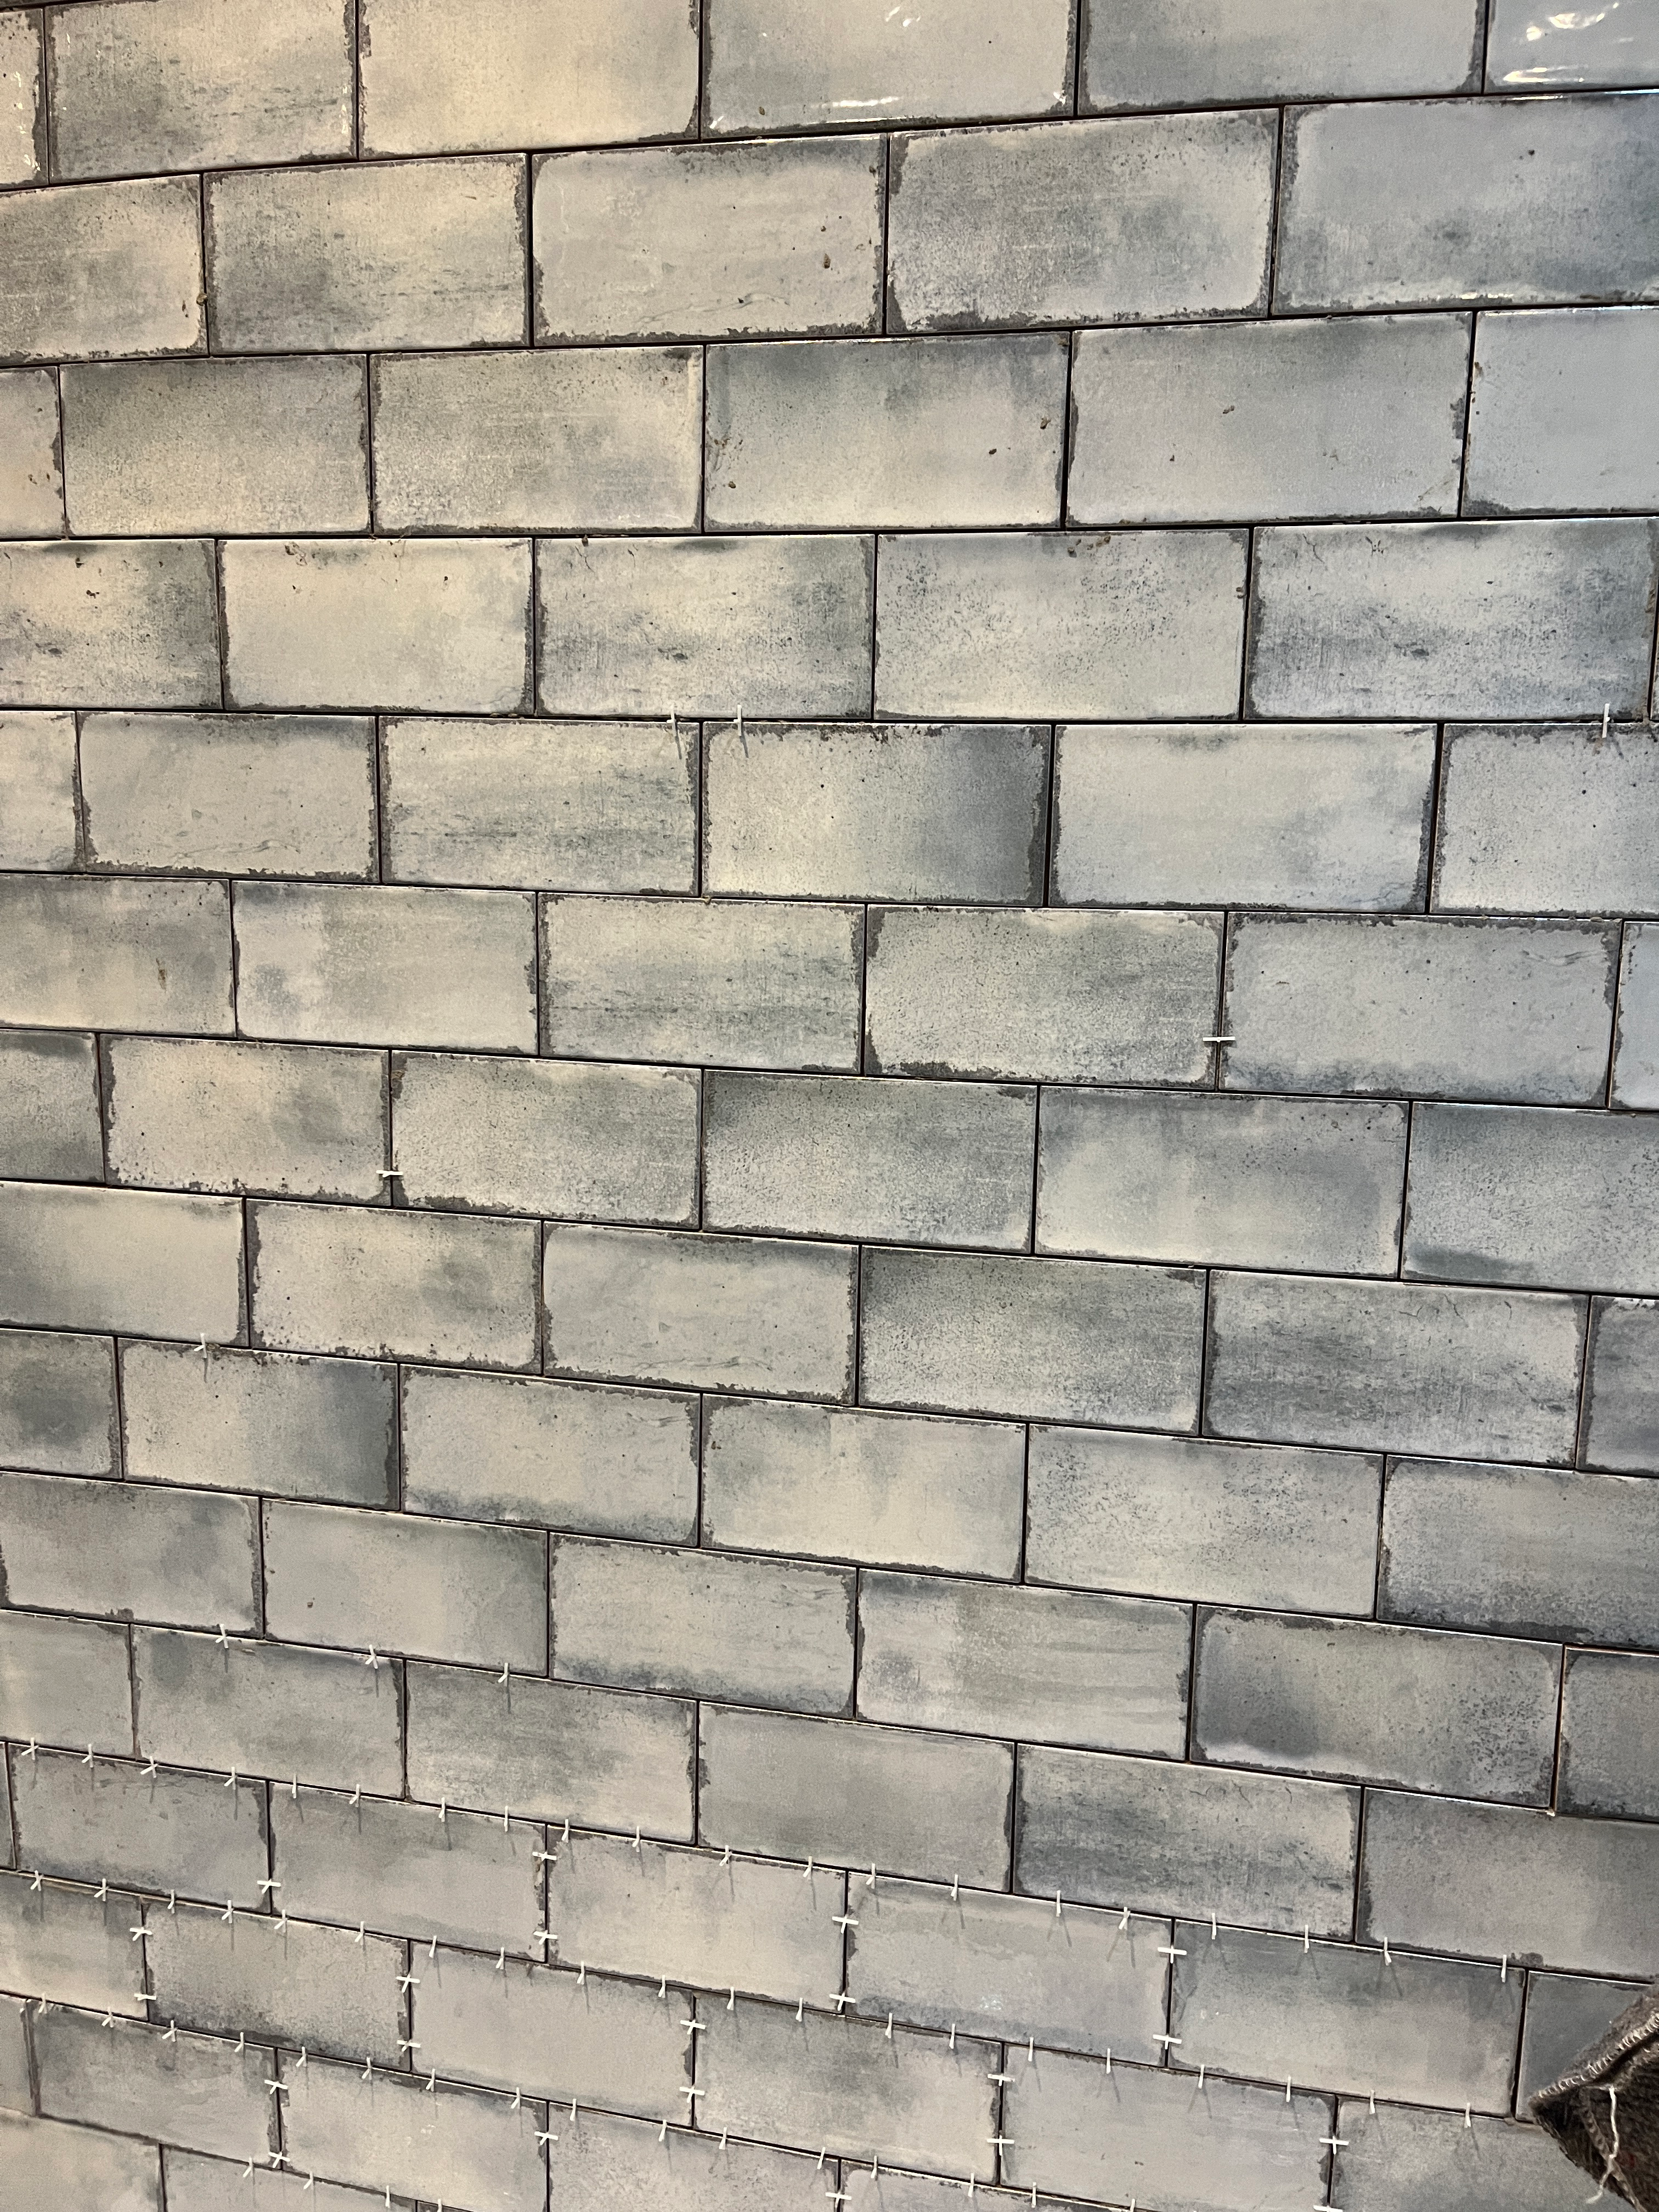
I am in the midst of tiling the shower in my master bath, and one of the most challenging parts before you even begin is to plan your tile layout. From finding the right starting point, to ensuring no tiny cuts or odd layouts around obstacles, to making sure the overall look is symmetrical and pleasing, there is a lot to consider. Today, I am here to help plan your tile layouts so you end up with a stunning wall of tiles in the end.
A word of encouragement to anyone thinking about their first tiling project: do it! Tiling is really enjoyable and brings a real sense of accomplishment. It is one of my favourite DIY things to do. It is almost meditative. Trowel out the mortar. Push and wiggle the tiles in place. Add the spacers. Check for level. Slowly, slowly, a beautiful floor or wall of tiles appears, and your progress is evident with every new tile added.
Yes, you need to get the tile layout right and it can be a little tricky getting started. And you need to be precise and methodical in your work. But that is always the case in DIY. Don’t let this put you off, tiling is a great skill and a fun DIY project. With a remarkable transformation at the end. So if you are thinking about tiling, go on, give it a try. Maybe start small with a backsplash in the kitchen, just to get your technique down.


Planning Your Tile Layout: Where Do You Start Tiling?
Before you even mix the mortar, the first thing to do is find your starting point. There are several ways of doing this, and quite honestly, a lot of it is trial and error. You make a decision on a starting point, both vertically and horizontally, and then you theoretically try it out. And adjust. And adjust again. Until you get it right.
There is rarely a right answer. Rather, you almost always have to make some exceptions or accept a layout that is as close to perfect as you can get. The key is to take the time to plan your tile layout. I encourage you to really put in the effort to get it right. I usually do my planning on one day and start tiling the following day, just to give myself the time.
On a floor, it is much easier, because you can lay the tiles out and move them around until you figure it out. On a wall, with gravity challenging you at every turn, it is a bit harder. Let’s look at how to mimic tile placement on the wall and adjust until you find the right plan.
The Main Tool For Planning Tile Layouts: A Measuring Stick
The key to planning your best tile layout is a batten. Yes, a simple wooden stick (or any material for that matter) that you can hold against the wall and adjust. This time, I used a long thin strip of tile backer board that I had left over. Again, anything will work, as long as it is long and thin and you can mark onto it. You want at least 70cm in length, more if possible. The goal is to mimic as many rows or columns of tiles as you can, and identify the obstacles and make adjustments.

Horizontal Measurements
Take your chosen measuring stick and mark on one side an H for Horizontal. Then, hold a tile horizontally against the stick at the bottom, level with the bottom edge. Add a spacer and then mark where the top of the tile ends. This gives you one row of tile plus the spacer, to see how the row sits on the wall. In my case, my beautiful blue metro tiles are 5cm high and I was using 2mm spacers.
Repeat with the tile and spacer all the way along the measuring stick until you reach the end. You will probably have a bit left at the end; mark an X to indicate it is not a full tile. Now, you have a batten that shows the tile placement for a series of horizontally laid tiles, with spacers. And you can start to visualise how the tiles will sit on the wall.

Be precise here, because every millimetre counts. Consider, if you have 20 rows of tiles, 1-2 millimetres off results in 20-40mm off by the time you reach the top, which is significant. And when marking your measuring stick, use the actual tile and spacer, not a tape measure, because the tiles are not the exact measurement on the label. They are often a few mm off.
Repeat Vertically on the Opposite Side
Once you have completed your horizontal measurements, turn the stick over and do the same on the opposite side, but for the vertical layout. Mark this side with a V, and measure out the tiles vertically, with a spacer, just as you did for the horizontal measurements.
And now, you have a very helpful measuring stick to plan your tile layout. With it, you can mimic tile placement on the walls and make adjustments without having to fight gravity along the way.
Finding Your Starting Point: Trial and Error
Now comes the slightly challenging bit. You need to determine a starting place and see how the layout works. Typically, you want to start with a very symmetrical placement, maybe with a tile centered on the wall horizontally or working around obstacles like pipes and a wall niche. I like to start with the rows, or horizontal tile placement, it is a bit easier. You can even lay the tiles out along the floor or shower pan to check your work and make sure it looks good.

Plan Tile Layouts for Rows First
To start, find the horizontal centre point of the wall and place your measuring stick horizontally against the wall so a tile is centred on that point. This can be anywhere vertically on the wall, since it is just a guide. We’ll find the actual starting point for tiling later.
Check how the tiles look at either end of the wall. Are there small cuts or slivers of tile? If so, adjust the stick one way of the other to get a good layout without tiny cuts at either end. This may take a few attempts. Be patient, you will find the right spot.
Next, check the layout alongside any obstacles. Do the tiles meet with the water pipes in a pleasing way? How about the shower niche? Or other obstacles? These can be very visible, so you want to make sure your tile placement looks nice here.

Keep adjusting the stick horizontally until you find the right layout for the wall considering the obstacles. Make sure to mark the placement on the wall, but note that you are not done. If you are tiling in a brick bond pattern or any pattern with offset tiles from row to row, you need to check the next row. Ensure the tile layout works in the offset pattern. It might not work, so you need to keep adjusting until you get the best possible layout.
Overall, the whole process is a bit subjective, but generally, you want to avoid small or awkward cuts, or anything that takes away from a symmetrical appearance. Be thoughtful, but do not go crazy here; there will always be some trade-offs so do not aim for perfection. Get as close as you can to perfection, with a layout that works for you.
Plan Tile Layouts for More Than One Wall
And then, you need to remember the other walls. Once you have figured out a good placement for the first wall, make sure it carries over to the other walls. Where a tile is cut at the corner, make sure the tile next to it on the adjacent wall looks like it carries over. In other words, if you have a 15cm cut on the first wall, your cut on the second wall should be approximately whatever remains of the width of a full tile, so it looks like one tile was carried over. This does not need to be exact, but try to avoid two really long or short tiles butting up against one another. That would look odd.

As you consider the second wall, you might have to go back and adjust the first wall. Trial and error, until you get it right.
Getting the Vertical Layout Right
Once you have found the right placement horizontally, it is time to turn to the vertical placement. I find this one a little harder, but I am not sure why. It is the same concept, but there is just more space to consider. You have the top and bottom of the wall, where you do not want tiny slivers of tile, and you have the various obstacles to tile around. And in my case for the guest bath, the ceiling is quite high, so there are a lot of rows to account for.
The process is the same. Trial and error. I suggest choosing a starting point around the niche, which is eye-level and very noticeable. It is rare that the tiles will fit perfectly around the niche with no cuts, so I tend to start with a tile intersecting the bottom of the niche and see how that works for tile placement at the top of the niche. Adjust until you get pleasing cuts for the niche, and then see how it works if you carry it through to the shower pipes, down to the shower pan, and up to the ceiling, or wherever your tile will end.

Keep adjusting as you need, and make sure you mark your placements on the wall so you do not forget them. This is a time when you can draw on the walls, just make sure you cover over any old marks or measurements that do not work, so you do not get confused. The marks for your final tile placement should be clear and easy to follow when it comes time to tile.
Feeling overwhelmed by the math? Not to worry, grab my free 5-4-3-2-1 Intrepid DIYer Starter Kit to build your confidence before you ever even pick up a trowel.
A Final Tile Layout That Works
Eventually, you will get a layout that works. It will not be perfect. You will need to make some exceptions. But overall, the most important thing is to find a layout that looks good to you. You will spend a lot of time staring at these tiles, so you want to make sure nothing jumps out or catches your eye in a negative way..
When I measured out my guest bath, I ended up with a smaller tile than I would like at one edge, but because the shower walls would be installed there, I decided to go ahead with it, because they would offset the small cut. It was the best option in the end, and it worked out well. I really love the layout and do not find the cuts to be noticeable at all.

In the master bath, I was quite lucky that one wall could hold 5 full tiles with spacers straight across. There was the tiniest sliver at the end, which I will cover with trim. That meant that the second row, which is offset by half in a brick bond pattern, resulted in one tile cut in half on either end. This worked nicely with the adjacent wall, where I had a tile cut slightly smaller than half the tile at the edge. So not a perfect match, but close enough.

Where to Start Tiling
With your final tile layout determined, make sure you mark it clearly on the wall with a marker. Both the vertical and the horizontal placements. When it comes to actual tiling, you want to start a few rows above the shower pan and tile up the wall. At the end, you come back and tile the bottom few rows to finish.
So mark your measurements in this area. Then, using a spirit level or a laser level, draw a straight line across the bottom of the row where you will start tiling. Use a wooden batten or scrap piece of wood (maybe even your measuring batten if it is wood), and nail it to the wall at the line. A few nails is fine, this is a temporary addition. The wooden batten acts as a ledge on which your first row of tiles rests. As you tile up the wall, this batten helps hold the tiles in place while the adhesive cures. Otherwise, they might slide a bit from the weight, which would be terrible after all your measuring efforts.
Do the same on all walls where you are tiling and ensure everything is straight and level. And mark the starting vertical edge of the tiles for the first row, maybe on the batten, since the adhesive will cover the marks on the wall.
And now you are ready to mix the mortar and start the fun bit: the actual tiling.

As a final note, I did try to use AI to set the tile layouts, but it did not work out too well. Next week, I’ll share a bit about my experience and some learnings in case you want to give AI a try. Don’t miss it, subscribe and get the posts delivered straight to your in-box.
Happy DIY-ing!








Leave a Reply