
Last week, I shared my top six home updates with you. This week, let’s go a bit deeper and look at how some of my home updates have stood up over time. Today, I am sharing an honest review of home updates, including those that really delivered impact, and those that did not.
Over the last four years, since we purchased the flat, we’ve made a lot of upgrades. Some we hired out, like installing the wood flooring. But many, I’ve done myself. With varying degrees of success. Yet all with plenty learned along the way.
Let’s jump into an honest review of home updates. Maybe you’ll find some projects to add to your own DIY list.
- Bespoke Shelves and Accent Lighting
- Kitchen Drawers Built in to the Toe Kicks
- Fancy Recessed Paneling in the Bedroom
- Extending the Closets
- Shoe Cubbies
Bespoke Shelves and Accent Lighting
First up on the list and one of the best updates I’ve made are the bespoke shelves in the lounge. These shelves make me so happy every day. They are a focal point in the living room, they look fantastic, and they provide great storage and display areas.

You might remember that this was one of my first big DIYs. I took my time and agonised over every step, and it paid off. You can read the full series of the build here.
I decided early last year to make some upgrades, including organising the closed storage, replacing the trim with something a bit fancier, repainting in a glossier sheen, and adding accent lighting. The upgrade was worth it, as the shelves look even better.
Except …
Accent Lighting Challenges
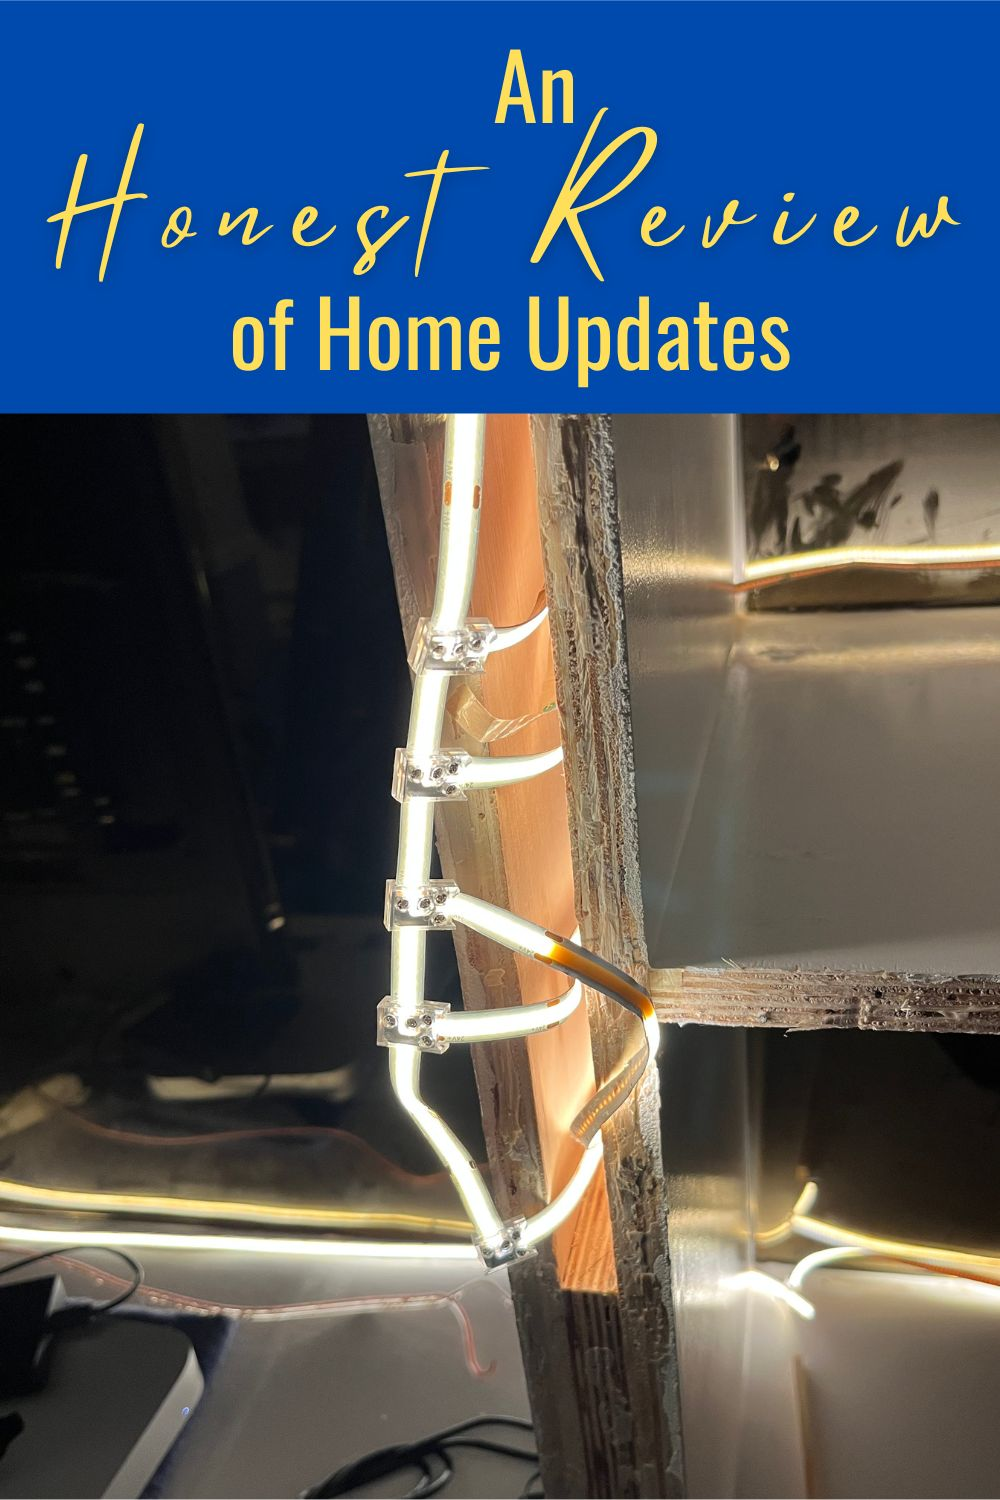
The accent lighting! In this honest review of home updates, the lighting on the shelves has never been quite right. Let me share some more details, in case you are considering adding accent lighting to a project.
First and foremost, adding accent lighting is best done as a part of the initial planning and build. I decided to add the lighting after the shelves were built. Which created a lot of problems with the layout and connections. I was limited in how to run the lights behind the trim, and the final layout required a lot of connections, which creates plenty of opportunity for something to go wrong.

I did finally come up with a good plan and was able to make all the connections, but I needed two sets of lights on two different outlets. Not a big deal, but I wanted to be able to turn the lights on with one remote, not two. As I tried to make it work, I ended up blowing out one of the supplies and had to replace it, which took weeks to arrive. By the time it got here, I had moved on. When I finally got back to it, I could not get the two systems to pair, despite following the directions.
So today, I have accent lights, but they are not paired and I need two different remotes. I also cannot get them to the same percentage of lighting, with one brighter than the other. So we are not using them much. I really need to get back to it and figure out the issue, but I’ve lost a bit of enthusiasm. We’ll see if I can ever get them working properly.
Overall verdict: Shelves are absolutely worth it, but beware, lighting not so much. Had I installed the lights at the start, the story might be different.

Kitchen Drawers Built in to Toe Kicks
I never covered this project on the blog, but during the mini-kitchen update, I decided to convert the dead space under the cabinets, behind the toe kicks, into drawers. I had seen several examples on the interwebs, and it seemed like a great project to bring more storage to the kitchen.

In principle, this is a good idea. But in my review of home updates, this one is not a win. I ran into two problems. First, I was still early in my DIY journey, and my precision was not great. Second, there were some barriers under the cabinets that I did not realise until after I started and which caused some issues.
Taking measurements of the space under the cabinets was challenging, and I wrongly assumed the space would be the same for all the drawers. I made three drawers of the same size, but one of them needed to be shortened so as to avoid some of the pipes under the stove. I also did not do a great job on the covers for the drawers, as I cut the original toe kick board into three pieces to cover the fronts and look like a seamless toe kick.
Sadly, the drawers do not sit perfectly flush with one another, and they are quite difficult to pull out. You actually have to pull one out to reach the next one and then the next one. I could add handles but this would make them more obvious than they already are. They do provide good storage of items I do not use often, but they are difficult to access. And they do not look great.

Final verdict: Not the greatest addition. Perhaps with better precision and more knowledge now, I could do a better job. Fortunately, this was a mini-update before I take on the big renovation in the next year or so, so I can live with it. But I am not sure the space added really provides enough storage to make it worth it.
Fancy Recessed Paneling in the Bedroom
I decided to try my hand at adding recessed paneling to one bedroom wall. I have always loved this look, and the opportunity to paint it a lovely shade of purple made it even more perfect in my eyes.
This addition, while purely aesthetic, was absolutely worth it. It still looks great two years later, and it makes me so happy to look at it as I pass the room or as I am lying in bed.

It took me a bit longer than expected to complete, but that is quite typical for me. This was one of the first projects where I focused on absolute perfection and made myself slow down to get everything right. The final wall paneling is not perfect, of course (this is DIY and I am not a professional!). But it is pretty close to perfection, and I absolutely love it!
Final Verdict: In this review of home updates, I highly recommend adding paneling to a room. It elevates the room so much, and it is a really fun project. I am eager to add more paneling in the hallway and living room, but I just haven’t found the time yet. I think the master bathroom will also have some paneling as well.
Extending the Closets
Because I am all about storage in my tiny flat, I had the great idea of extending the existing closets in both bedrooms. There was so much unused space in the top part of the closet that had been finished, but it was unreachable due to the height of the doors. I created an opening above the existing doors to access the space and added a shelf, so it became a second smaller closet on top of the main one.


I did this four times. All in one go. Cutting into the walls, framing out the opening, and finishing with matching trim. The only thing I still have not done is add doors.
This was a challenging project. Probably a bit above my skills. And honestly, I’m glad I cut into all four walls at once. Otherwise, I might have stopped after one closet because this was really hard.

But I got there in the end. It took a lot of time and effort, and I nearly quit a few times. But in the end, the additional storage is fantastic. Four additional closets that look like they were here all along. If only they had doors!
Final Verdict: Wonderful storage, but very challenging. Probably not a project for the less-experienced DIY-er, but if you are up for a challenge and have a similar space, give it a try. You will love the final outcome! (Will I ever get the doors built?)
Shoe Cubbies
A final project in this review of home updates is my shoe cubbies. This was my second DIY project, after I built a custom shelf in an odd-shaped closet. I felt invincible after that first project, so I decided to re-create some shoe cubbies I had bought at Target years and years ago.

The design of the shoe cubbies is perfect. Organised and efficient storage for all the shoes. But, the original shoe cubbies were falling apart after many moves. And, I wanted to adjust the overall sizing.
I modeled the new version on the original, but made them taller, based on my total shoe count. (I’ve since outgrown them a little since I do love shoes!) This was such a great project, and it looks so good. The only challenge is that the outer frame is a little unstable. As it was an early project, I had not yet discovered the security of pocket holes. I used simple screws into the MDF boards, and I did not add a brace to the back. At some point, I need to fix this. An easy enough fix, which I will get to when I remodel the office, where my wardrobe and shoe cubbies live.

This shoe system worked perfectly for everything but boots. I later added boot storage shelves in my closet, complete with lighting when you open the doors. So luxurious!
Final Verdict: Highly recommended. A fun weekend project if you are looking for a great shoe storage solution. And highly customisable according to your own shoe collection!

Many Projects, Many Learnings
All of these projects had different outcomes. Some were more difficult and not quite worth it. Others were very difficult but bring great value. And some were just downright fun.
But every one of them taught me something. Or more often, many things. For that reason, in this review of home updates, my overall verdict is worth it for the learnings alone! I hope you can learn something from these updates, and more important, that you will give your own updates a try. Good luck!
And Happy DIY-ing!
Interested in similar posts? Check these related topics out:








Leave a Reply