
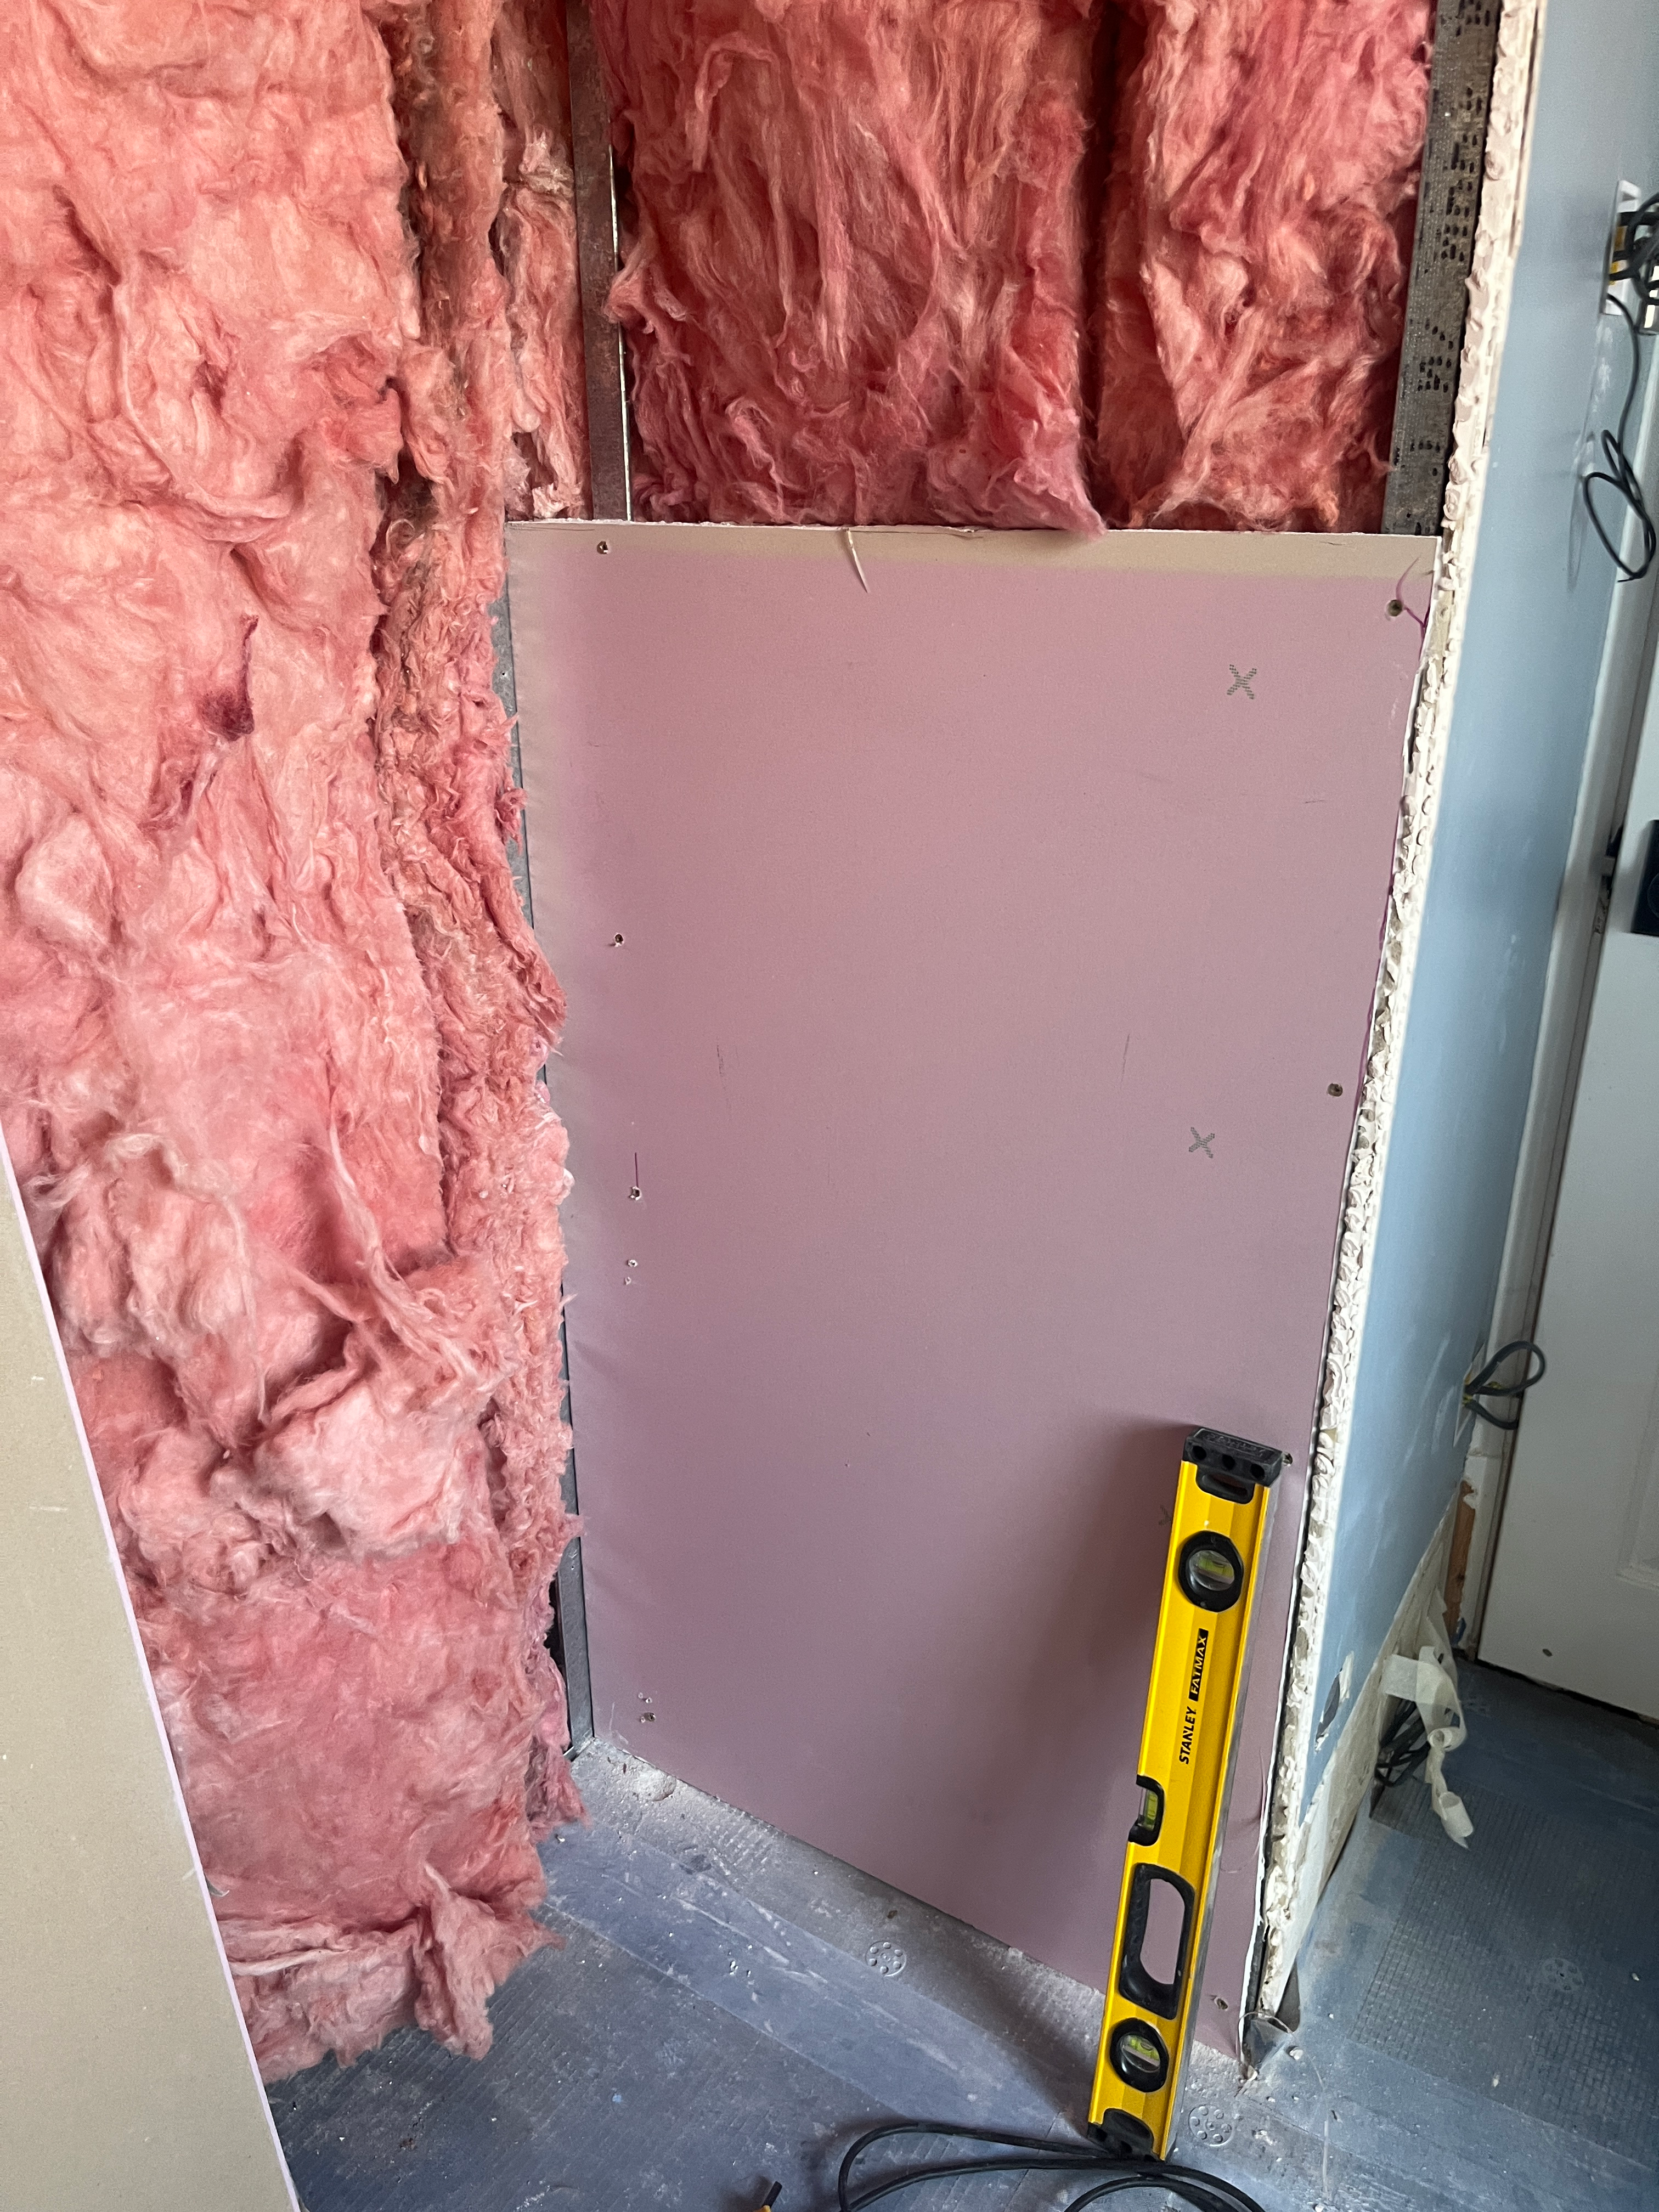
If you have been following me over the years, you will know that my flat has metal studs throughout. And I’ve struggled with how to work with them. Well today, I am pleased to report that I just might have figured out how to drill into metal studs. And I have the master bath renovation to thank for this newfound knowledge.
Let’s take a step back and review all of the challenges I’ve had with metal studs. Starting with the first time I cut into a wall, to make the closet extensions in our two bedrooms. There was a metal stud running the length of one of the openings, which fortunately I was able to remove. And because I could not figure out how to drill into the studs, I needed to add wood blocks using existing holes in the studs to help with framing the opening. It was not ideal, but I got there in the end.

I’ve also tried to hang numerous items and had to find ways around my ideal placement because … you guessed it, metal studs.
And with the guest bath renovation, I could not figure out how to screw into the metal studs to hold the tile backer boards for the shower. I ended up adding timber studs to the metal studs, again using existing holes to screw the two together. I then attached the tile backer boards to the timber through the plasterboard that was already there.

Please do not misunderstand me. I’ve tried drilling into the metal studs on each and every occasion. I’ve purchased self-tapping screws for metal, different drill bits, you name it, I’ve tried it. But I’ve found that the studs rattle, shake and start to bend, which is exactly what I do not want. So I always stop and find a work-around.
Very honestly, based on this experience, I am not really sure about the strength of metal studs. Timber studs just make so much more sense. You can easily cut them, they are sturdy and secure, you can easily screw into them. I know they are less fire-safe than metal studs, but that is about the only positive thing I can say about metal studs.

The Master Bath Renovation
As I tackle my second bathroom renovation, though, I am determined to solve the mystery so I can drill into metal studs. I have a large and very high wall (180 x 320 cm) that I need to board with tile backer boards. To add timber studs throughout will take significant extra time and will add quite a bit of cost.

The wall was previously tiled, using plaster board screwed into the metal studs. It was strong enough, although of course, it is no longer acceptable to tile directly on to plasterboard. I had to remove all the plasterboard anyway because it had loads of mortar remaining after I removed the tiles.
The wall is down to the studs. Even if I wanted to add timber studs, I would need to remove all of the insulation, which probably means replacing it, because it is old and dusty. which would add even more time and costs.
So clearly, this is the moment to solve this problem once and for all.
How To Drill Into Metal Studs
I am a little embarrassed to admit that the solution is really rather simple: a two-part approach, starting with a metal drill bit to bore a hole, then a screw using a separate drill with a screwdriver bit.
Part of the problem is that I’ve been trying to drill and screw into the metal studs at the same time. All in one go. I can drill and screw at one time into timber, using my impact driver. So I’ve assumed the same for the metal studs. But it occurred to me, maybe I am being too aggressive here.

So I went back to basics. Using a metal drill bit, purchased especially for this reason. And my corded drill for maximum power. I pressed the drill bit against the metal stud, applying some pressure but not too much so I don’t cause the metal to flex or bend. With slow and steady pressure, I kept going until the drill bit punctured the metal and I had a hole. Entirely too easy. Why did I struggle for so long?
A Few Tips
Preventing Shaking and Flexing
Make sure you choose a strong location on the stud. Closer to the middle or the edge that bends over 90 degrees will both offer more strength. If you need to drill on the thinner, unattached edge, use a spare block of wood behind to stabilise the metal. You can then remove it once the hole is bored.
Keep the speed low and the pressure on the drill steady. Be patient, it may take a bit of time.
I also found that if my pressure was too light, the drill bit just danced along the metal stud, without penetrating. So more pressure, but not so much that you bend the stud.
Finding the Right Spot for the Hole
Because I was hanging tile backer board, I held it in place with one hand and drilled through it into the metal stud. It was not ideal because I lost a little control when the drill bit finally punctured the metal stud, and I crushed the tile backer board a bit. The washer covers the hole, and I will fill this in with silicone and tanking agent when I am all done, to ensure no water gets through.

The Right-Sized Hole
I also was making fairly small holes, using a 3mm bit. If you need to make bigger holes, you might want to use a wood block as bracing behind the point of impact.
I did make slightly bigger holes for the plasterboard to match the screws I was using, but here, it was only 3.5 or 4mm.

A Simple Solution to a Longtime Problem
Perhaps if you are reading this post, you are thinking, this is not difficult. Why did she have so much trouble? I understand that. It seems so simple now. But, I think there is a precise combination of the right kit, hole size, location on the stud, and pressure to make this work. And a two-part approach, which takes more time when you are hanging a huge wall of tile backer board.
I do recognise that there must be a way to drill and screw all in one go. But I have not yet found it. My approach takes more time, but it gets me there in the end. And there is a certain sense of freedom knowing that now, I do not need to work around metal studs. Nope, I can go right through them!
What do you think? Simple task I should have been able to figure our long ago? Or legitimate issue that is hard to solve. Tell me your thoughts!
Happy DIY-ing!
Interested in similar posts? Check these related topics out:








Leave a Reply