
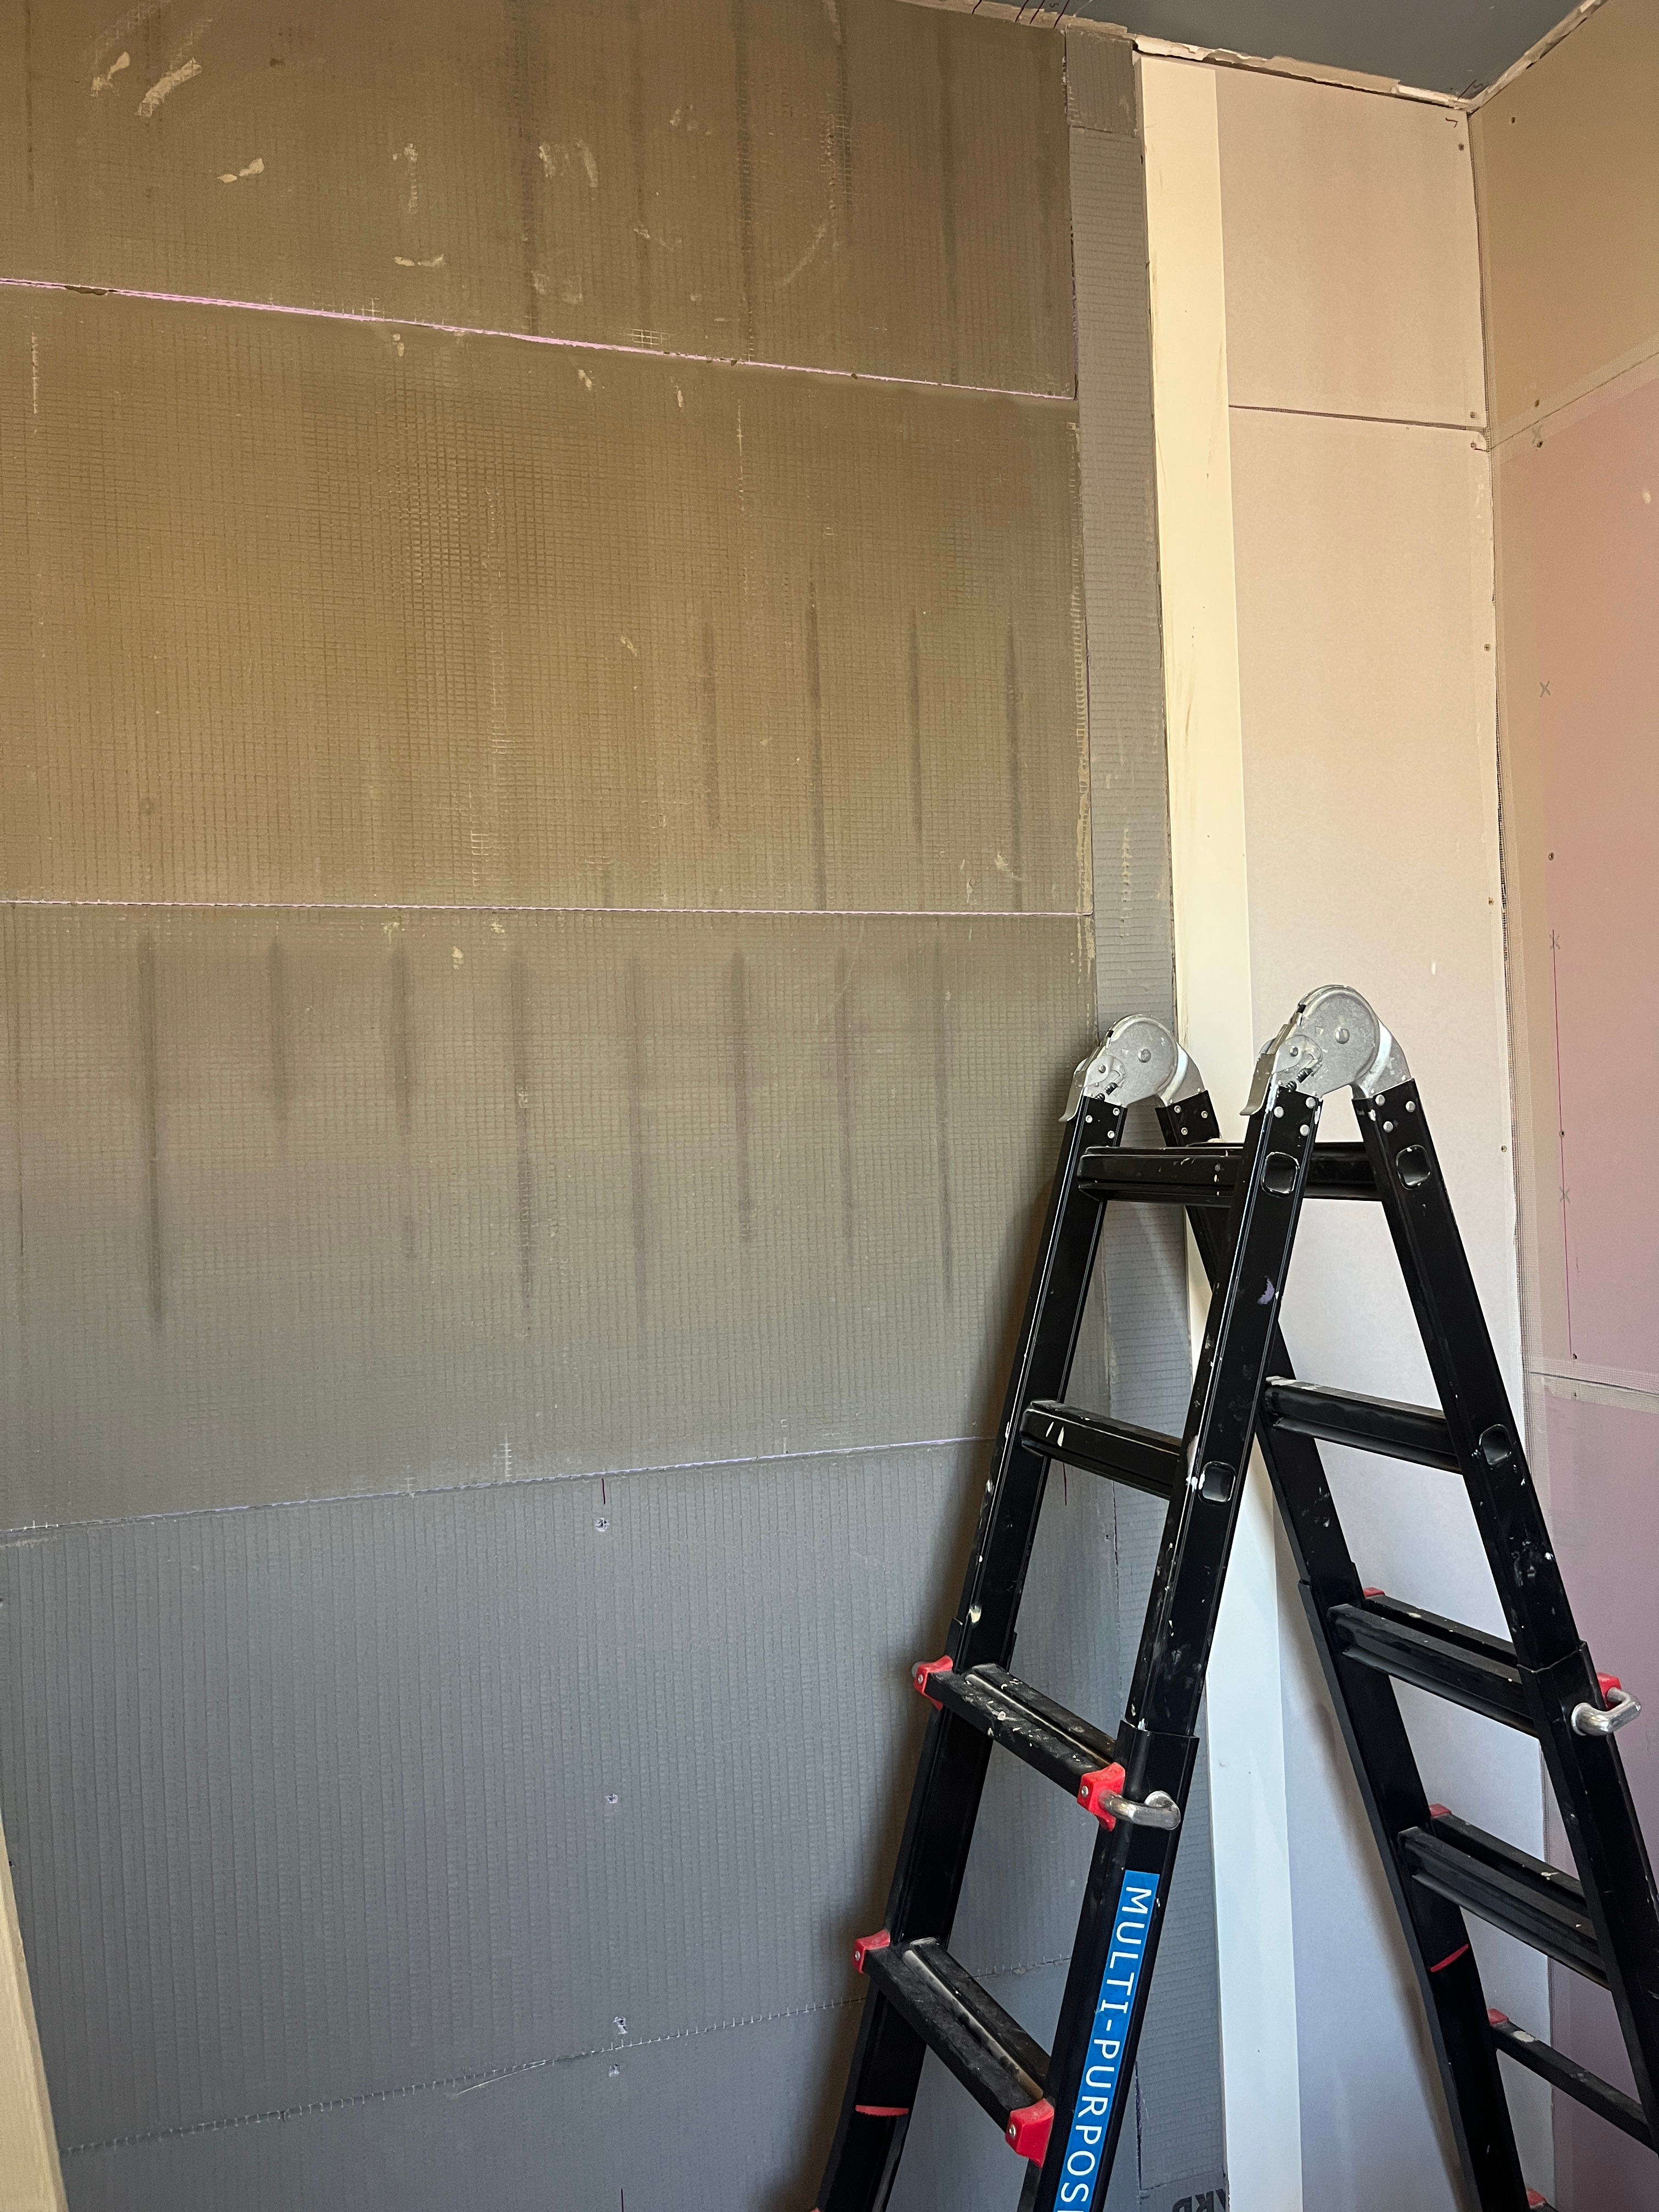
Waterproofing a room, especially a bathroom, is critical. Installing tile backer boards is one of the central parts of waterproofing, and today, I am here to share some updates on my own techniques for installing tile backer boards, on top of my previous experience in my guest bath.
When I started the master bath renovation, I did not plan to share all the details with you. Only the new or improved techniques since the in-depth guest bath guide. And of course, any learnings along the way. Well, so far, I’ve had plenty of new and improved techniques and learnings from this bath. And it is still early days!
As I shared last week, one significant update has been the newly learned skill of drilling into metal studs. This has dramatically changed things around here, now that I can actually make use of the existing metal studs, without needing to bulk them up with timber studs. I got so excited about my newfound skill that I promptly began installing tile backer boards directly into the metal studs on the back shower wall.

Not So Fast: Ensure a Strong Substrate
In my enthusiasm to drill into the metal studs and get the backer boards hung, I missed a crucial step. Ensuring a strong substrate.
For those new to JackoBoards, these are tile backer boards that ensure a waterproof base for tiling. These days, you must tile onto proper tile backer boards, unlike in the past, when it was acceptable to tile directly on to plaster board. I really like the JackBoard system. The boards are essentially foam encased in a thin layer of cement. They are super easy to cut and drill into, and they are light-weight. I was a bit worried about working with actual cement board, as I am working alone for the most part and cement boards can be quite heavy. to hang by myself.
However, with JackoBoards, due to their foam centre, they are waterproof, but not strong enough to serve as a structural component. So they must be fixed to a strong substrate. As I had taken all of the plasterboard off the shower walls, due to the significant mortar that was left behind after the tiles were removed, I was installing the backer boards straight onto the studs. In hindsight, not the most secure base for these light-weight boards.
I installed two rows of the backer board on the shower wall. Holding the board in place with one hand, drilling through the board into the metal stud with the other hand. Then, screwing the metal washer and screw into the board using my impact driver. Rinse and repeat. And all the while feeling quite chuffed that I had conquered metal studs.
Until I stepped back to check my work. While it looked good, it did not look overly secure. I had to screw at the very edges of the boards. I had added one timber stud in the end, to help with spacing. But the boards just did not look as secure as I would like.

Sure enough, when I pressed them, there was some deflection. It was slight, not significant. But enough. You do not want any deflection, or movement, in your tiling base.
I stopped and decided to reconsider my approach. Would more timber studs be required after all?
A Revised Approach
My plumber came to the rescue with an obvious solution, taken from the guest bath learnings. He suggested adding a layer of plaster board to the wall, then installing tile backer boards directly to the plaster board. Exactly what I did in the guest bath. Why did I not think of it?
You might remember that when I removed the tile in the guest bath, there were two layers of plaster board. I removed the top one (which was covered with mortar). I left the one below and applied the JackoBoards to the plasterboard.

An alternative if I wanted to would be to use a thicker JackoBoard at 20mm instead of the additional layer of plasterboard. This is recommended for wider stud spacing. But I did not want to return the 12mm boards that I had already purchased. So, I ordered some plasterboard, and as soon as it came, I covered the full wall. Now, I have a secure substrate on which to install tile backer boards.

To Mortar or Not to Mortar Tile Backer Boards?
That is the question.
Once I installed the plaster boards (I’ll share more on that experience in a future post), it was time to install the tile backer boards. I went back over my notes from the last time to make sure I remembered everything, and I double-checked the JackoBoard instructions.
There was a discrepancy. The JackBoard system says to use a thin layer of mortar on the walls. But my notes for the walls mentioned nothing. I used mortar for the floors in both baths. But for the life of me, I cannot remember using mortar on the walls in the guest bath. I am 99.9% sure I just used the screws and washers, without mortar. I know the boards are very secure, but for some reason, I did not use mortar.

I will be honest, part of me considered just doing the same here in the master bath. It worked well before, why not do the same. But, this shower is a lot bigger, with a very high ceiling. The guest bath wall was fairly small, with an angled ceiling. In the master bath, there will be a lot of tile. 550 tiles to be exact, vs. 300 in the guest bath. That is almost twice as much, and going higher on the wall. That will be a lot of weight.
And besides, I know myself. I would worry if I did not use the mortar, now that I know. So, mortar it is!
I am using mortar AND the screws and washer system. Interestingly, in one video I saw about JackoBoard, they only used mortar. But, I am using both. Belt and braces and all that.
Actually installing tile backer boards was a fairly quick job. Spreading mortar on the plasterboard, running grooves with the notched trowel, and pressing the boards in place. It was so quick that I forgot to get any photos, but if you need more details, check out my guide on installing JackoBoards on the floor in the guest bath.

A Guide for the Tile Edges
One additional step I took while boarding was to add a temporary trim board to the edge where the tiling would end. This serves as a guide for where to end the tile backer board, and it also will help ensure a clean ending line for the tiles. In the guest bath, my tile edge was a little wonky. I was able to hide it with silicone and some wood trim, but I would like to do better this time.
For the guide, I used a left-over MDF board from when I added fancy recessed paneling to our bedroom. I nailed it to the plasterboard, so it will be easy to remove once it has done its job. It worked great for the backer boards; let’s see how it works when it comes to tiling.

I plan to add some type of paneling for the lower two-thirds of the walls in the master bath, so this is perfect as a guide. If needed, I can remove this board and add a fresh board to the location once I am ready for the wall paneling install.
Still Not Ready for Tiling
Once the tile backer boards were installed, I let the mortar cure for the required 18 hours. The next day, I added further security by using the screw and washer system, drilled into the studs and plasterboard behind. Sadly, I ran into more issues. For what should have been a straight-forward completion of a water-proofed wall ready for tiling, I could not install the washers and screws into some of the metal studs. The drill just would not penetrate.
I am not sure what to do, so I need some time to consider. Stay tuned, I’ll update you once I’ve figured things out.

I am learning that there is never a dull moment in DIY. What I think will be simple never is, even the things I have done before. My husband reminds me that I enjoy doing this, but some days, it does feel quite hard.
I will be back when I have some solutions. Until then …
Happy (?) DIY-ing!
Interested in similar posts? Check these related topics out:








Leave a Reply