
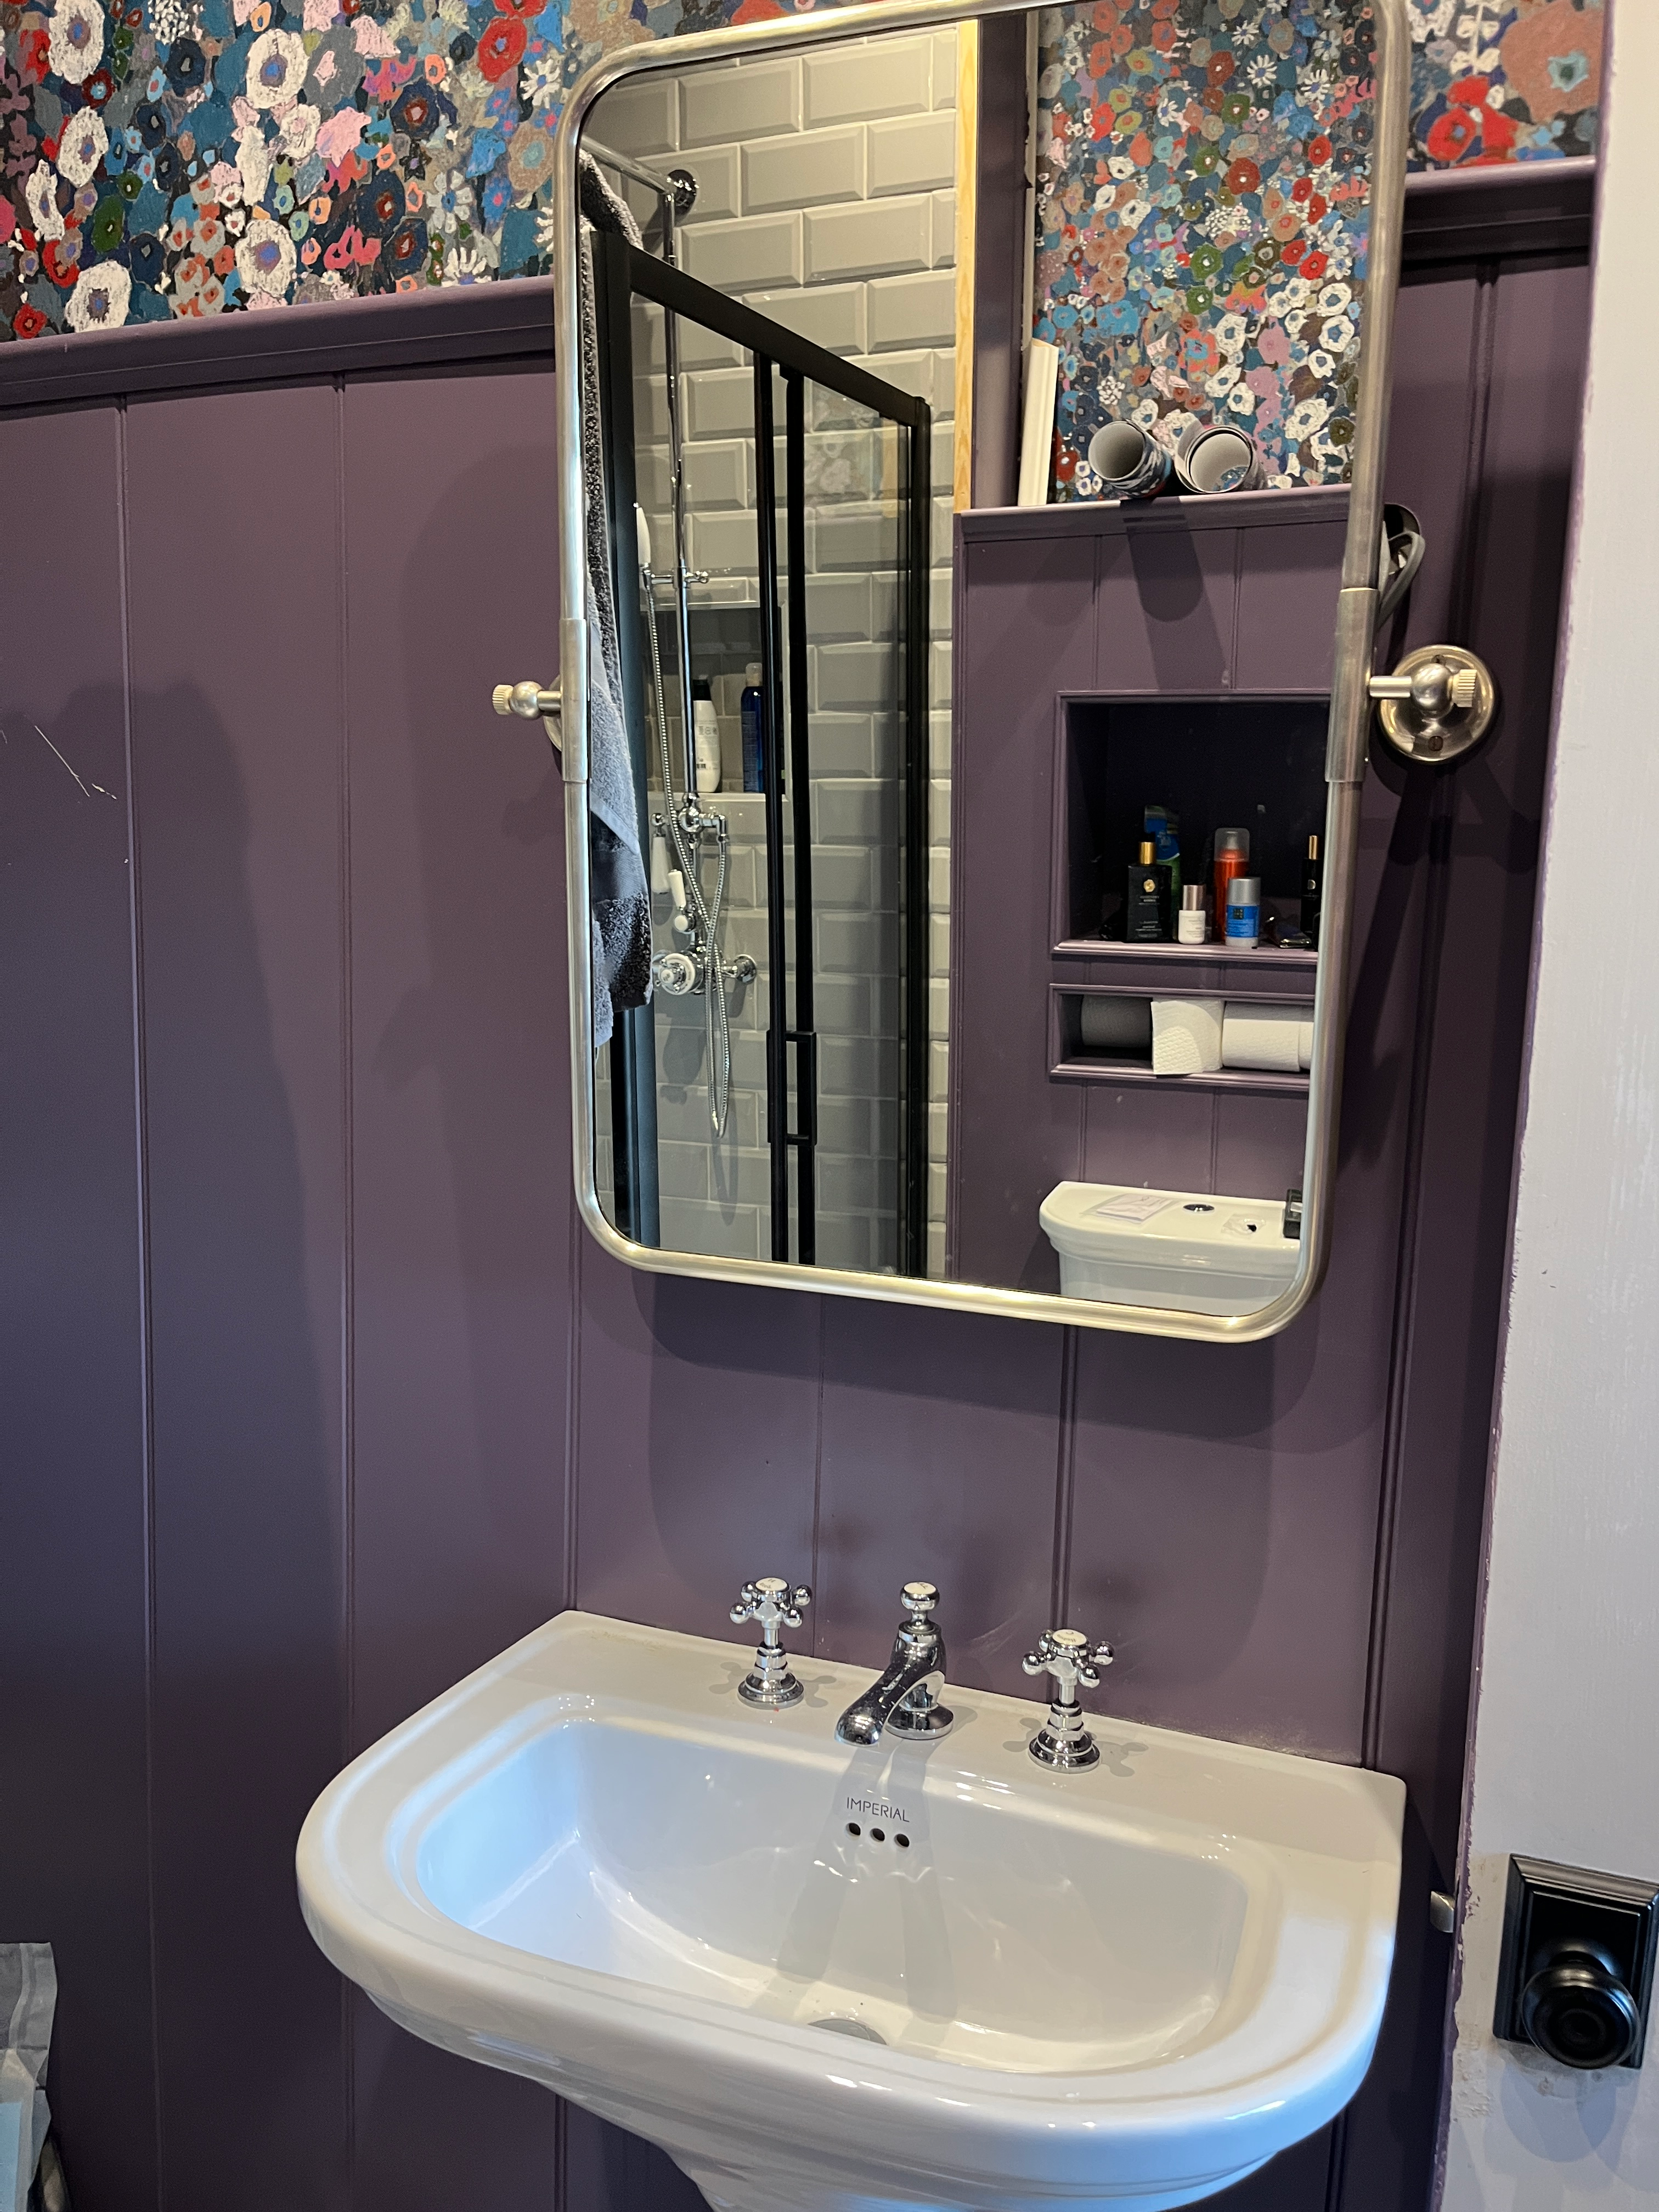
The year is off to a slow start on DIY projects and specifically on DIY finishing touches. I just cannot seem to complete the guest bathroom. There is not much left to do, but I just keep putting it off. I cannot get excited about the last little bits. And I won’t let myself start anything new until it is done. A busy work and travel schedule has also meant less time for DIY!

Does that ever happen to you? You can see the finish line but just cannot seem to cross it? DIY finishing bits can really drag a project out. It probably does not help that the bathroom is usable and getting used regularly. The shower works beautifully and has become the go-to shower, even though it is the guest bath. It is just so much nicer than our other one! The basin and toilet are also in regular use, by us and by guests alike. And that heated floor. Glorious! Maurice is a big fan and spends his afternoons napping in warmth.

And let’s not forget the washer/dryer. I absolutely love having it in the bathroom and not in the kitchen. (Of course, I still haven’t filled the space left in the kitchen with more shelves. But I’ll get there eventually!)
So the items to complete do not interfere with the working use of the bathroom. But, I really want to finish up all the details and call it done. Here is where I am with the final DIY finishing bits.
Covering the Washer
I added some of the wall paneling to the edge of the washer, to cover the big silver panel exposed on the side. In hindsight, I should have actually built a proper cubbie for the washer to slot into, but I was not sure if it would be needed. However, once I got the washer into the room, it looked unfinished just sitting there.

To cover it, I simply attached a counter over the top. I attached the counter to the walls using some small strips of leftover wood, glued and nailed in place on the two sides and back. The counter will not hold a lot of weight, mostly just for decoration and folding laundry, so it did not need to be more secure than that. It is about 10mm above the top of the washer, so it does not rest on the top itself.
I also added a panel of the bead board cut to size along the side of the washer. I did not have the space to add a frame for this board, so I glued and nailed it to the counter top and the back wall. It is flush to the washer, and it seems quite secure. It also allows if I need to pull the washer out for any reason.

While I was building the cover around the washer, I had also noted a draft coming in from behind, so I added some insulation down the back, to help prevent the cold air.
It still needs trimming, caulking and painting. So that is still on my DIY finishing list.
Adding More Trim
A simple DIY finishing project that I need to finish is adding more trim in various places. First, around the washer frame I’ve built. I am adding the same trim I used around the recessed cubbies and closets, to tie everything together, cover over the exposed edges, and give it all a nice finished look.
These pieces of trim come from Leylands, and they have a simple profile that looks elegant without adding too much detail. And they are super easy to cut with my mitre shears. I love this little tool. It makes quick work of installing trim, without needing to pull out my mitre saw. And the cuts are super precise.

I also decided to add a piece of the same trim along the top of the base boards. You might remember that I used plain MDF boards left over from my DIY wall paneling in the bedroom. This was a good use of the left-over boards, and I like the simplicity of the boards against the bead board paneling in the bathroom.
However, after living with it for awhile, I found the edges just a bit too sharp. They were almost stark in contrast to the paneling.

By adding a piece of the trim, sitting flat along the top edge, it helps to soften the board and tie in nicely to the paneling. The trim is nailed in place, but I still need to fill the nail holes, caulk, and paint it. And I have a few places left to add it; I ran out of the trim again!

I also want to add coving to the walls at the ceiling. There is one small gap in the wallpaper that this will cover, and it will just look nice. I need to choose a small coving, and I am not sure if I will paint it the purple of the wall paneling or the light silver grey of the ceiling.
Patching the Wallpaper
My glorious wallpaper looks so good. It was the inspiration for the entire room, and I absolutely love it.

Except the big patch where I still need to add wallpaper over the closet. I could not add the wallpaper here when I was installing it, because the recessed shelf was not yet installed. I needed to keep the space open for the plumber to access the pipes, and until the shelf was installed, I actually was not sure what I would do with the space above the closet.

I’ve covered the area with wallboard and seamed it so it is smooth and ready for the wallpaper. I just need to add the liner paper, and find a matching square of the wallpaper. to complete this DIY finishing project. Sadly, this is where I’ve run into issues. I have plenty of leftover squares of paper, but I do not have one that matches the paper on the adjoining wall. I’ve gone through every scrap several times, and there is just no perfect match.
My options are to buy another roll of paper, which seems incredibly expensive and wasteful given the tiny piece I need. Or, make it work with an imperfect match. The design is very busy, and it is a small piece, up against a corner. So I will probably just use what I have and do the best I can. This has helped slow down my progress as I try and find a good solution.
Another option would be to just add paneling in this space, which would work and tie with the shelf below, but I do not have a piece that will match the space and again, I do not want to buy another sheet. Besides, I really like the idea of wallpaper here. So I need to find a way to make it work.
I also need to add a small strip of wallpaper to a corner by the shower. I had thought I might add trim there, to cover it, but I would prefer to add the wallpaper, so I’ll do that while covering the area above the shelf.

Doors, Doors, Doors!
And I need doors for the niches and closet. I have so many doors to make. And I cannot seem to get it done!
For the bathroom, I’ve cut pieces of paneling to serve as doors, although they will need some additional framing to make them sturdy enough and give me a place to install the hinges. I was not able to match up the paneling perfectly with the surrounding area, so I might use the other side, which is plain, and trim it out with some of the trim pieces. We will see.

Lighting
I also need to make a decision on the overhead light. I’ve been searching and even thinking about making something. But them I remembered that I have this lovely antique glass pendant that is in storage. I think it will be perfect, I just need to go pick it up.
I had wanted to add wall scones on either side of the mirror, but with the placement of the basin and the door, it did not work. So I’ll save the sconces for the master bath renovation. I need to have those wires terminated and patch the hole in the paneling. Which I will only do once I have the pendant light in hand and ready for the install.
Final DIY Finishing
I have hung the mirror, towel ring and towel hooks, which look fantastic. I chose black, to match the shower frame. It looks so good against the purple. I still need to hang the loo roll holder, but I need to bulk up the panel on the side of the washer with a block of wood. Without it, the paneling is too thin to be able to securely hold the loo roll holder.


And of course, I need to do a lot of patching, sanding, caulking and painting still. With the additional trim, washer cover, and other bits, I have to go back and paint several areas. The door also needs some paint touch-up, as the edge of the white paint on the front of the door is showing through on the purple backside. And even in these pictures, I can see some areas that need more sanding or patching.
So lots of little DIY finishing bits bits that are not very exciting but will make a big difference. I should be so pleased by this amazing accomplishment, but until I finish up these last bits, I cannot truly enjoy my first ever bathroom renovation, since it isn’t technically finished.
Stay tuned, I really hope to finish it up soon and share a full reveal! 🙂 And then move on to the next big thing!
Happy DIY-ing!
Interested in similar posts? Check these related topics out:








Leave a Reply