
When I planned both of my bathroom renovations, I started with aesthetics as my source of inspiration. For the guest bath, it was the wallpaper. For the master bath, it was the floor tile. Then colours, textures, and lighting followed. But perhaps more critical than all of these aspects are bathroom layouts.


How do all the pieces in a bath fit together to create a room that is both functional and pleasing? In bathrooms, it can be challenging, because you are often dealing with pipework that is not easily moved or relocated. And like me, you may have a small room where every inch counts. Even in larger spaces, you want to ensure the best layouts for what is one of the most-used rooms in your home.
So how do you design bathroom layouts that can do all the hard work while also delivering a calm and enjoyable space? And how do you create bathroom layouts that work ? And that can be successfully re-created from paper plans to real life?
Let’s dive into some tips and tricks that I’ve learned through my own experience; I hope it can help you too.
THe IDeal Bathroom Layout
That headline is a bit misleading, because there is no one layout that is ideal. It depends on so many factors: your specific space, the pipe works, the fixtures you want to use, and even planning restrictions on what you can and cannot do.
Have you heard the rule that you should not see the toilet as the first thing when you walk into a bathroom. I am sorry, but that just makes me laugh. I have never owned a bathroom big enough that the toilet would not be seen from the doorway. And I doubt a lot of others have either.

As well, when you are DIY-ing an existing bathroom, particularly in a building of flats, you may not have a lot of choice about where the toilet goes. The waste pipe in my two bathrooms is connected, and it connects to other flats as well. To move it would require significant cost and work, as well as potential inconvenience to other flat owners. And it would not be worth it just to move it to the opposite side of a small room. Where it would still be very visible, given the size of the room.
So, when thinking about the layout of your room, I like to see what the designers say. But I only take what makes sense to me and my particular space. Much of it can be treated as suggestions, not rules.
In my small guest bath, we were quite tight on space. In addition, I wanted to move the washer into the room and add some storage. The toilet could be moved by a few inches left or right, but no more. After a lot of discussion, we kept the shower where the bathtub had been, but we gained a little space for storage by choosing a smaller shower pan. We moved the vanity to the opposite wall, which required some additional pipeworks but allowed us to put the washer in the space where the vanity had been.

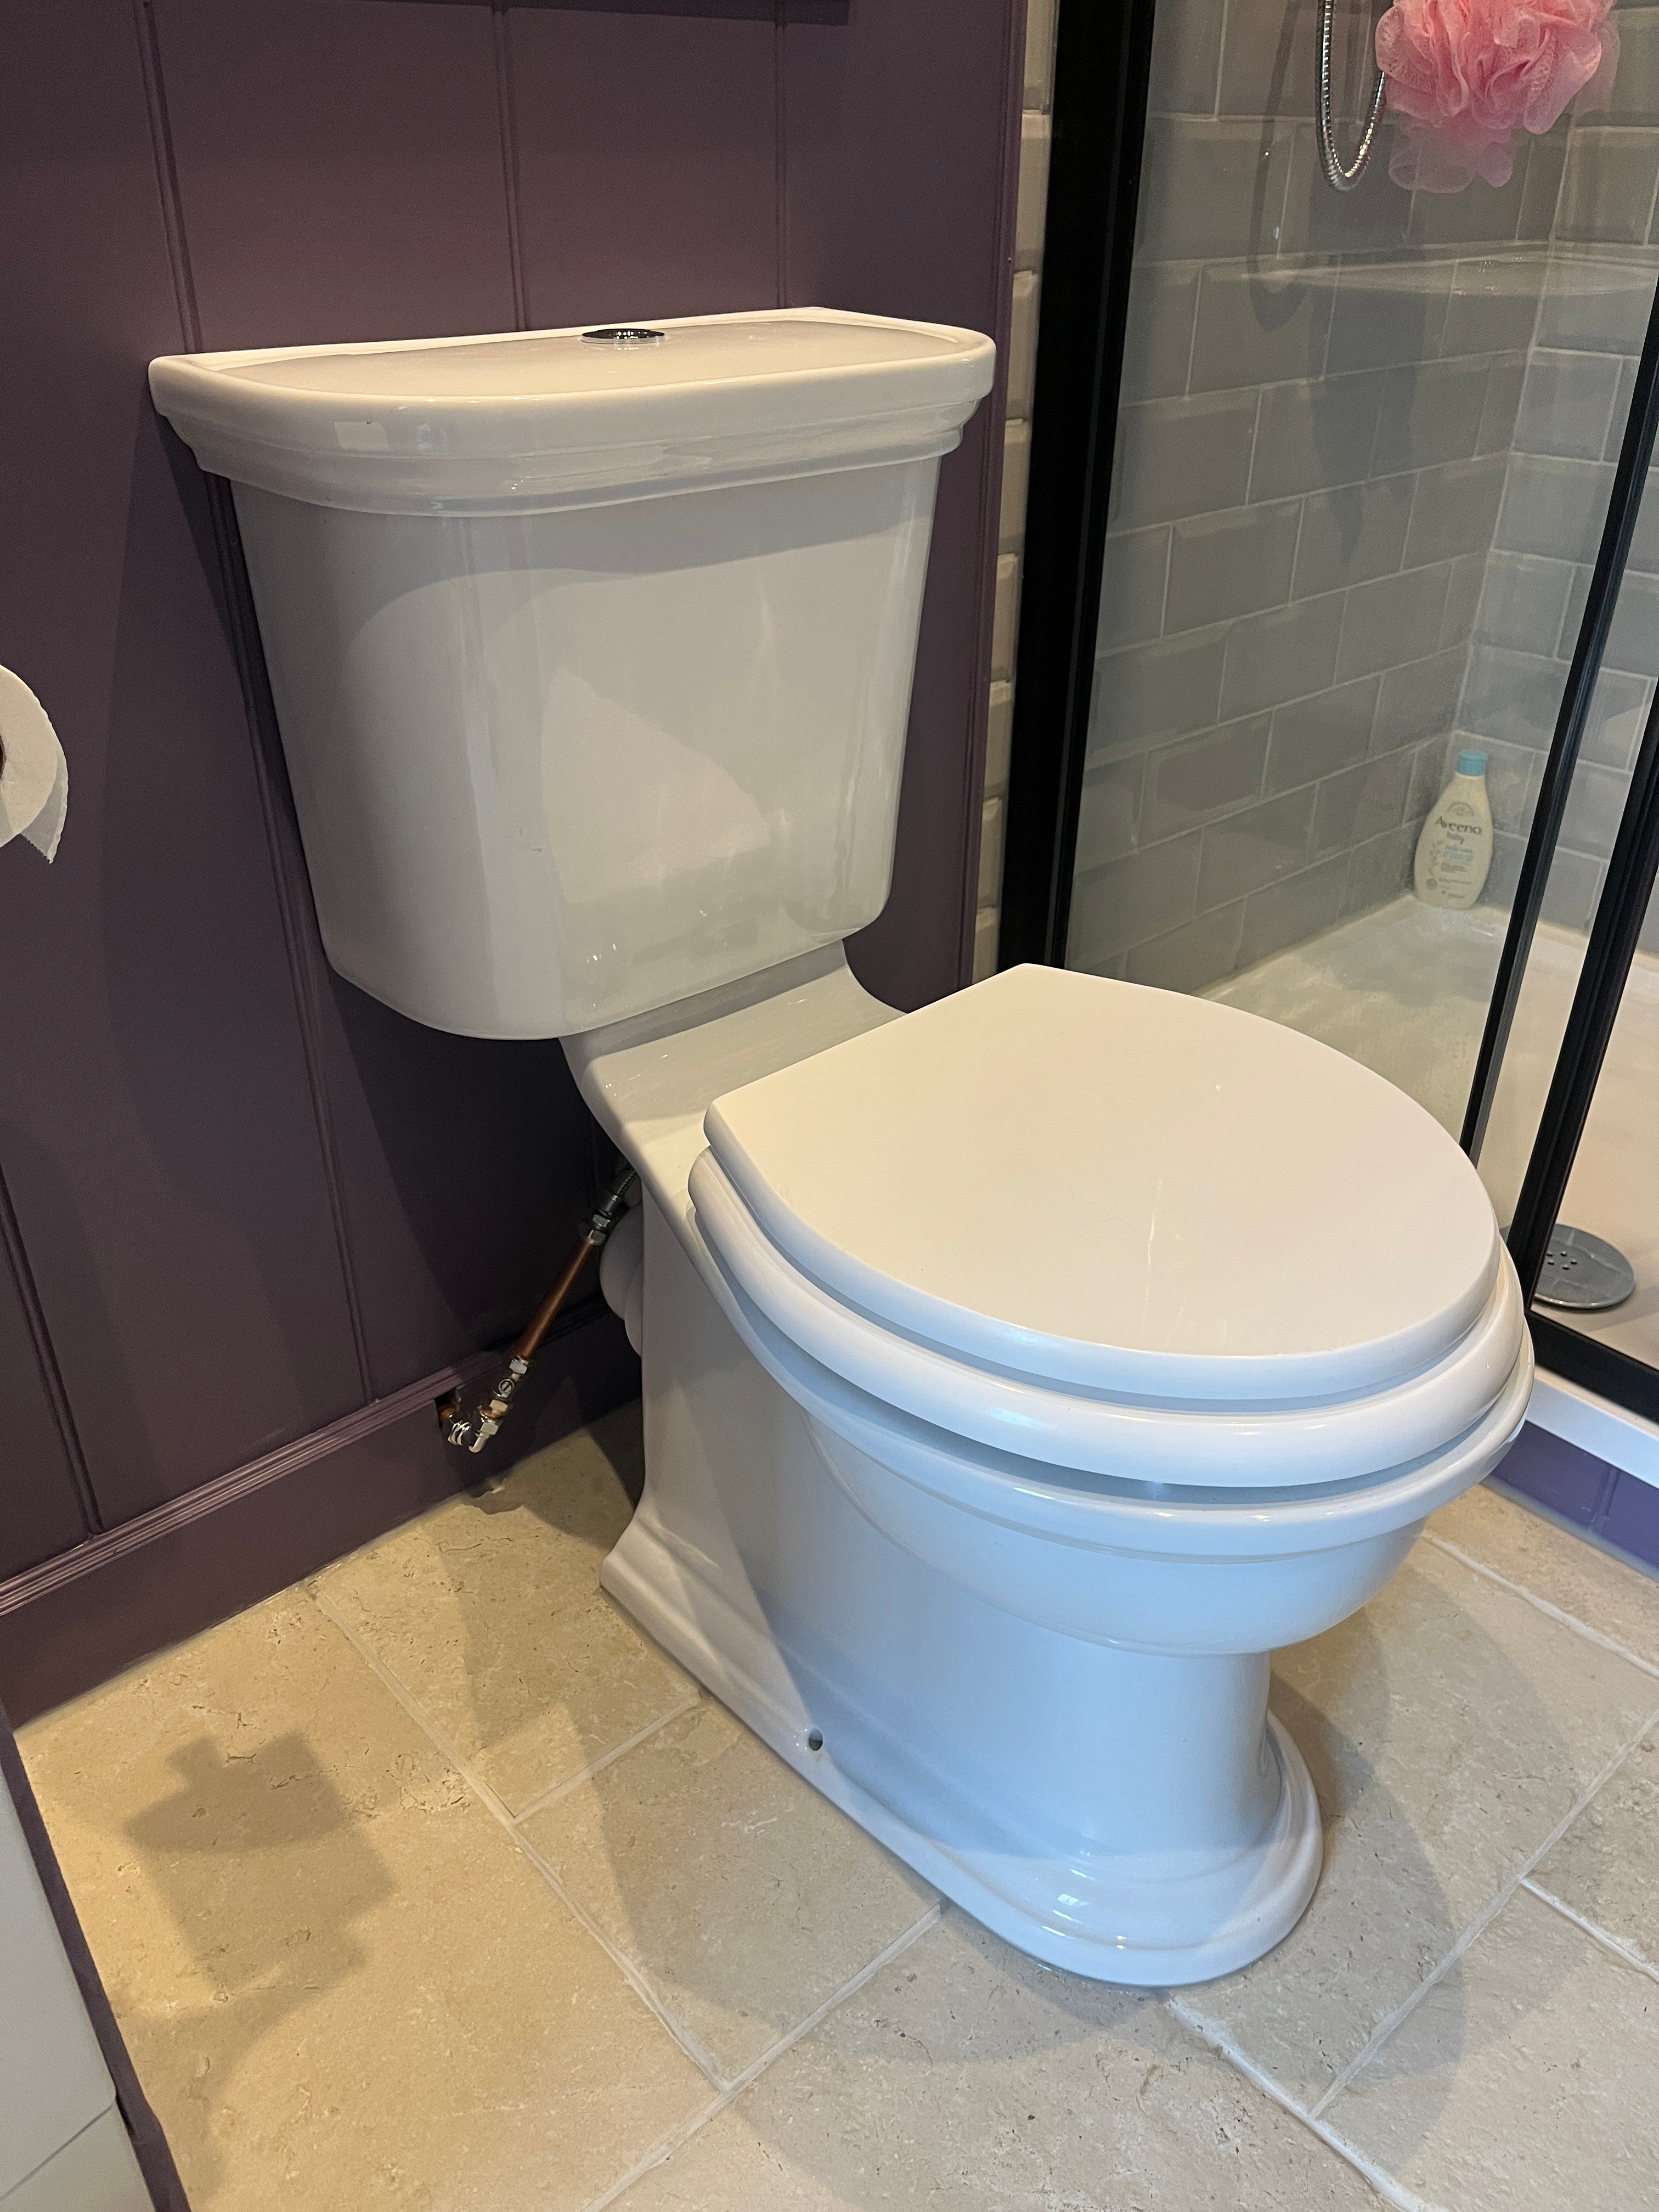
It is a bit tight, but it works. However, you can see that there was not a lot of room for drastic adaptations, and certainly the toilet can be seen from the door. But I am okay with that, since really, there was no other option. (And, as toilets go, it is quite a beautiful toilet!)
All that to say, in my experience, there is no ideal design. Do what works for you, not what the interior designers instruct.
How to Design Bathroom Layouts
The most important aspect of bathroom layout is flow. Not water flow (although that is important!), but people flow. Can you comfortably move throughout the room and in between fixtures?
Here is the approach I take when planning bathroom layouts:
- Draw out the original layout, to scale
- Make several copies of the room drawing and move the fixtures around in the space until you find the right layout
- Lay out the fixtures using tape in the actual room
- Create quick cardboard models if needed for 3D visualisation
Let’s dig in to these steps:
Draw the Original Layout
At the start of your planning, I suggest drawing the layout as close to scale as you can. From a birds’ eye view (above the room looking down), sketch the bathroom as it is, pre-renovation. Mark the measurements of the walls and all the fixtures. Note the amount of space between the fixtures. Is it comfortable? Tight? Too spacious?

Design Different Fixture Placements
Next, replicate the layout of the room on paper, and move the fixtures around to adjust for your ideal placement. If you have not decided on fixtures, design for what you think will work, to give yourself a sense of the options. I do this with paper and pencil, but there are plenty of design apps and websites that can help here. You might also want to use AI to draw these designs for you.
It might take several versions before you find the right layout. Once you do, make sure you note all the maximum measurements for the various fixtures, and have them to hand when ordering. Point of note: You should allow 700mm around fixtures, more if possible.
Lay Out Your Design in Real Life
Before you order, though, there is one more step. You need to lay the fixture measurements out in the room, in real life. This is important, because you can get a true feel for things by walking around the markings and testing the fixtures’ relations to each other.
To do this, use painters tape or masking tape to lay out the dimensions on the floor. in the planned location. A large rectangle for the shower, a rectangle for the basin or vanity, and an oval for the toilet. Add other items as needed, like in my case the washing machine. Be as precise as possible. If you are unsure about something, you might even want to create a quick cardboard replica of a fixture to get a 3-dimensional feel.

This final step is critical and should ideally be done before you order the fixtures. Especially in a small space. In our guest bath, I really wanted a shower pan that measured 1200 x 800mm. This would fit in the room, and all my drawings pointed to a good fit. However, I neglected to take into account the shower walls. Once I had ordered the pan and set it in place, I could see that there would be no way to pass between the basin and the shower wall to get to the storage I had planned. I was unwilling to give up on the storage, so I needed to replace the shower pan with a smaller version. Fortunately, I was able to save the larger pan for the master bath, where I know it will fit perfectly.
Another plus for laying out the fixtures in tape is that you will know where to avoid laying the heating coils if you plan to add a heated floor in your bathroom.

Finally, throughout the process, you should consult with your plumber to ensure what you want to do is feasible. Placement of waste pipes is especially important, as they can sometimes be challenging — and costly — to move.
Once you have taken all these steps, you can confidently order your fixtures.
Tips for Maximizing Space and Functionality
As you design your bath room layouts, here are some tips and tricks from my own experience to maximize your space.
Must-Haves vs. Nice-to-Haves
First, consider everything you want to add into the bathroom. Do you want to add a separate bath tub and a shower? Do you want to move the washing machine into the room? Are you planning specific storage, and if so, will it take up floor space or will it make use of the vertical space?
Once you have considered everything you want to do, think about what is an absolute must for the room and what you might be able to leave off. For me in the guest bath, I knew the washing machine had to be included. I also knew I wanted to have some storage. Because I was unwilling to give up on these two items, I had to choose a smaller basin than I wanted.
To make the basin fit, I had to give up on the wall sconces I had planned for, because the basin had to be right up against the door, leaving no room for the sconce. I even considered changing the door to a bi-fold to give me more space, but in the end, I decided we could do without the sconces.
In the master bath, I really want a separate tub. We have the space, but it will require a smaller tub than is standard. I am working with the plumber to make sure it is possible in terms of pipework, but I am also being reasonable that it might not work. As well, I also really want a double vanity, but this is not an absolute. I am pretty sure it will be too tight with the bath tub as well.

So, you will have to make some adjustments, no matter what. Knowing what is a must-have vs. a nice-to-have can help make the decisions easier.
Be Flexible … and Creative
As well, with the items you know you want, be flexible: move things around to find the right fit, work with your plumber on what can make sense. And re-consider sizing. Perhaps you can choose the smaller basin or a smaller tub. Or change the door to a pocket door or bi-fold to give you more wall space.
In the master bath, I want to add a bath tub in what is today a bit of dead space under the eaves. Due to the door and entrance to the room, and accounting for the pipework to be added, I can only have a smaller tub of 170cm in length. When I went to look at tubs to make sure the smaller size would work for me, I discovered Japanese soaking tubs, which are even smaller but with higher walls. You essentially sit up in them but are still covered. Perfect for a small bathroom. A creative solution to a small space that I am considering.

Other examples include using a cloakroom basin, which is smaller. Personally, I do not like this option as I find it too small, but it can work in some spaces. And of course, get creative with use of any dead space, including walls and even ceilings.
Bathroom Layouts: Design For You
The bottom line, when deciding on bathroom layouts, is to design for you and your wants and needs. Make the best use of the space, do what feels right to you, and get creative with your options. No room is too small or too challenging to find the ideal bathroom layout of your dreams.
Happy DIY-ing!
Interested in similar posts? Check these related topics out:








Leave a Reply